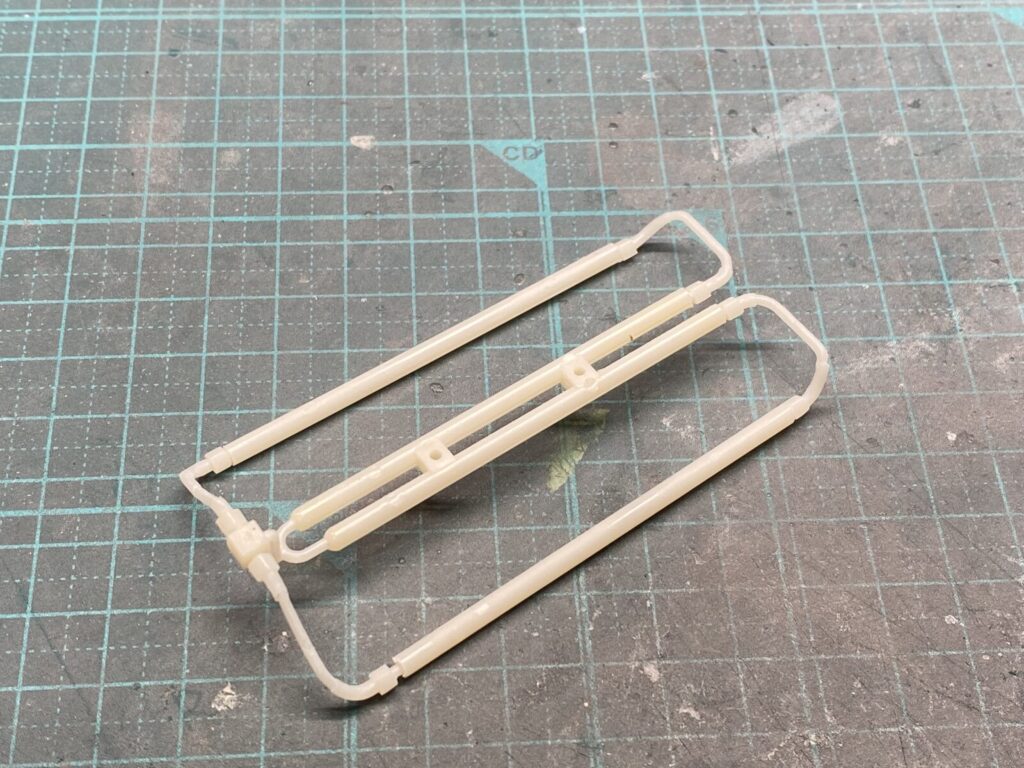
次はフューエルレールの製作に移ります。
こちらがキットの状態です。基本的な形状は再現されていますが、質感やディテールをさらに高めるため、この部分も作り直して実車に近い仕上がりを目指します。
Next, work begins on the fuel rails.
This is how the kit parts look in their original form. While the basic shape is represented, they will also be rebuilt to improve the surface finish and fine details, resulting in a more realistic appearance that better reflects the real car.
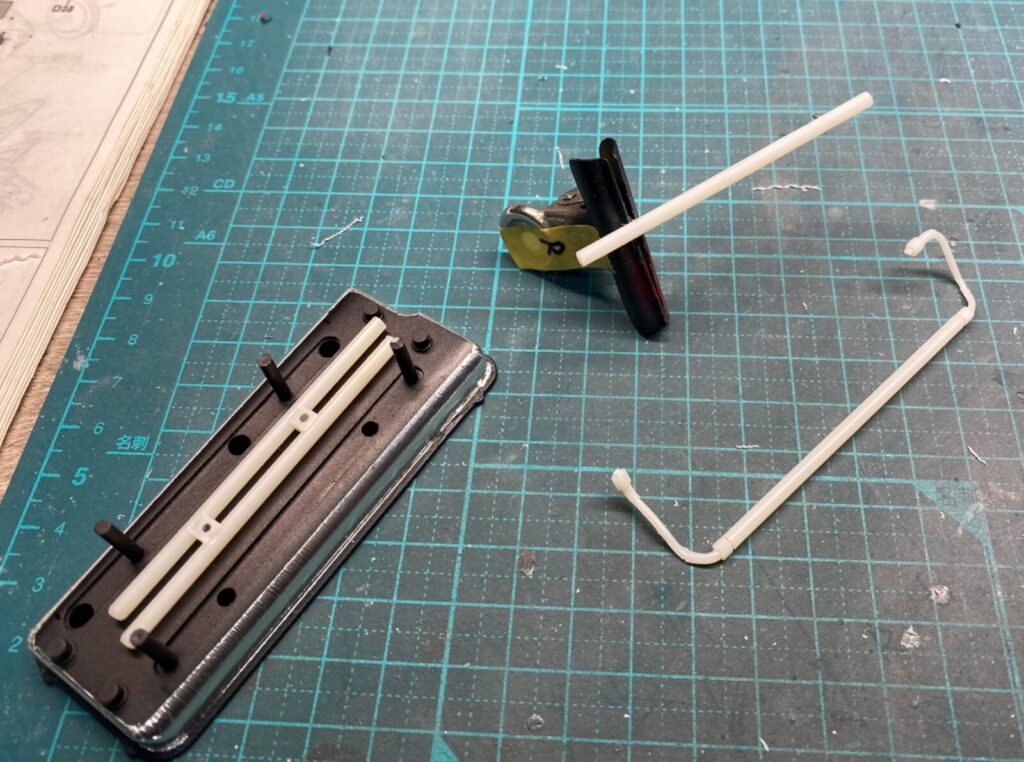
キットのパーツは必要な部分だけを切り出して使用し、それ以外のパーツは自作することにしました。
Only the usable portions of the kit parts are retained, while the remaining components are fabricated from scratch.
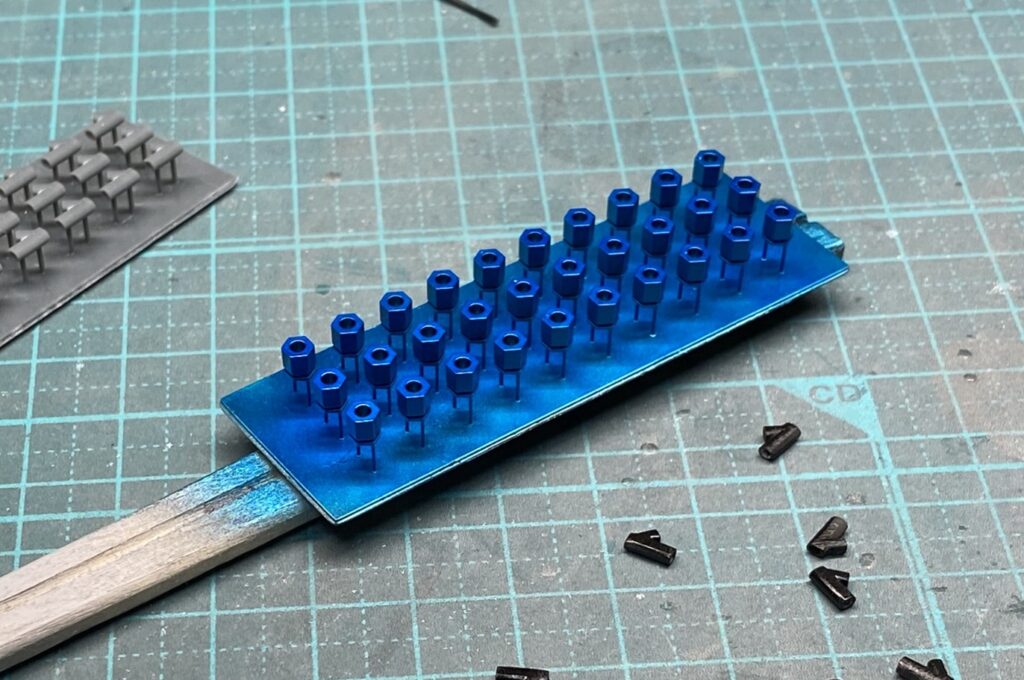
1/8スケールに適した六角フランジが必要になったため、3D CADで設計し、3Dプリンターで製作することにしました。
市販パーツでは再現が難しいサイズや形状も自由に製作できるため、実車に近いディテールを再現することができます。
Since suitable 1/8-scale hexagonal flanges were required, I designed them in 3D CAD and produced them using a 3D printer.
This approach makes it possible to reproduce sizes and shapes that are difficult to obtain with commercially available parts, allowing for a more accurate representation of the real component.
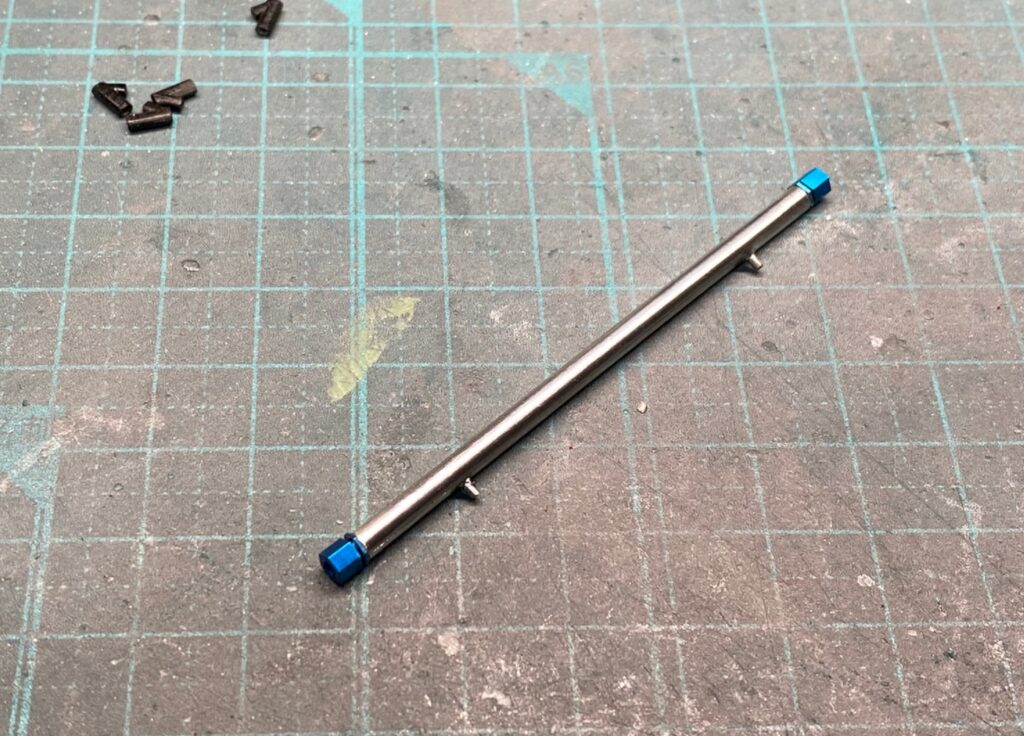
配管を塗装した後、自作した六角フランジを取り付けました。
メッキ仕上げのキットパーツと比べると、質感や立体感が向上し、実車の雰囲気にかなり近づけることができたと思います。
After painting the fuel lines, the scratch-built hexagonal flanges were installed.
Compared with the kit’s chrome-plated parts, the revised assembly has a much more realistic texture and depth, bringing it significantly closer to the appearance of the real car.
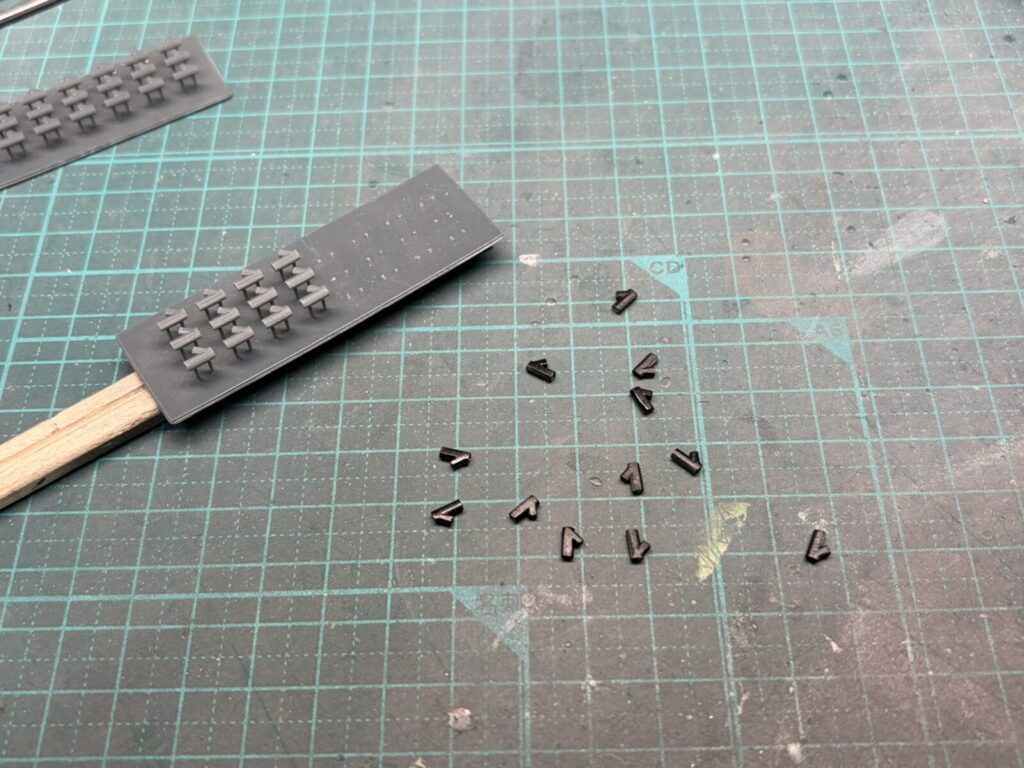
次に、配線の分岐部分も自作することにしました。
1/8スケールでは、このような小さな配線の接続部も完成後によく目立ちます。そのため、実車資料を参考に3D CADで設計し、より実車に近い形状で再現していきます。
Next, I decided to scratch-build the wiring junctions as well.
At 1/8 scale, even these small wiring connection points remain clearly visible on the finished model. For that reason, they were designed in 3D CAD using reference photos of the real car, allowing them to be reproduced with a much higher level of accuracy.
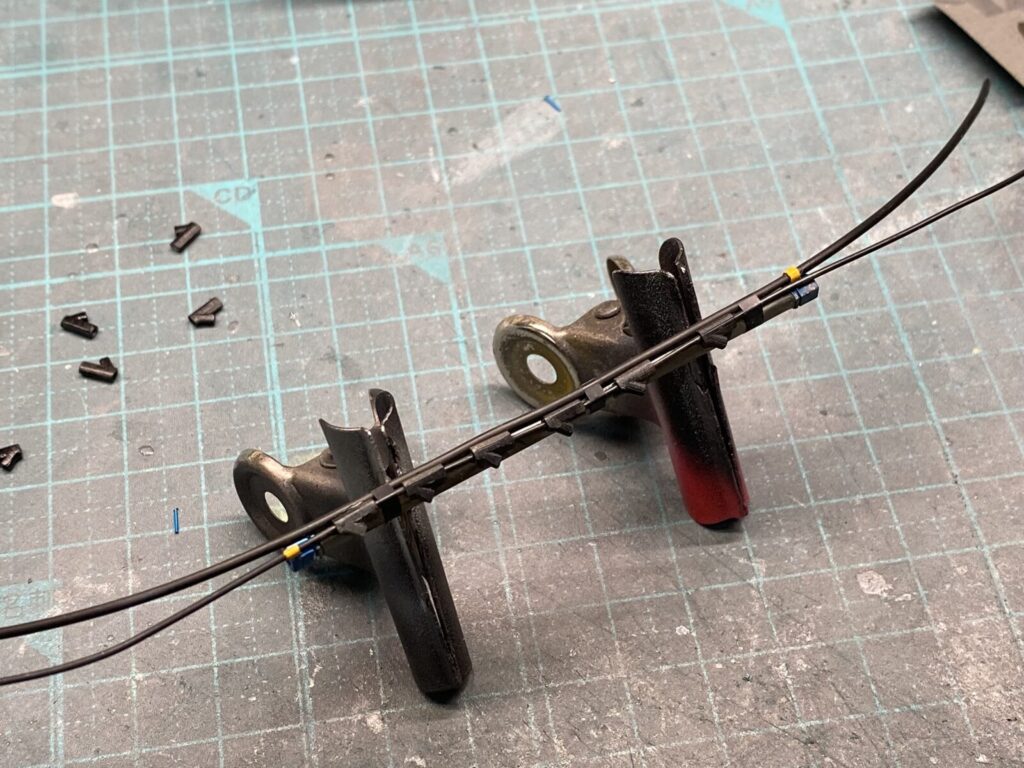
実車の参考資料を基に、フューエルレール周辺の配線を追加していきます。
配線の取り回しや接続位置を確認しながら一本ずつ製作し、完成した配線は先ほど製作したフューエルレールへ固定していきます。
Using reference photos of the real car, the wiring around the fuel rails is recreated.
Each wire is fabricated and routed individually while carefully checking its path and connection points. Once completed, the wiring is secured to the fuel rails that were assembled in the previous step.
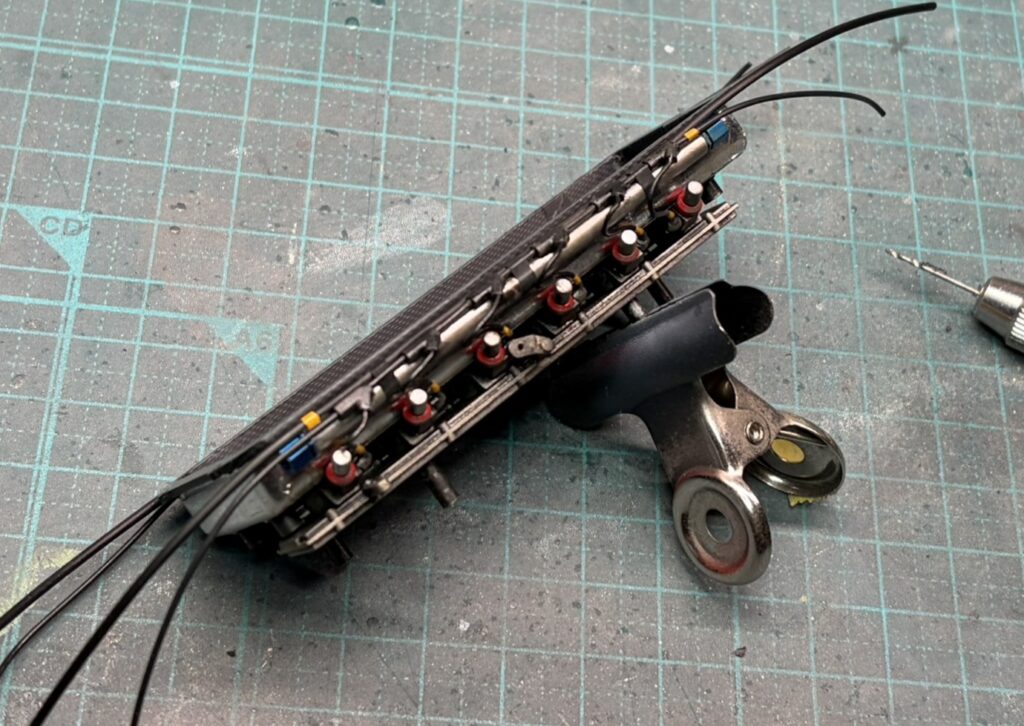
先ほど製作したインジェクターとフューエルレールをインダクションボックスへ取り付けます。
さらにインジェクション用の配線も一本ずつ接続し、実車資料を参考にしながら取り回しや配置を再現していきます。
The fuel injectors and fuel rails completed earlier are now installed on the induction boxes.
Next, the injector wiring is connected one wire at a time, with the routing and layout carefully reproduced using reference photos of the real car.
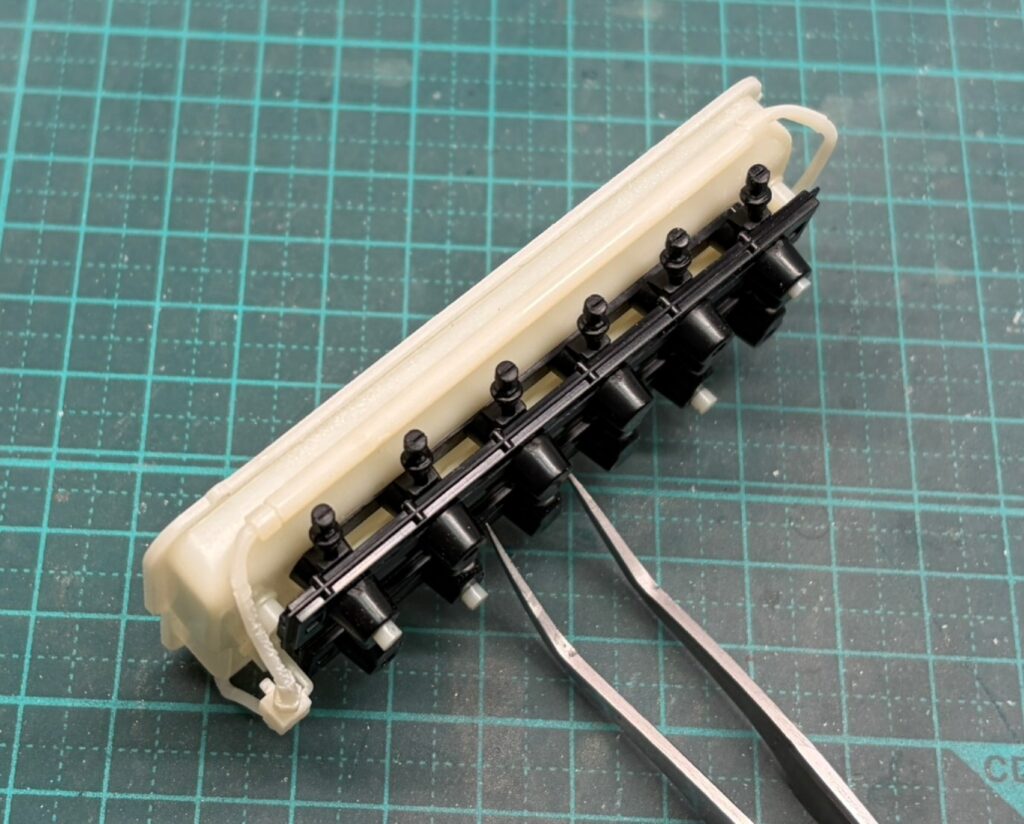
ちなみに、こちらの画像はキットをそのまま組み立てた状態です。
比較するとかなり雰囲気が変わったと思いますが、まだ改修の途中です。さらにディテールアップを重ね、実車により近い仕上がりを目指していきます。
For reference, this is how the assembly looks when built straight from the kit.
The overall appearance has already changed considerably, but the modifications are still far from complete. Further detailing will be carried out to bring it even closer to the look of the real car.