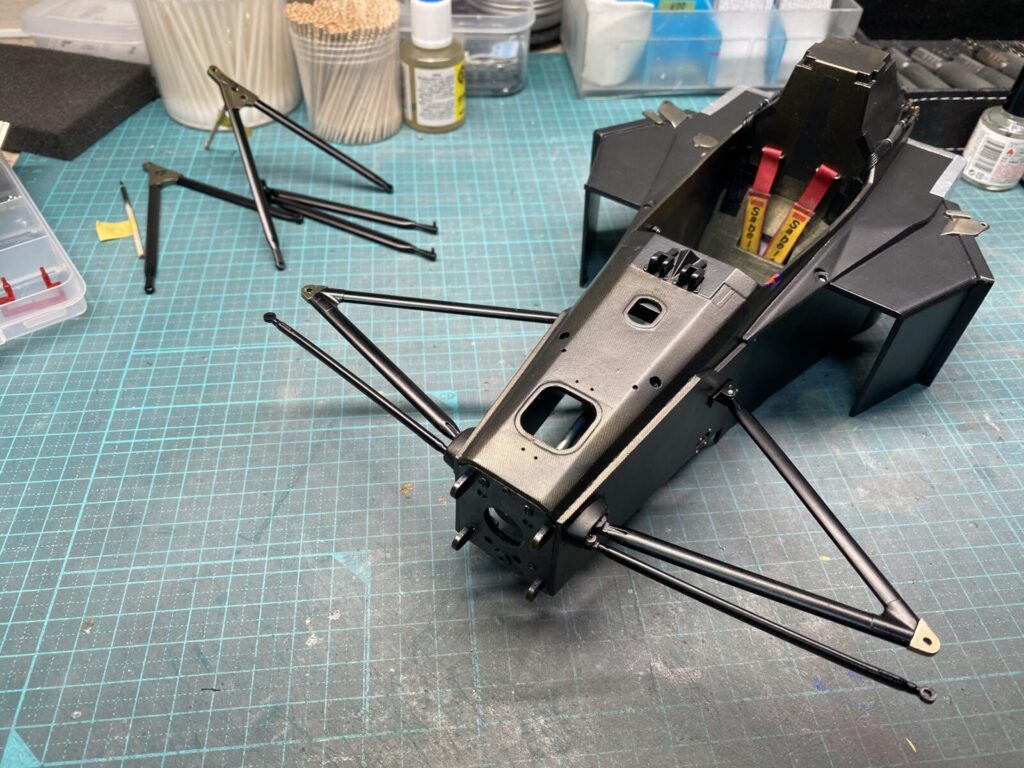
製作しておいたサスペンションアーム類を、各部の角度や位置関係に注意しながら取り付けていきます。
The previously completed suspension arms are installed, paying careful attention to the angle and alignment of each component.
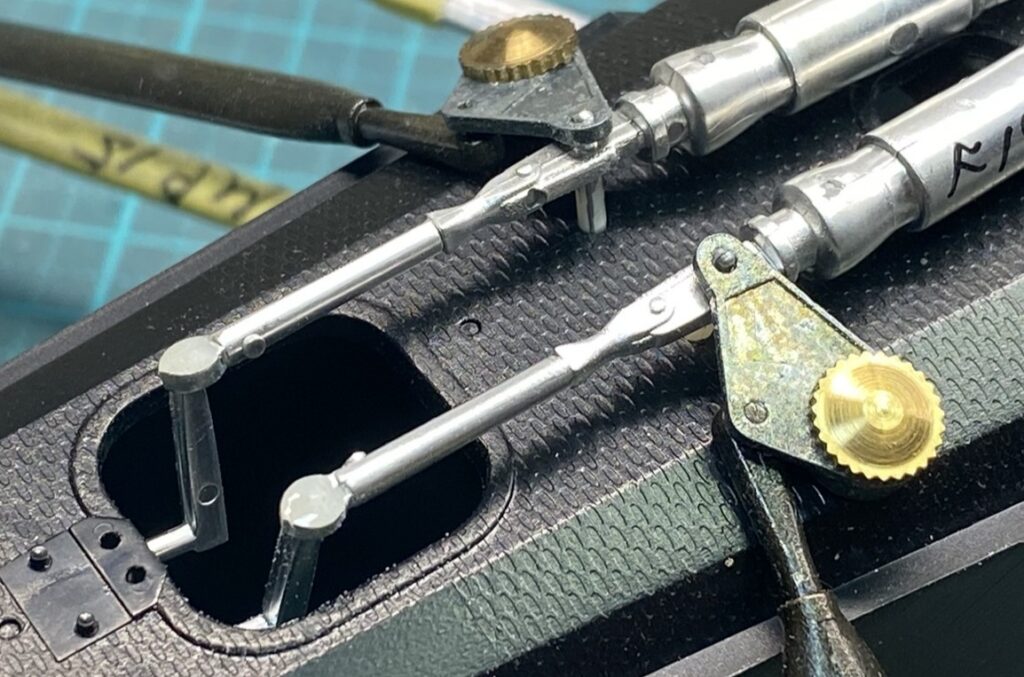
ショックアブソーバー周辺は、画像のように実車とは異なる取り付け方法になっているため、改修することにします。
また、メッキ塗装が施されていますが、下地処理や改修を行う必要があるため、一度すべてのメッキを剥離していきます。
The mounting arrangement around the shock absorbers differs from that of the real car, as shown in the image, so this area will be modified.
The parts are also chrome-plated, but since surface preparation and modifications are required, all of the chrome plating will first be stripped away.
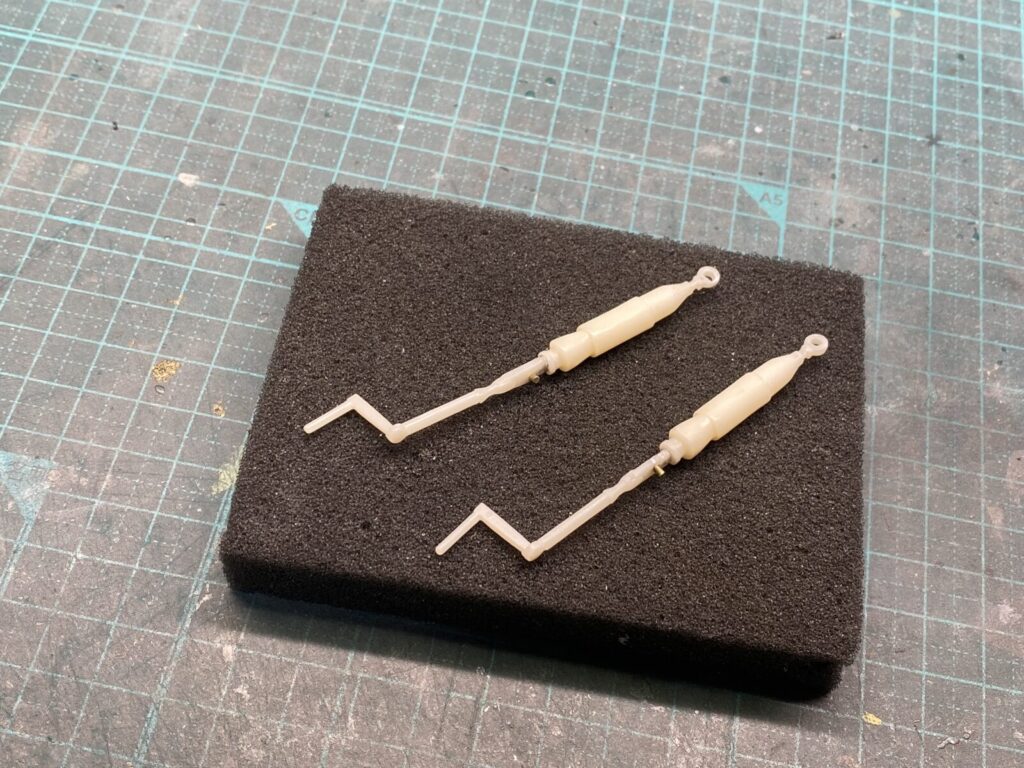
メッキの剥離が終わったら、パーティングラインや押出ピンの跡などを修正します。
さらにパーツを切断し、ユニットの角度調整や取り付け金具の追加も行っていきます。
Once the chrome plating has been stripped, the parting lines and ejector pin marks are carefully removed.
The parts are then cut and modified to adjust the angle of the unit, while additional mounting brackets are also fabricated and added.
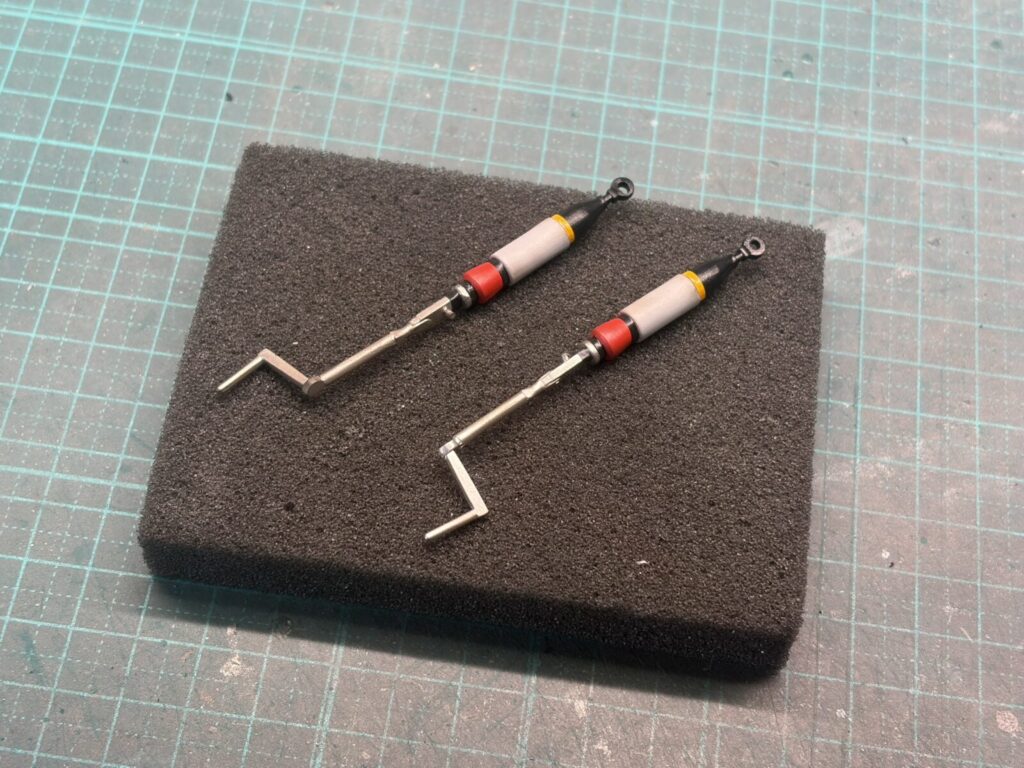
ユニットの改修が完了したら、下地処理を行い塗装していきます。
マスキングテープを使いながら各部を塗り分け、実車に近い仕上がりを目指します。
Once the modifications to the unit are complete, the parts are prepared and painted.
Masking tape is used to carefully separate the different areas, creating a finish that closely resembles the real car.
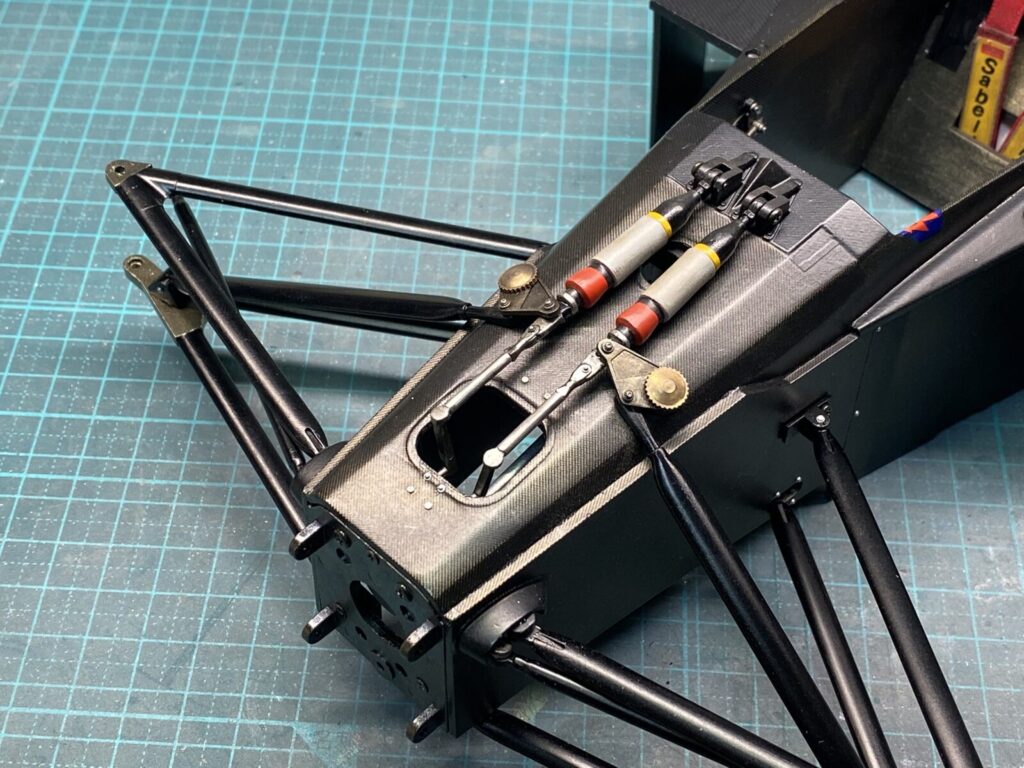
塗装が完全に乾燥したら、モノコックへ取り付けていきます。
今回、取り付け方法を改修したことで、より実車に近い雰囲気に仕上がったと思います。
Once the paint has fully dried, the unit is installed onto the monocoque.
With the modifications to the mounting arrangement, I believe the finished result now has a much more realistic appearance, closer to that of the real car.
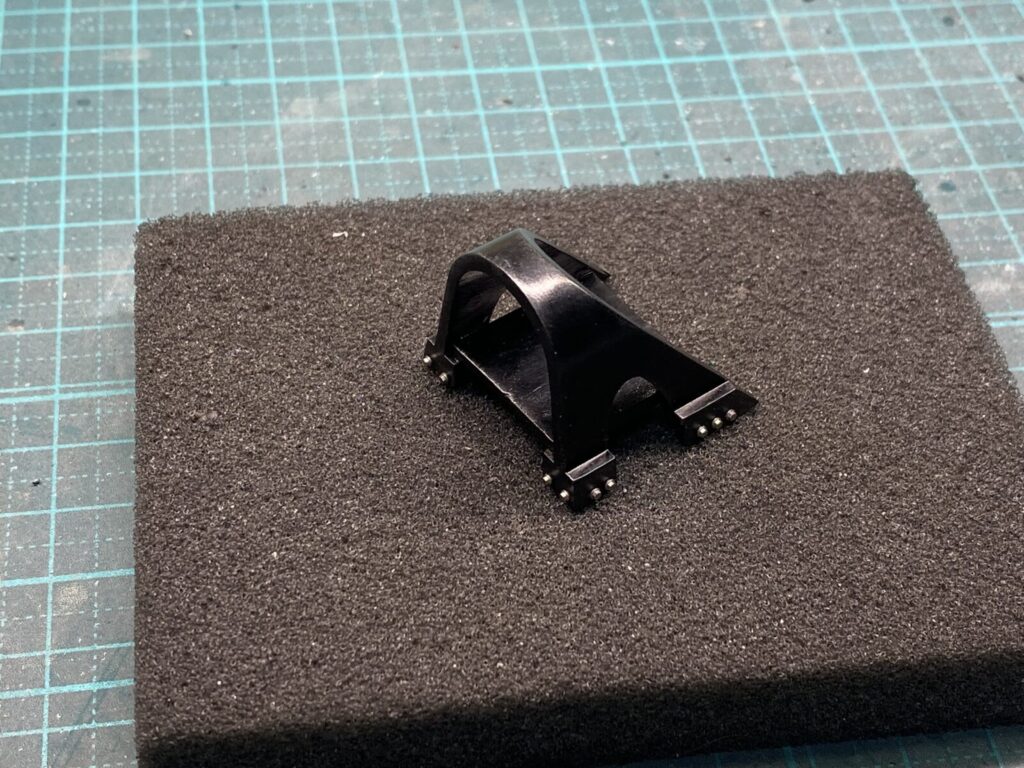
続いて、ロールフープを製作します。
組み立てを行い、塗装後はしっかりと乾燥させます。さらに、ロールフープの接続部分に使用されている留め具も3Dプリンターで自作し、取り付けておきます。
Next, work begins on the roll hoop.
After assembling the parts, they are painted and left to dry thoroughly. The fasteners used at the roll hoop connection points are also scratch-built with a 3D printer and installed.
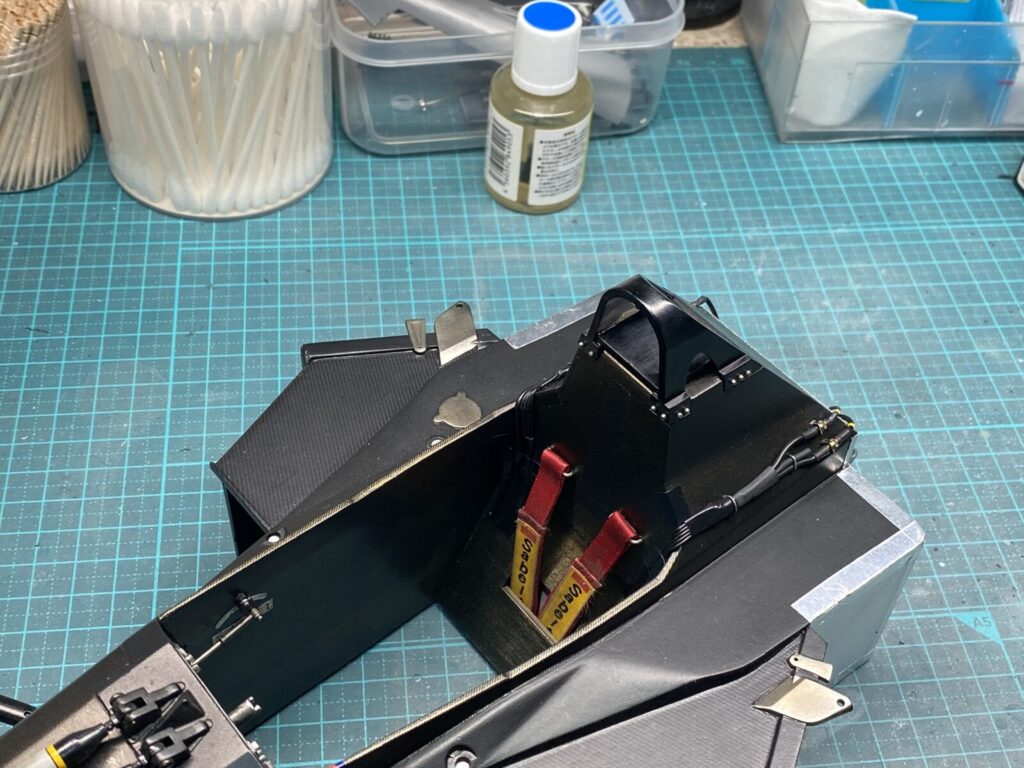
製作したロールフープをモノコックにしっかりと取り付けます。
The completed roll hoop is securely installed onto the monocoque.