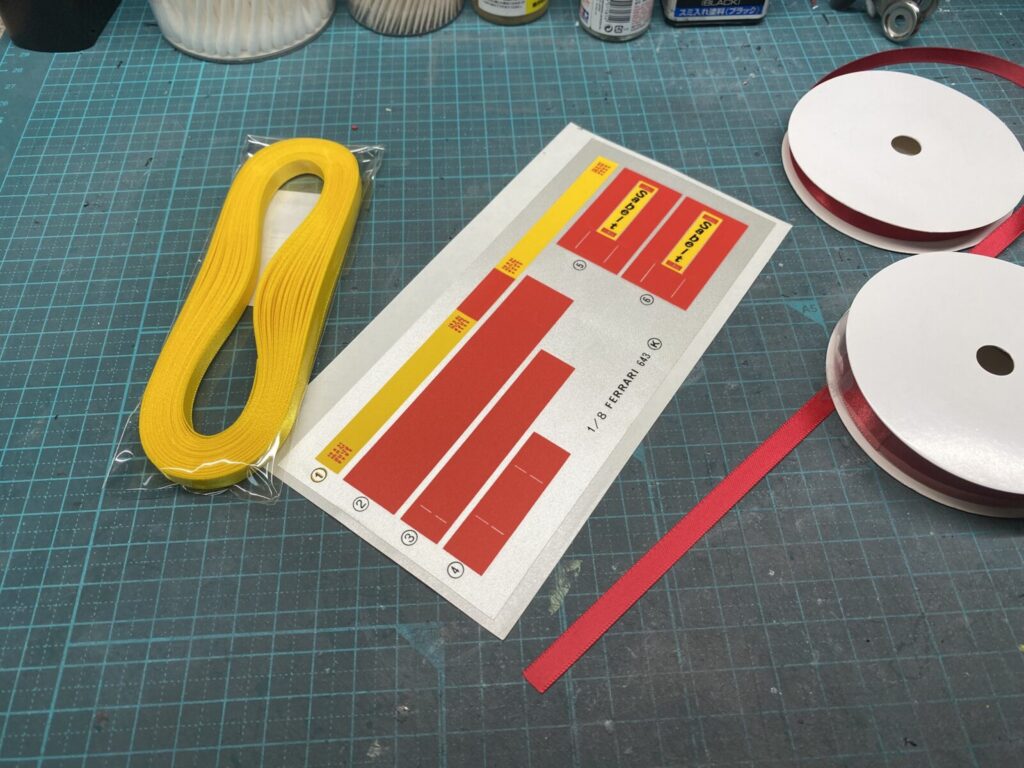
シートベルトはキット付属のものでは実車らしさに欠けるため、すべてサテンリボンを使用して作り直すことにしました。
The kit-supplied seat belts lack the realism of the full-size car, so they will be completely remade using satin ribbon.
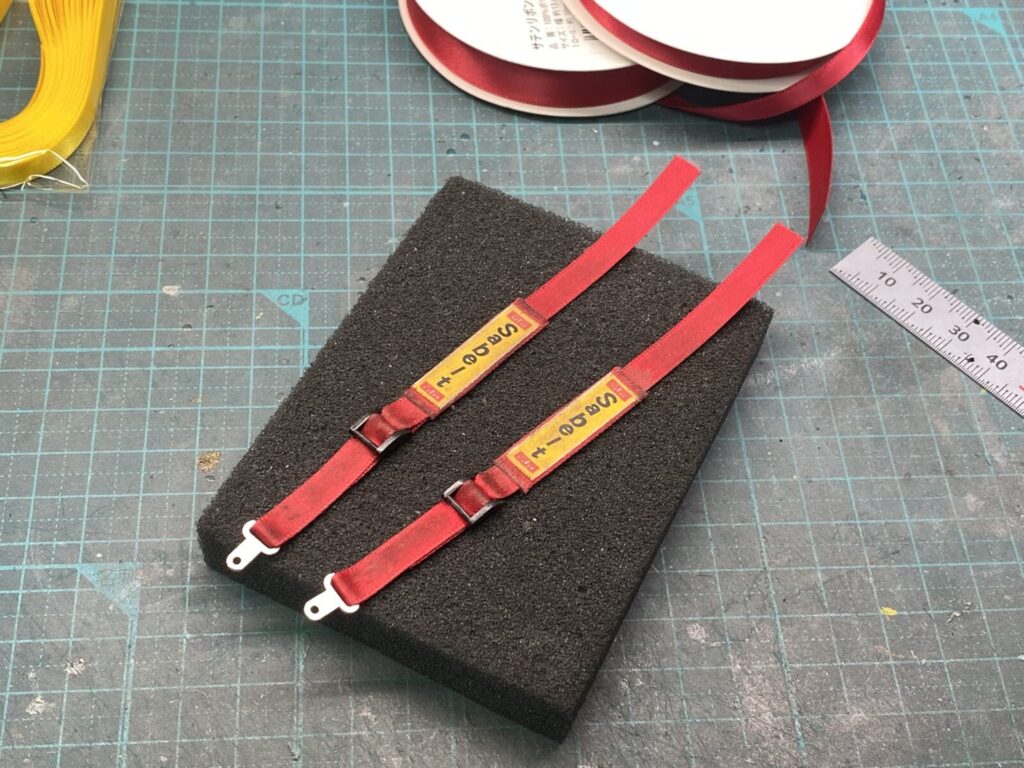
こちらが自作したシートベルトです。
色味や質感も実車に近づき、よりリアルな雰囲気に仕上げることができたと思います。
This is the completed scratch-built seat belt.
I believe the color and texture are now much closer to those of the real car, resulting in a far more realistic appearance.
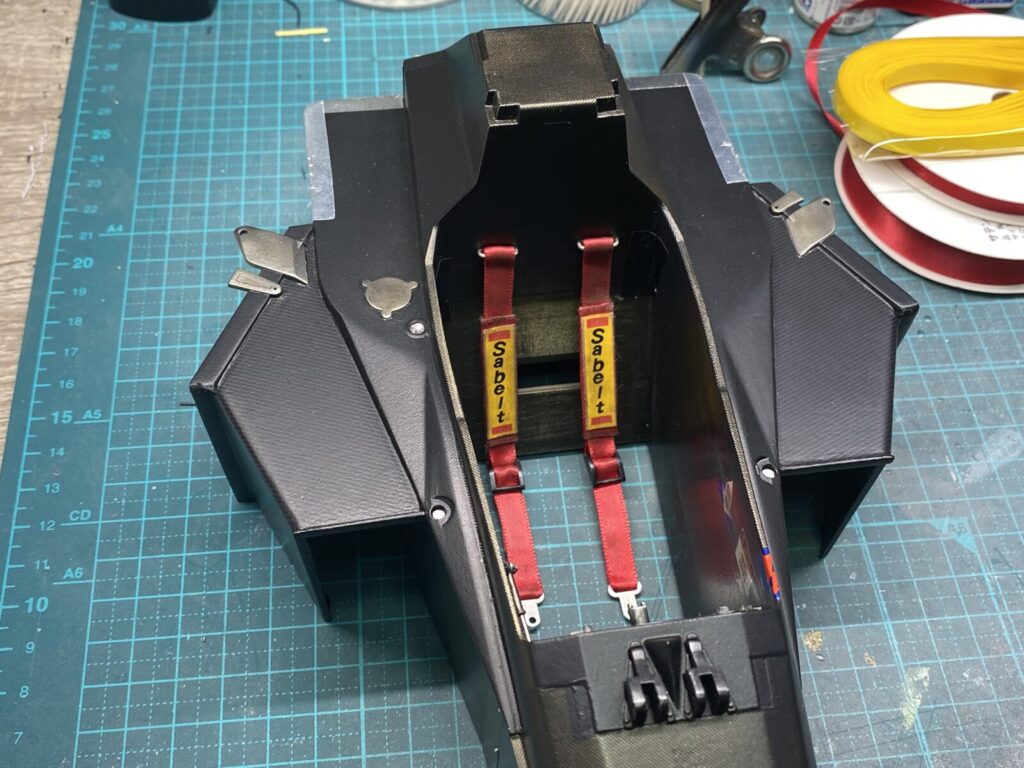
製作したシートベルトを、あらかじめ製作しておいた取付金具へ取り付けていきます。
The scratch-built seat belts are installed onto the mounting brackets that were fabricated earlier.
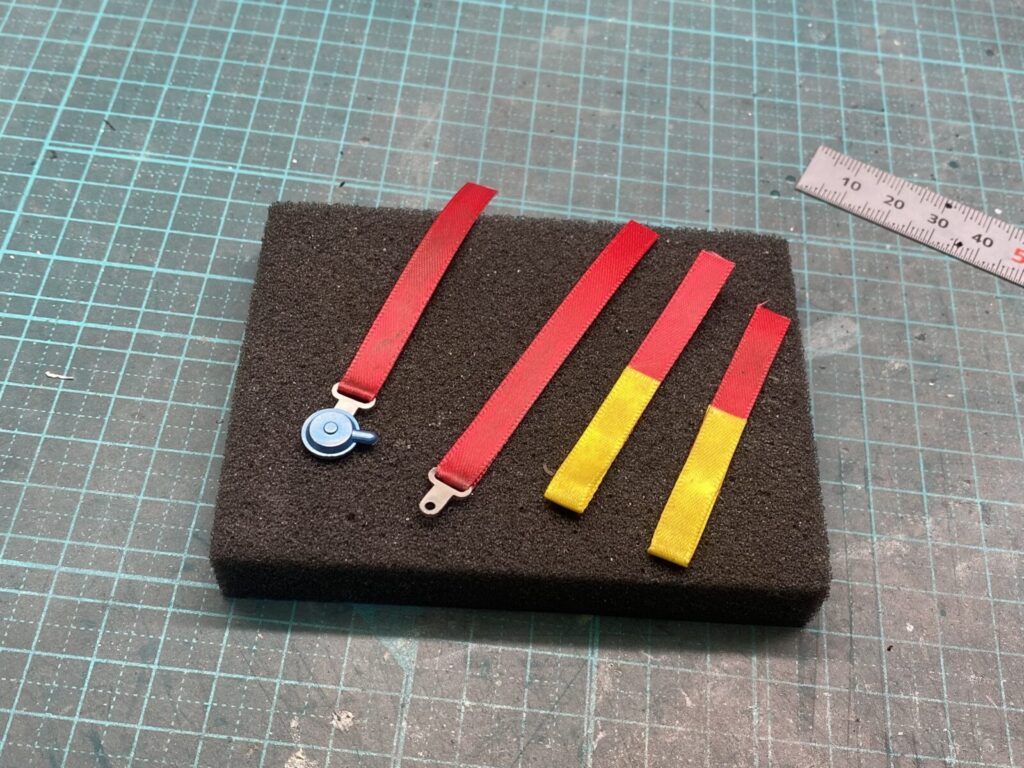
同様に、腰ベルトもすべてサテンリボンを使用して自作しました。
Likewise, the lap belts were also scratch-built using satin ribbon.
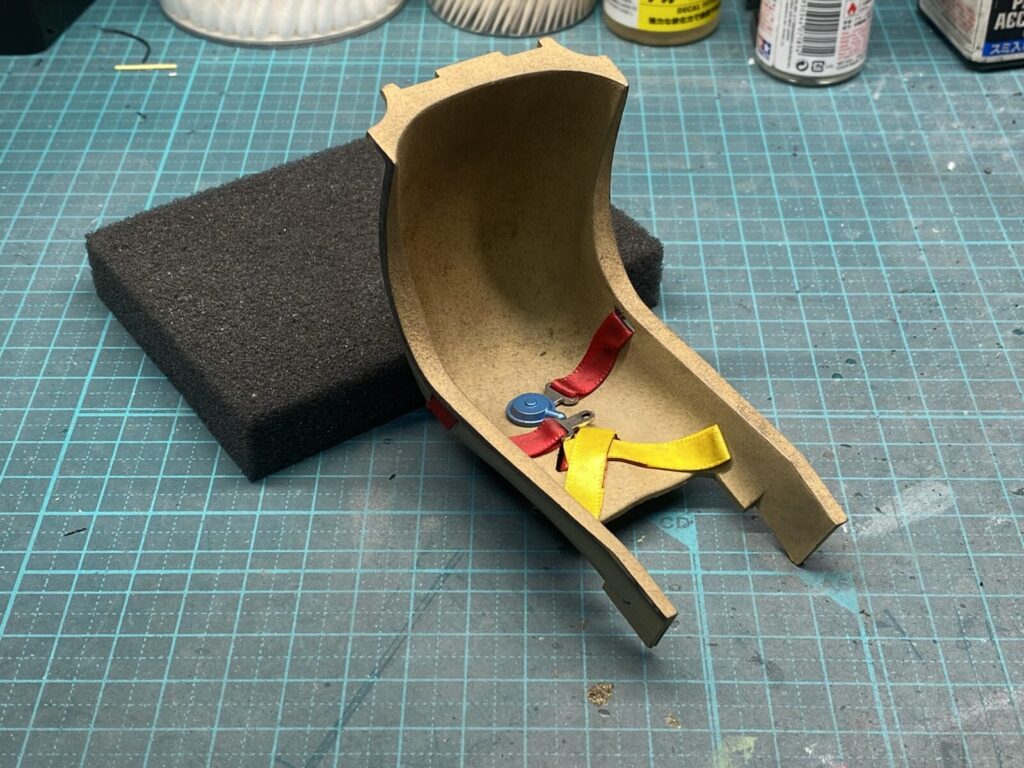
製作したシートベルトを、質感を整えたシートへ取り付けていきます。
シート本体の取り付けは後の工程で行うため、この段階では完成した状態で大切に保管しておきます。
The scratch-built seat belts are now installed on the seat, whose texture has already been refined.
Since the seat itself will be installed later in the build, the completed assembly is carefully stored until the final stages of construction.
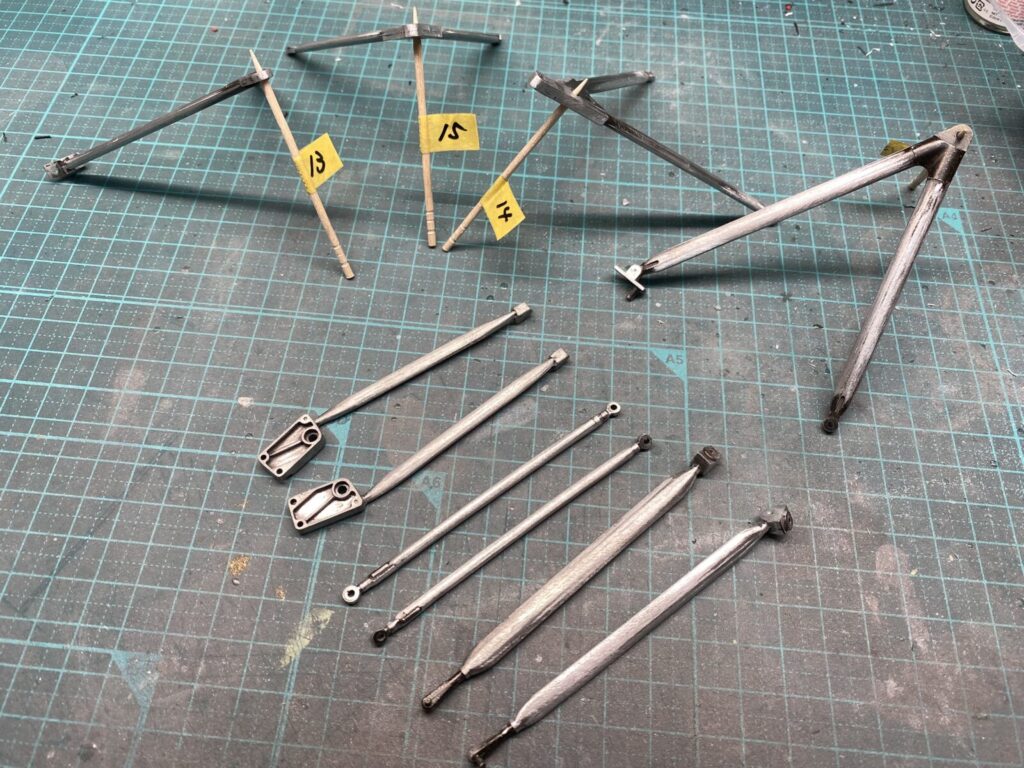
次に、フロントサスペンションアームの下地処理を行います。
キットではあらかじめ塗装されていますが、バリやパーティングラインが目立ち、形状にも改善の余地があります。そのため、塗装をすべて剥離し、各部を整形してから再塗装することにします。
Next, work begins on preparing the front suspension arms.
Although the kit parts come pre-painted, mold flash and parting lines are quite noticeable, and the overall shape can be improved. For this reason, the original paint is completely stripped away, the parts are carefully reshaped, and then prepared for repainting.
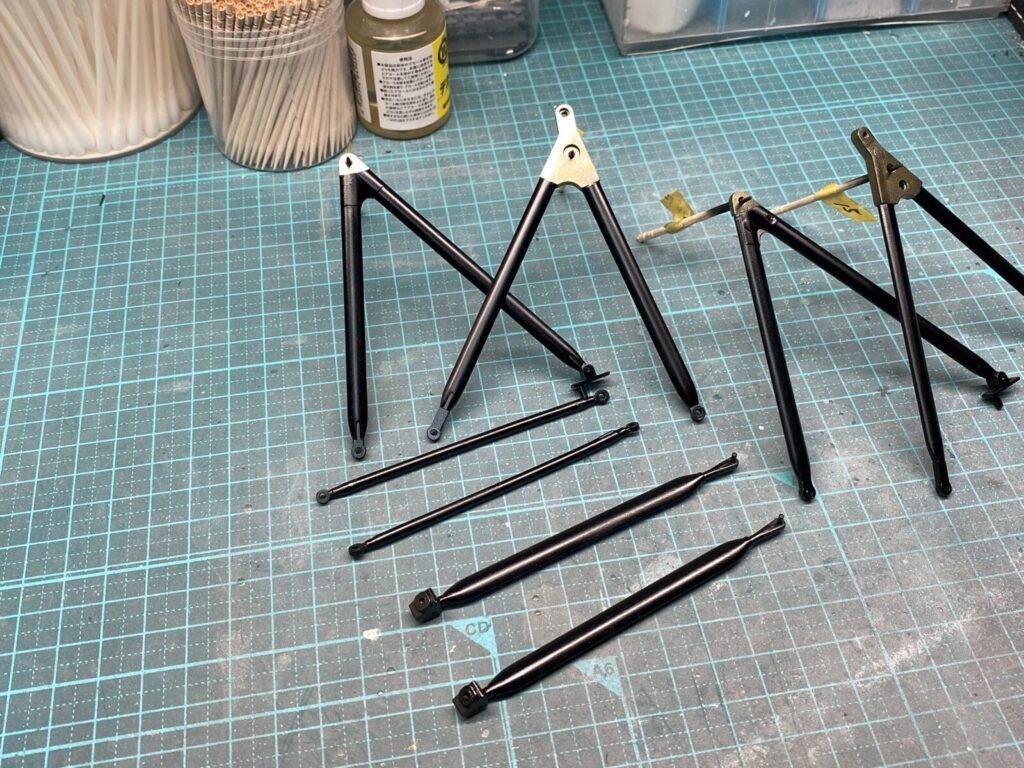
整形が完了したら、プライマーとサーフェイサーで下地処理を行い、十分に乾燥させます。
下地が完全に乾燥した後、塗装を施し、塗膜が安定するまで十分な乾燥時間を設けます。
Once the reshaping is complete, the parts are primed and coated with surfacer before being left to dry thoroughly.
After the surface preparation has fully cured, the parts are painted and allowed to dry completely to ensure a durable, even finish.
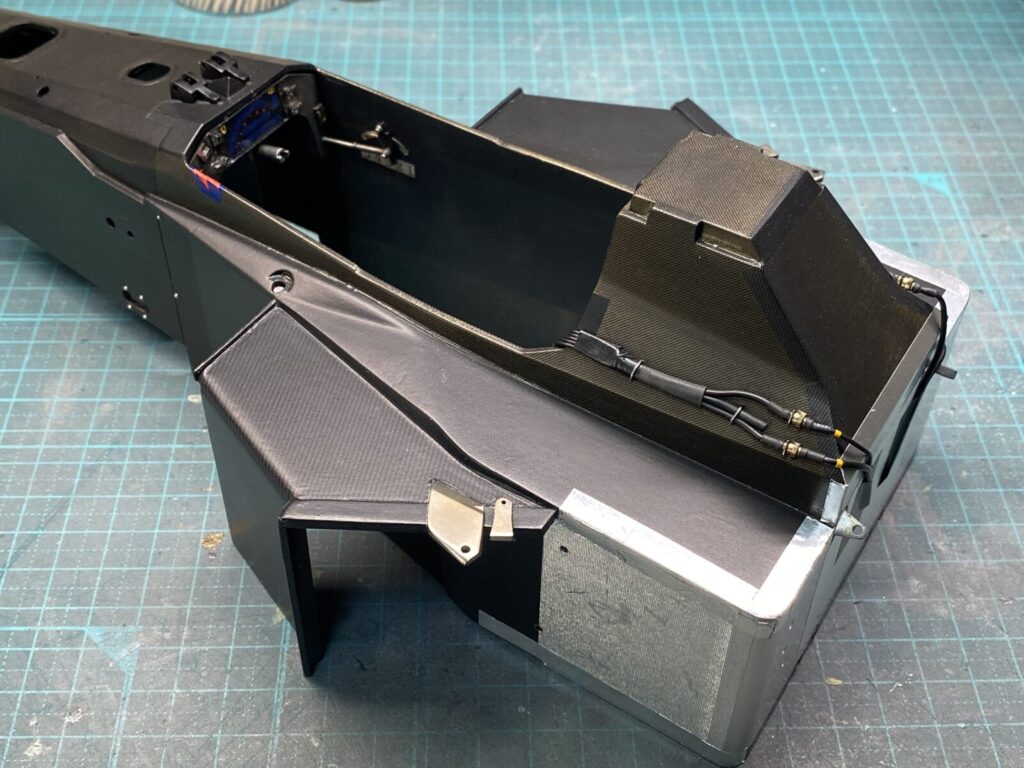
続いて、モノコック後方部分の配線を自作していきます。
実車資料を参考に配線の取り回しや接続位置を確認しながら、一つひとつ製作して実車に近いレイアウトを再現していきます。
Next, the wiring for the rear section of the monocoque is fabricated from scratch.
Using reference photos of the real car, each wire is carefully made and routed to reproduce the original layout and connection points as accurately as possible.
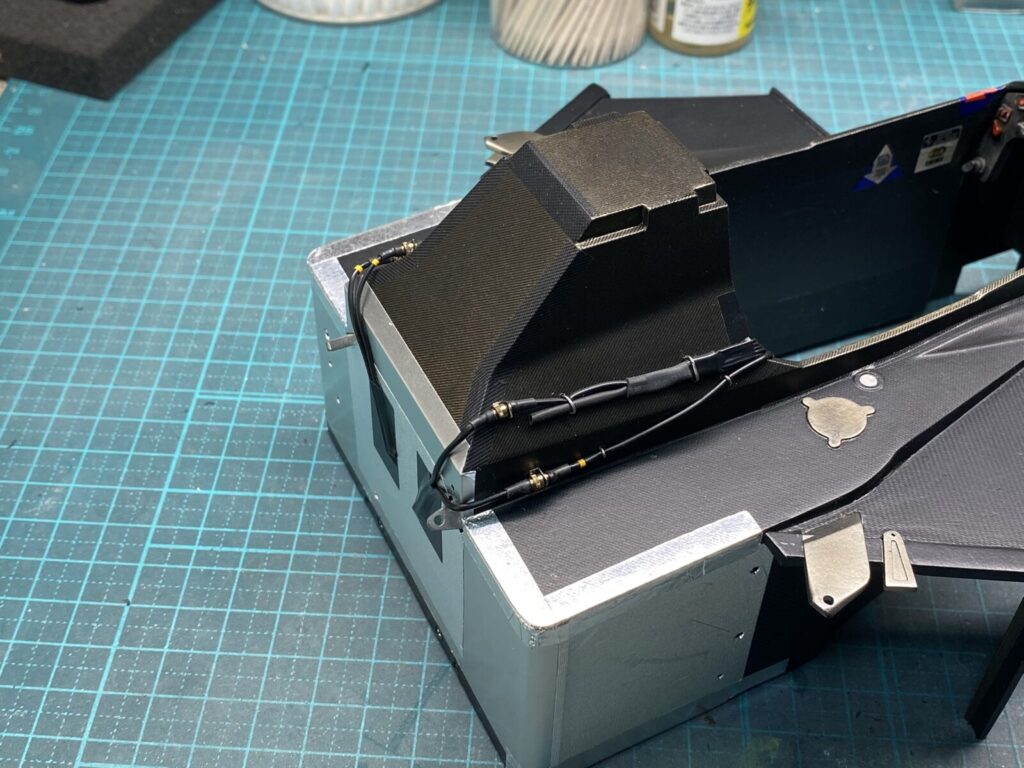
コネクター類も追加し、配線まわりの情報量を増やすことで、実車に近い雰囲気へと仕上げていきます。
Additional connectors are also installed, further enhancing the wiring detail and bringing the overall appearance closer to that of the real car.