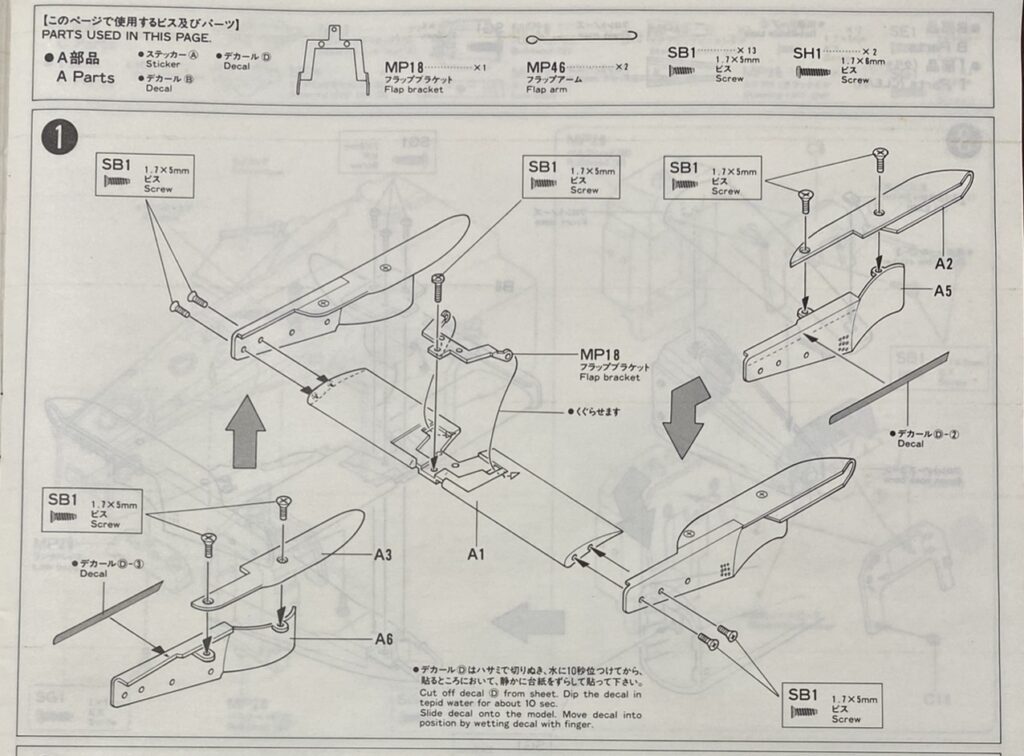
組立説明書ではフロントウイングから製作する流れになっていますが、今回はエンジンとリアセクションから製作を始めることにしました。
Although the instruction manual begins with the front wing assembly, I decided to start with the engine and rear section instead.
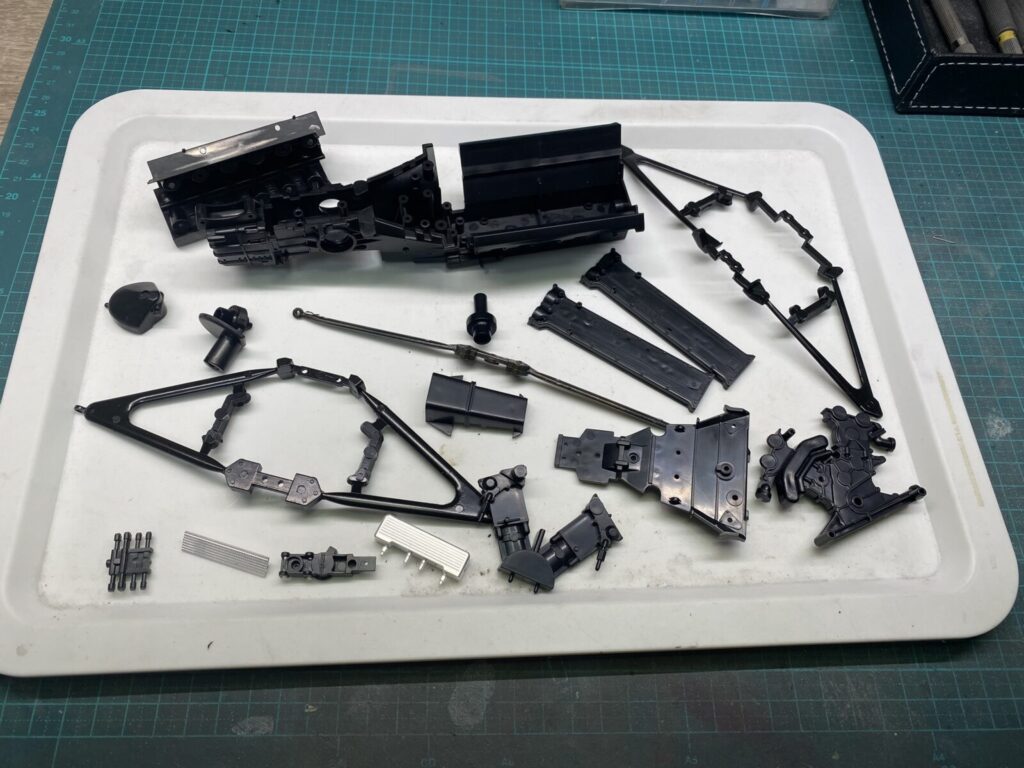
エンジンとリアセクションは、主にABS樹脂とメタルパーツによって構成されています。
組立説明書には素材についての記載はありませんが、質感や硬さ、接着剤への反応などから、おそらくABS樹脂と思われます。
1/8スケールということもあり、一つ一つのパーツはかなり大きく、手に取った時の存在感は抜群です。
一方でパーツ数は意外なほど少なく、構成自体はかなりシンプルです。細かなディテールの多くは省略されており、このあたりはいかにも当時の大型キットらしい雰囲気があります。
The engine and rear section are mainly composed of ABS resin and metal parts.
Although the instruction manual does not specify the material, the texture, hardness, and reaction to adhesives suggest that the parts are most likely made of ABS resin.Being a 1/8 scale kit, each individual part is quite large and has an impressive presence when held in hand.
On the other hand, the total number of parts is surprisingly small, and the overall construction is fairly simple. Many of the finer details are omitted, giving the kit the distinctive character typical of large-scale kits from that era.
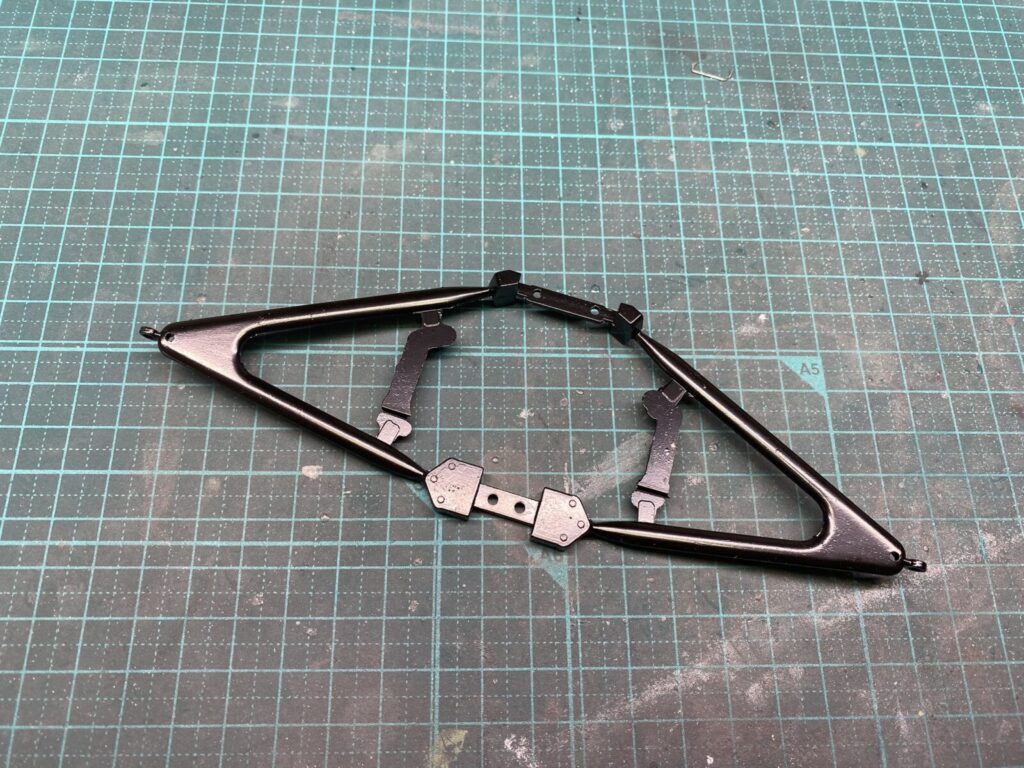
実車の雰囲気に近づけるためには、各部のパーツや配線、ステー類などを自作していく必要があります。
特にサスペンション周辺は、1/8スケールだけに少し情報量を増やすだけでも見栄えが大きく変わりそうです。
ただ、この「足りない部分を自分で作っていける余地」こそ、このキット最大の魅力かもしれません。
大型スケールならではの存在感を活かしながら、少しずつ実車の密度感に近づけていこうと思います。
To bring the model closer to the appearance of the real car, many additional parts such as wiring, brackets, and various small details will need to be scratch-built.
The suspension area in particular should benefit greatly from even a small increase in detail, especially at this large 1/8 scale.At the same time, this freedom to recreate the missing details yourself may be the greatest appeal of this kit.
Taking advantage of the impressive presence unique to large-scale models, I hope to gradually bring the overall feel closer to the density and complexity of the real machine.
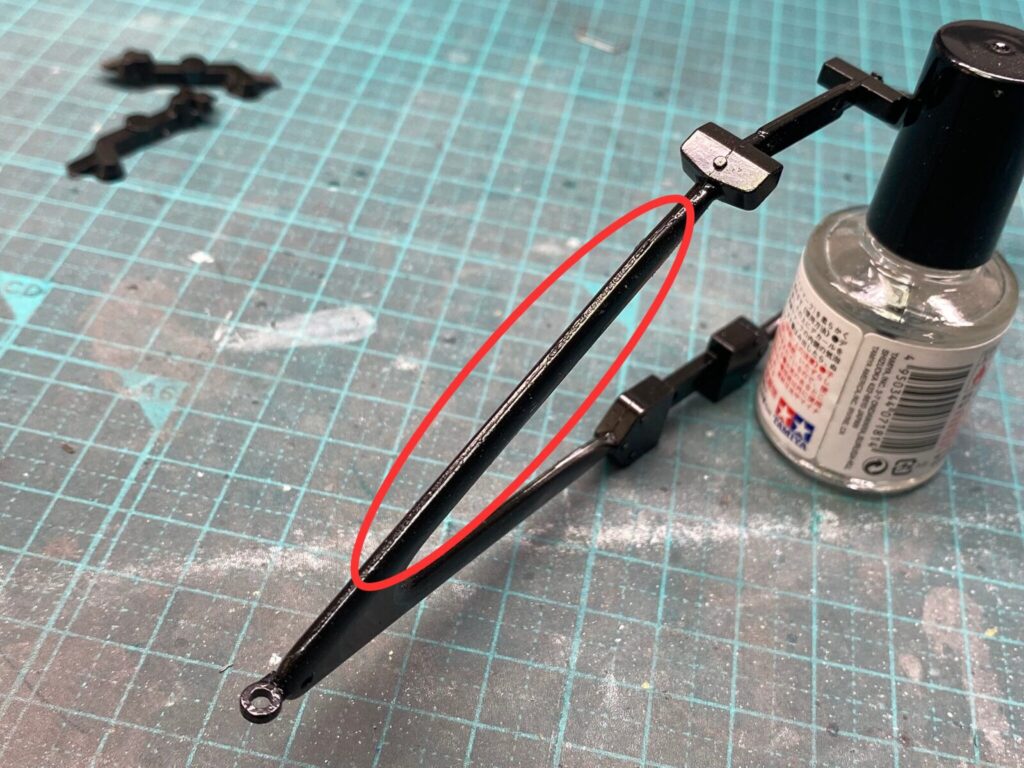
サスペンションアームなどのメタルパーツは、キットの段階で既にブラック塗装が施されています。
一見すると非常に見栄えが良いのですが、よく見ると鋳造時のバリやパーティングラインが残ったまま塗装されている部分も見受けられます。
特にアーム側面のエッジ部分には粗さが残っており、1/8スケールではこうした部分が想像以上に目立ってしまいます。
The metal suspension arms and related parts come pre-finished in black paint straight from the kit.
At first glance the finish looks quite impressive, but a closer inspection reveals that some areas were painted with casting burrs and parting lines still remaining on the surface.
The edges along the sides of the suspension arms in particular still appear rather rough, and at 1/8 scale these imperfections become far more noticeable than expected.
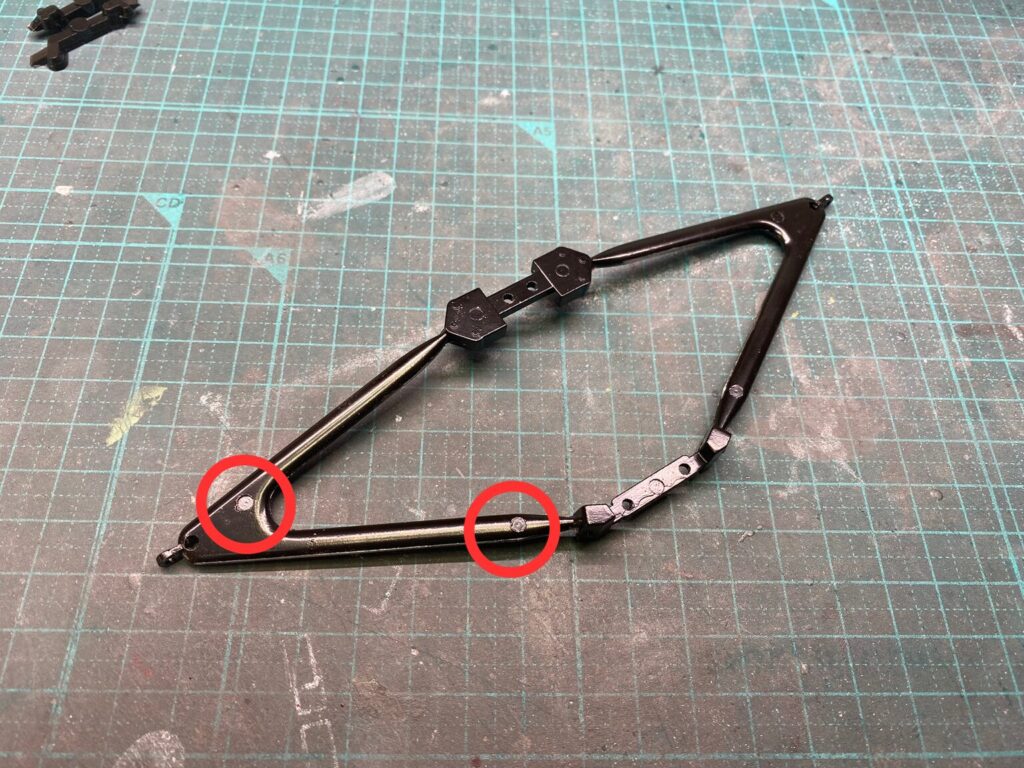
さらに一部のパーツには、押し出しピン跡と思われる痕跡も確認できます。
完成後にも視線が集まりやすい部分だけに、このままでは少し気になるところです。
そのため今回は、一度塗装を剥離し、表面を整形してから再塗装することにしました。
大型スケールならではの存在感を活かすためにも、こうした下処理を丁寧に進めていこうと思います。
In addition, some parts also show marks that appear to be ejector pin traces.
Since these areas will remain quite visible even after completion, they are difficult to ignore in their current state.For that reason, I decided to strip the paint completely, clean up the surfaces, and repaint the parts afterward.
To make the most of the impressive presence unique to a large-scale model, I want to take my time and carefully work through these preparation steps.
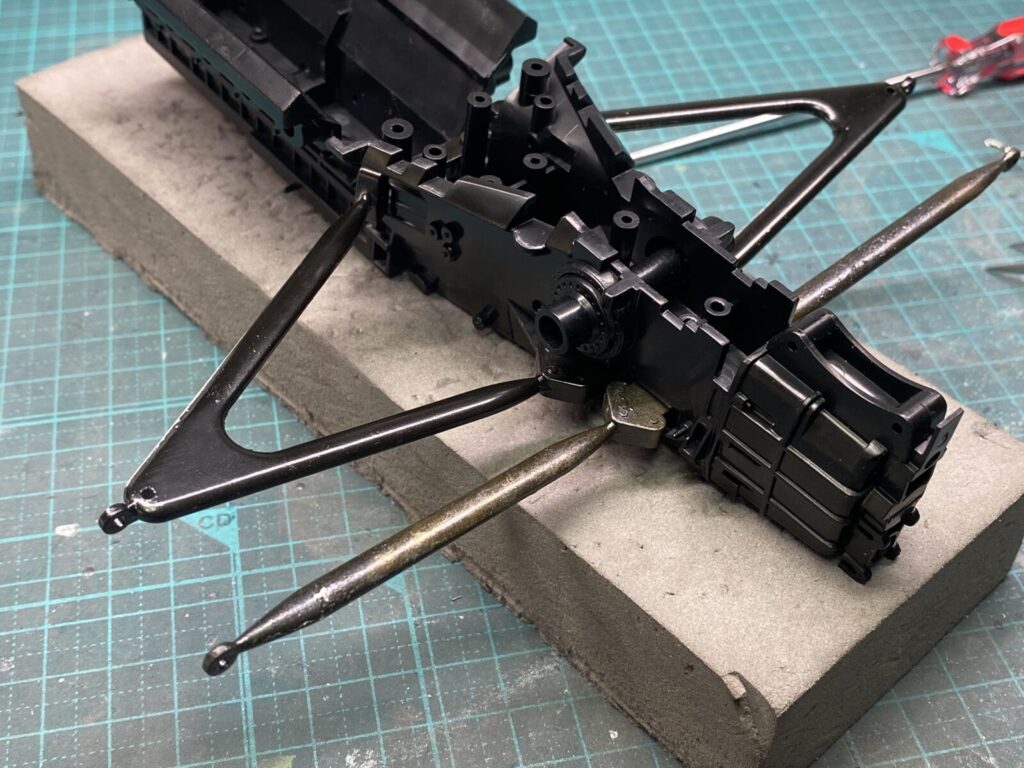
まずは全体の仮組みから進めていきます。
1/8スケールだけに各パーツは非常に大きく、組み上がった際の重量感もかなりのものがあります。
特にサスペンションアーム周辺は、本体重量をしっかり支える必要があるため、ビスによって確実に固定する構造となっています。
また、メタルパーツにはかなり硬質な素材が使われており、見た目以上に重量感と剛性感があります。
そのため加工には多少手間が掛かりそうです。
I will begin by test-fitting the overall assembly first.
As expected from a 1/8 scale kit, each individual part is extremely large, and the completed assembly already has a considerable amount of weight.
The suspension arm area in particular is designed to be firmly secured with screws in order to support the weight of the model properly.
The metal parts themselves are also made from a very hard material, giving them far more weight and rigidity than their appearance initially suggests.Because of this, some of the modification work may require a bit more effort than usual.
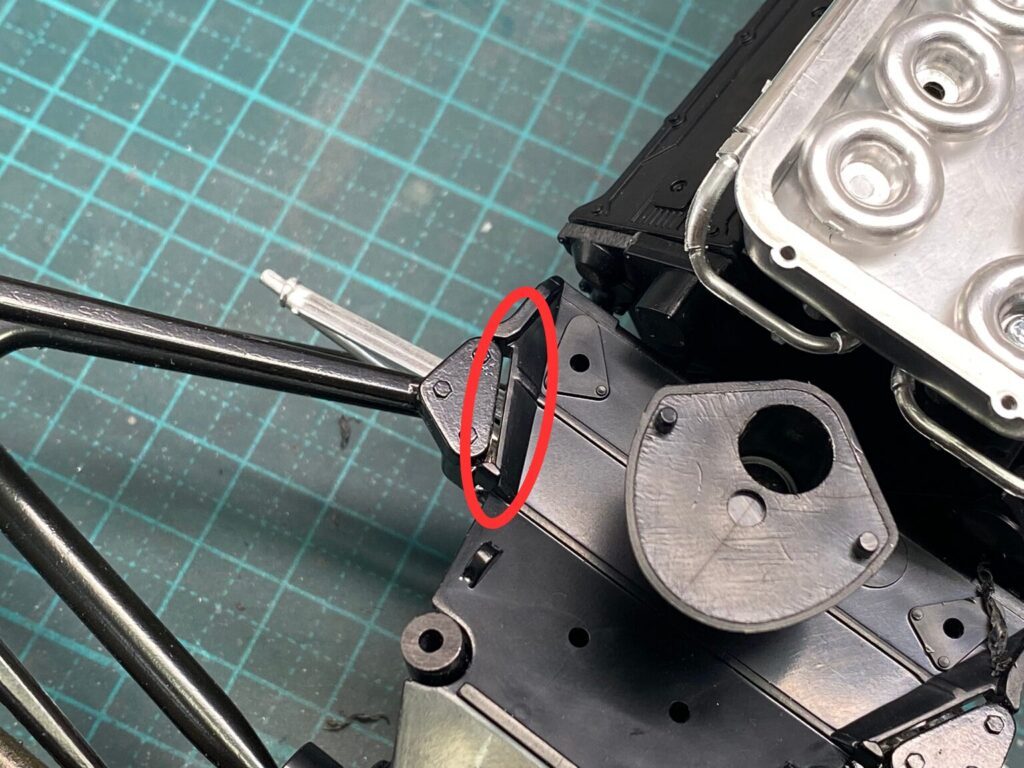
仮組みを進めていくと、アッパーアームと本体側の接合部分にやや隙間があることが分かりました。
このままでは実車のような一体感が出ないため、後ほど修正を行う予定です。
大型キットでは各部の位置関係が完成後の印象に大きく影響するため、仮組みの段階で問題点を一つずつ確認していこうと思います。
As the test fitting progressed, I noticed a slight gap where the upper arm connects to the main body.
In its current state, the assembly lacks the solid, integrated appearance seen on the real car, so this area will need some correction later on.
With large-scale kits like this, the alignment and positioning of each component have a major impact on the final appearance.
For now, I will continue checking each section carefully during the test-fitting stage and identify any areas that require modification.
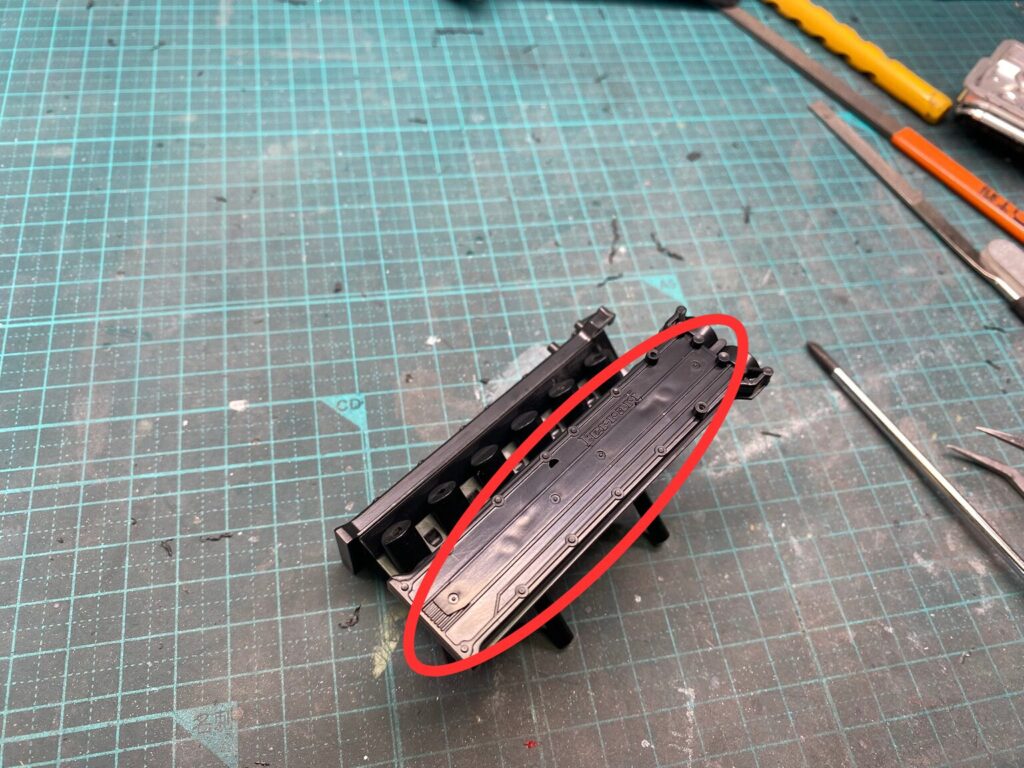
このサイズの模型は一つ一つのパーツが非常に大きいためヒケが目立ちやすいです。
このキットもエンジン部分だと特にヘッドカバーのヒケが目立ちます。
塗装してしまえば多少は目立たなくなるかもしれませんが、このスケールでは僅かな面の乱れも意外と気になってしまいます。
そのため、今回は表面をしっかり修正してから塗装工程へ進めることにします。
地味な作業ではありますが、実車らしいシャープな面を目指して丁寧に仕上げていこうと思います。
With a model of this size, each individual part is extremely large, making sink marks much more noticeable.
On this kit, the sink marks are especially visible around the engine head covers.They may become slightly less noticeable once painted, but at this scale even subtle surface imperfections tend to stand out more than expected.
For that reason, I decided to properly correct the surface before moving on to the painting stage.
Although it is a rather time-consuming and understated process, I want to carefully refine the surfaces to achieve the sharp appearance of the real machine.
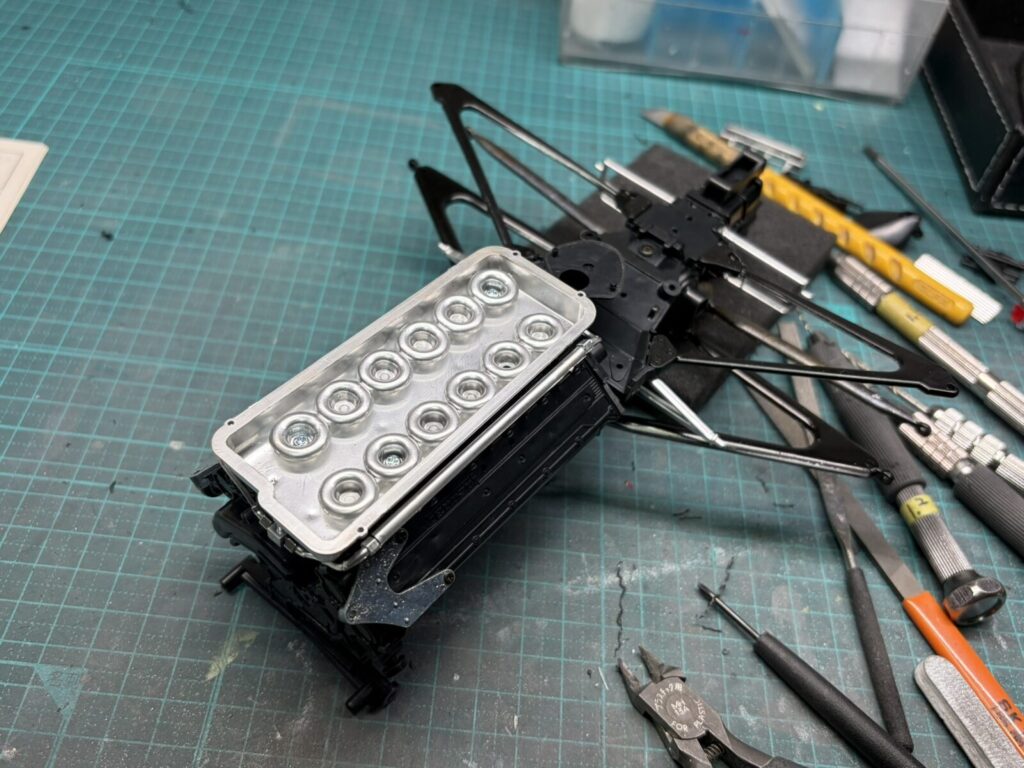
インダクションボックスやエアファンネルには、あらかじめメッキ塗装が施されていますが、表面の質感が完成時の印象を大きく左右するため、メッキを一度剥離し、下地を整えてから再塗装することにしました。
実車写真を参考にしながら、金属らしい落ち着いた雰囲気を目指して仕上げていこうと思います。
また、インダクションボックスの取り付け方法についても見直しが必要そうです。
キットではエアファンネルとインダクションボックスにビスを通し、そのままエンジンへ固定する構造になっていますが、この方法だと完成後にビス頭が見えてしまいます。
非常に目立つ部分のため、なるべく実車らしく見えるよう、固定方法も含めて修正を検討していこうと思います。
The induction box and air funnels come pre-finished with a chrome-plated coating.
However, since the surface texture has a major influence on the final appearance, I decided to strip the plating, prepare the surfaces properly, and repaint the parts from scratch.Using reference photos of the real car, I hope to recreate a more subdued and realistic metallic finish.
The mounting method of the induction box will also need some reconsideration.
In the kit design, screws pass through the air funnels and induction box directly into the engine, but this leaves the screw heads fully visible after completion.Because this area is highly noticeable, I plan to modify the mounting method as well in order to achieve a more realistic appearance.
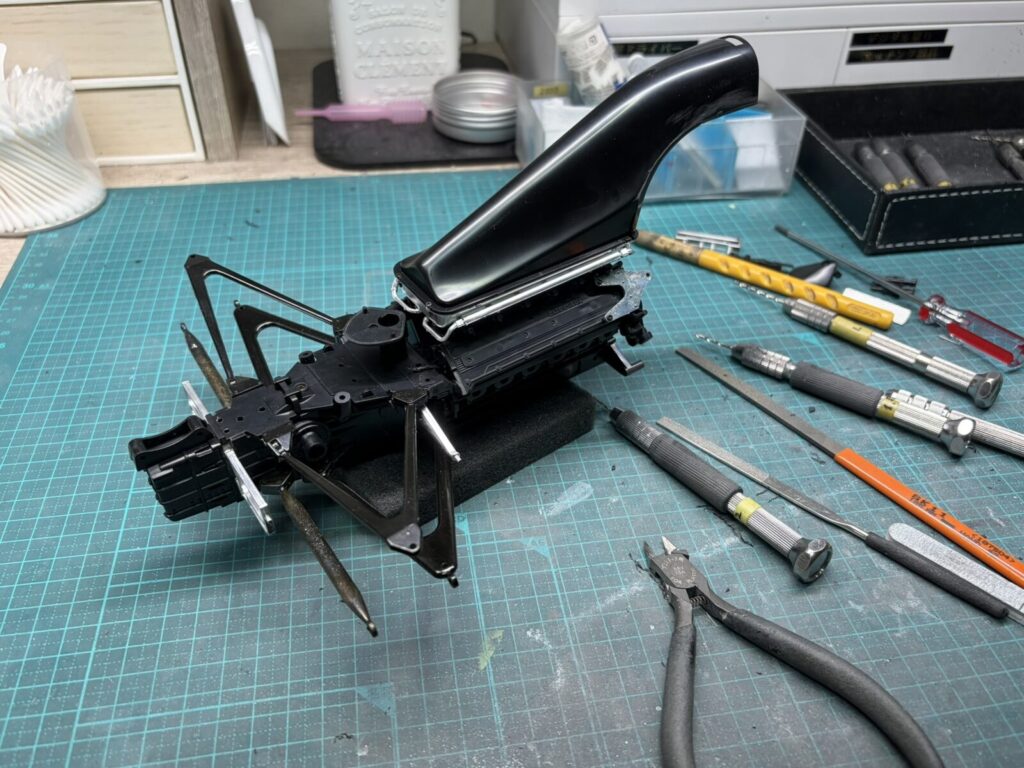
インダクションダクトについても、キットでは強度を優先した設計になっているようで、ビスによって固定する構造になっています。
仮組みを進めたことで、エンジンやギアボックス周辺のおおまかな修正箇所も見えてきました。
パーツ精度や表面処理、取り付け方法など、手を入れたい部分はかなり多くなりそうです。
次回からは各パーツの修正を行いながら、少しずつ本格的な組み立てを進めていこうと思います。
The induction duct is also designed to be secured with screws, most likely as part of a structure that prioritizes strength and rigidity.
As the test fitting progressed, the major areas requiring correction around the engine and gearbox gradually became clear.
There appear to be quite a few areas that will need additional work, including part fit, surface finishing, and mounting methods.From the next stage onward, I will begin correcting each individual part while gradually moving into the full assembly process.