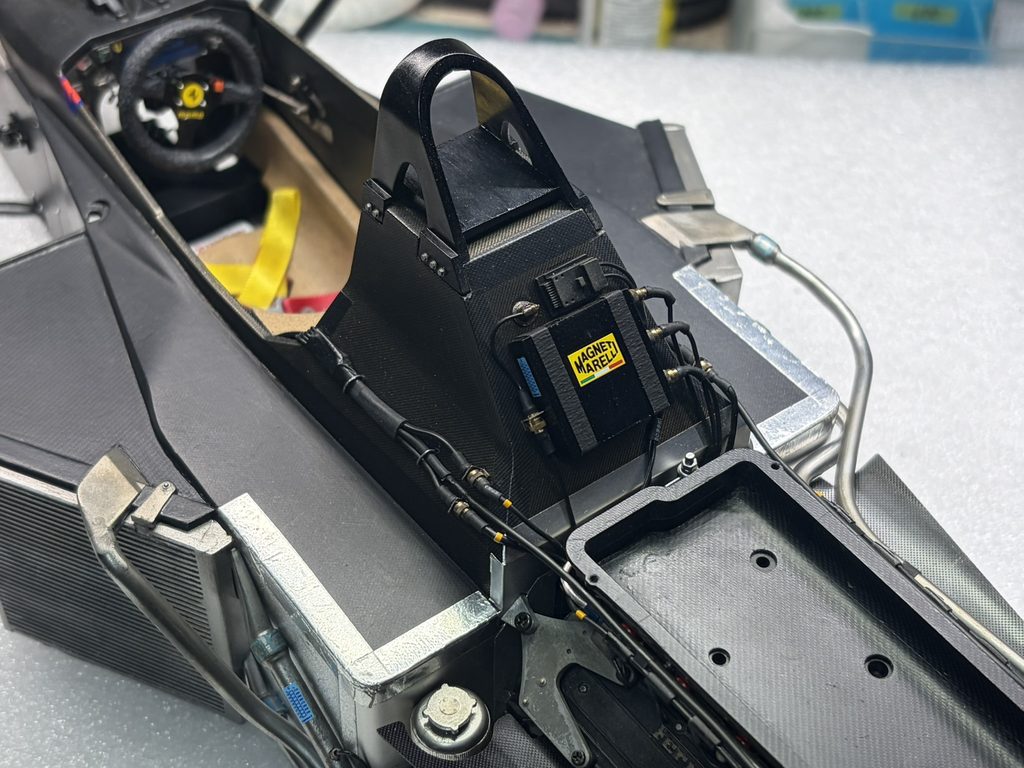
電子制御ユニット周辺も、キットではディテールが省略されているため、自作パーツを追加してディテールアップを行います。
The area around the electronic control unit is also simplified in the kit, so additional scratch-built parts will be added to enhance the level of detail.
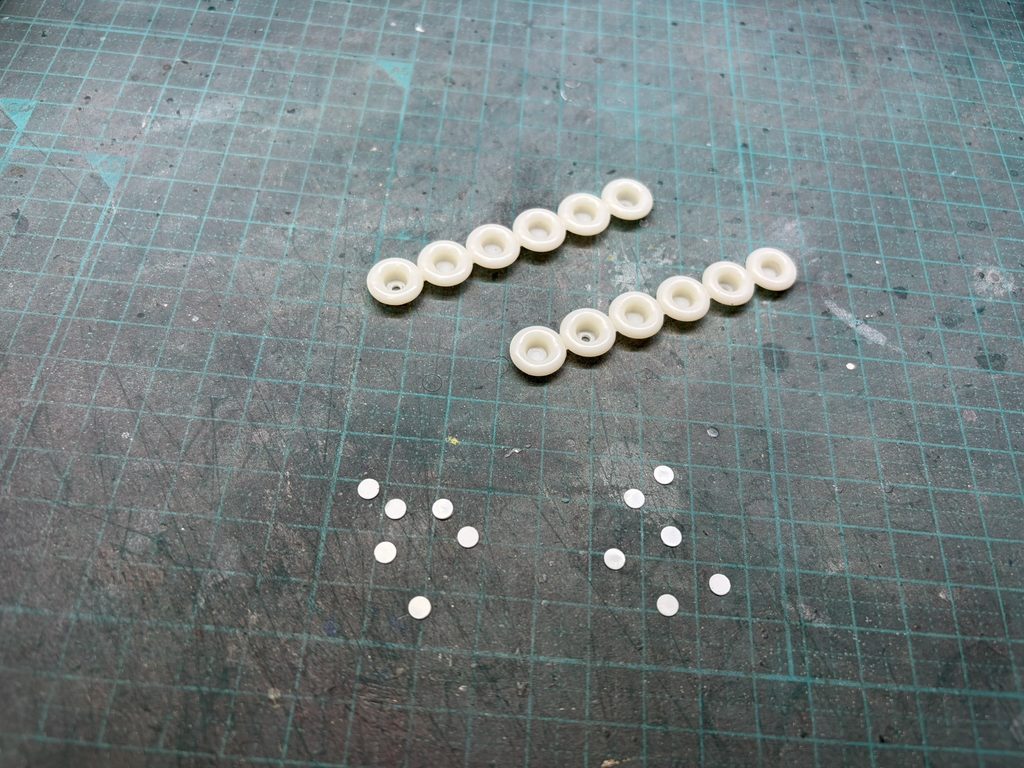
組立説明書では、インテークファンネルをビスで固定する構造になっていますが、完成後もビスが見えてしまうため、取り付け方法を変更することにします。
According to the assembly instructions, the intake trumpets are secured with screws. However, the screw heads remain visible after assembly, so the mounting method will be modified to achieve a more realistic appearance.
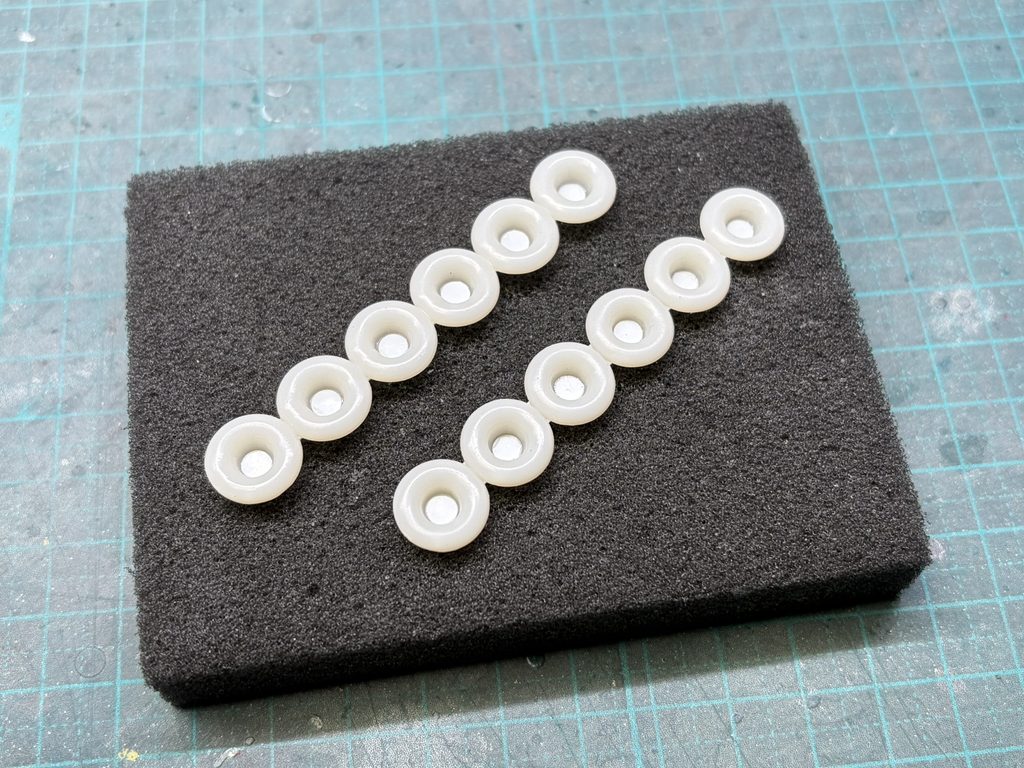
インテークファンネルの内部も加工し、より実車に近い形状になるよう整えていきます。
The inside of the intake trumpets is also modified and refined to more closely replicate the shape and appearance of the real components.
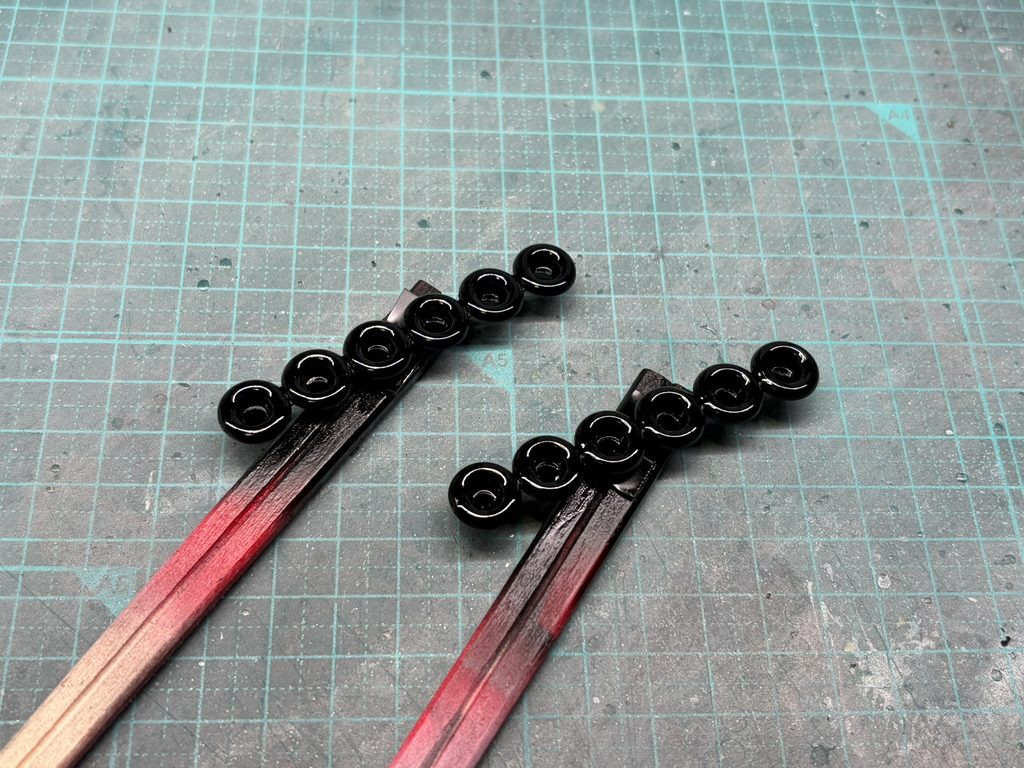
改修が完了したら下地処理を行い、ベースカラーとなるブラックを塗装します。
With the modifications complete, the parts are properly prepared before applying the black base coat.
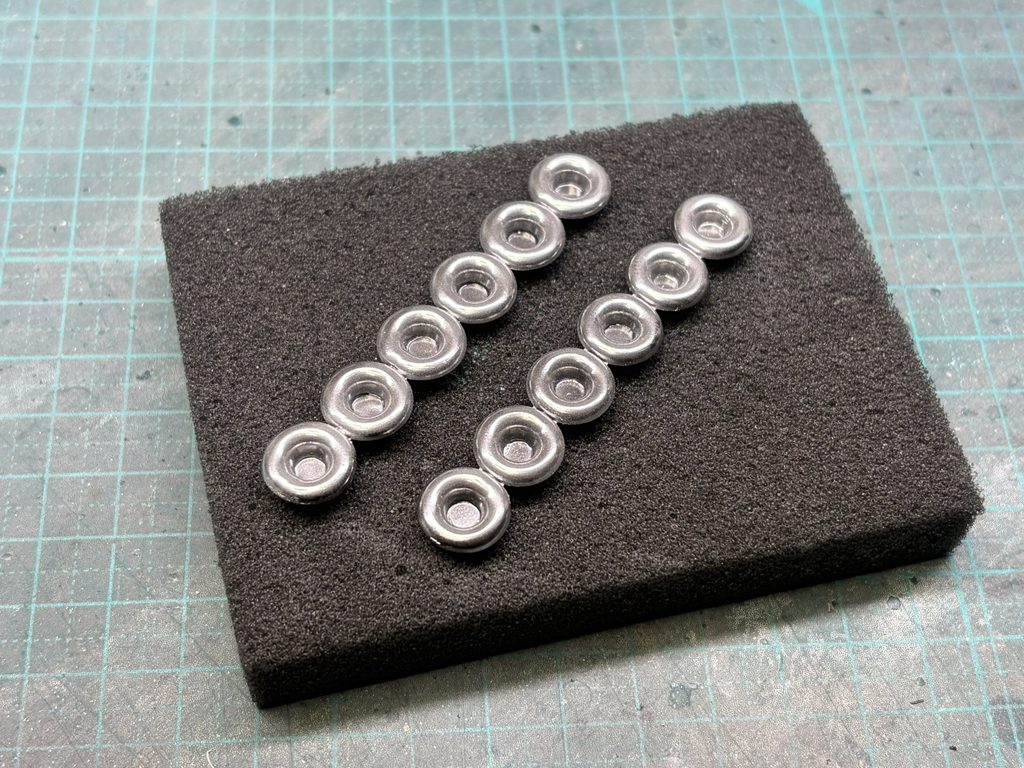
ベースのブラックが完全に乾燥したら、シルバーを塗装します。
シルバーが乾燥した後、実車資料を参考にウェザリングを施し、使用感のある質感に仕上げていきます。
With the black base coat fully cured, the silver is applied.
After the silver has dried, weathering is added based on reference photos of the real car, creating a more realistic, used appearance.
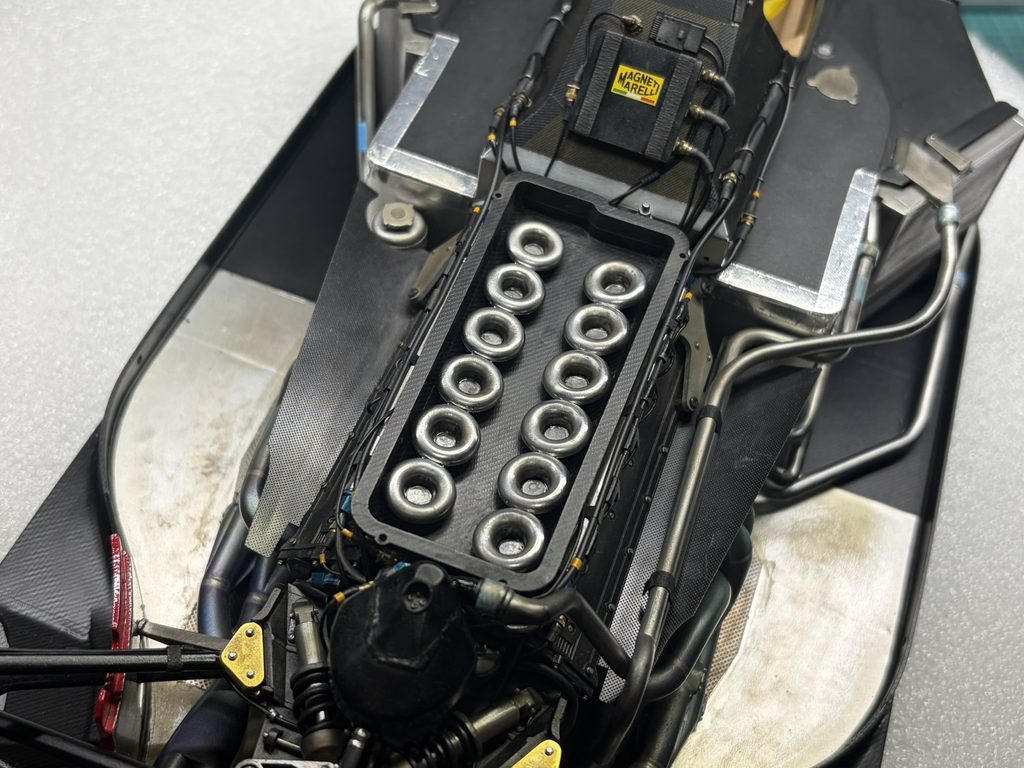
完成したインテークファンネルを取り付けて行きます。
The completed intake trumpets are now installed.
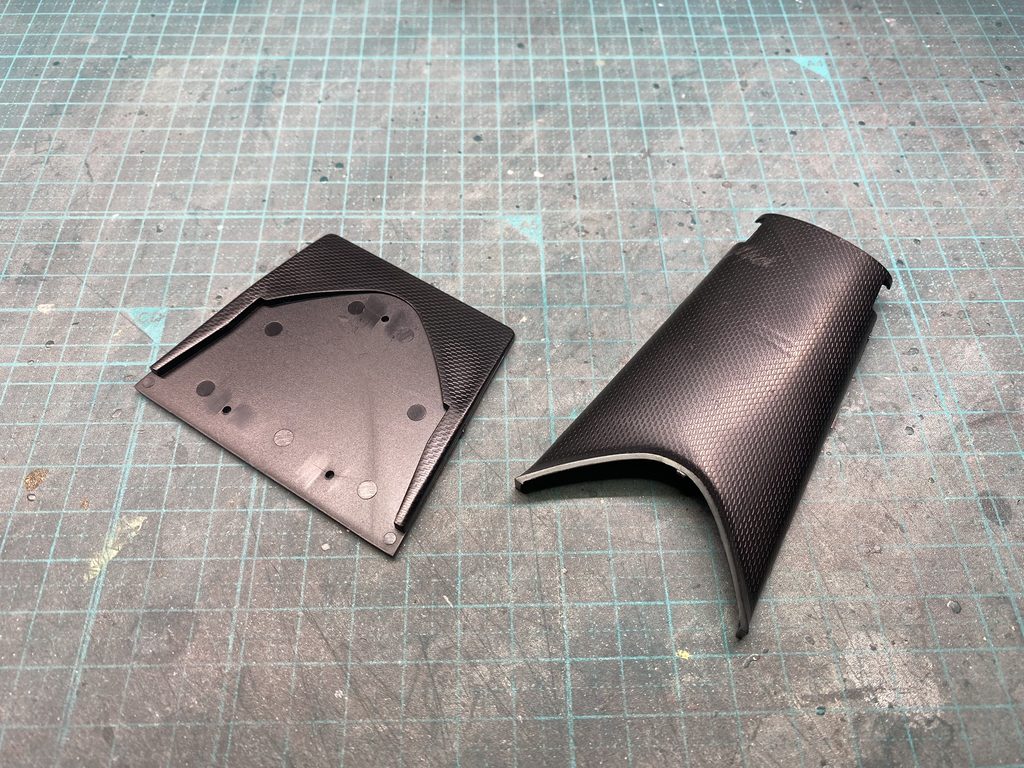
本体前方のアンダーパネルです。
こちらもカーボンデカールで仕上げていきます。
This is the front section of the undertray.
It will also be finished with carbon fiber decals.
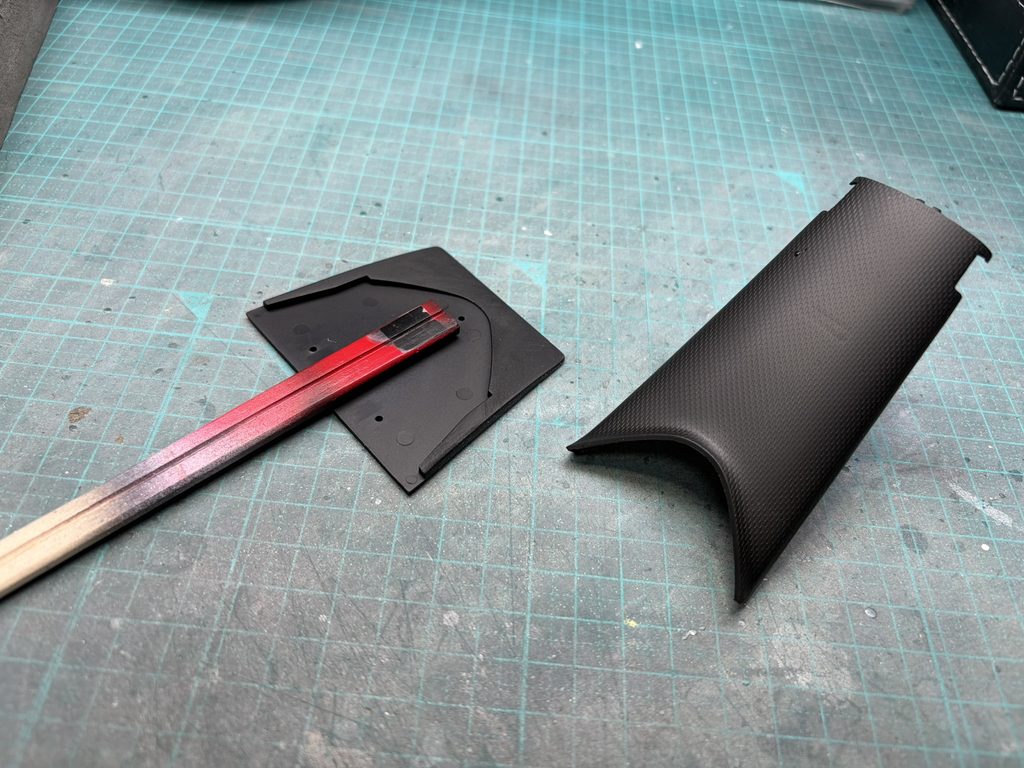
整形が完了したら下地処理を行い、ベースカラーとなるブラックを塗装します。
After the reshaping is complete, the surface is properly prepared before applying the black base coat.
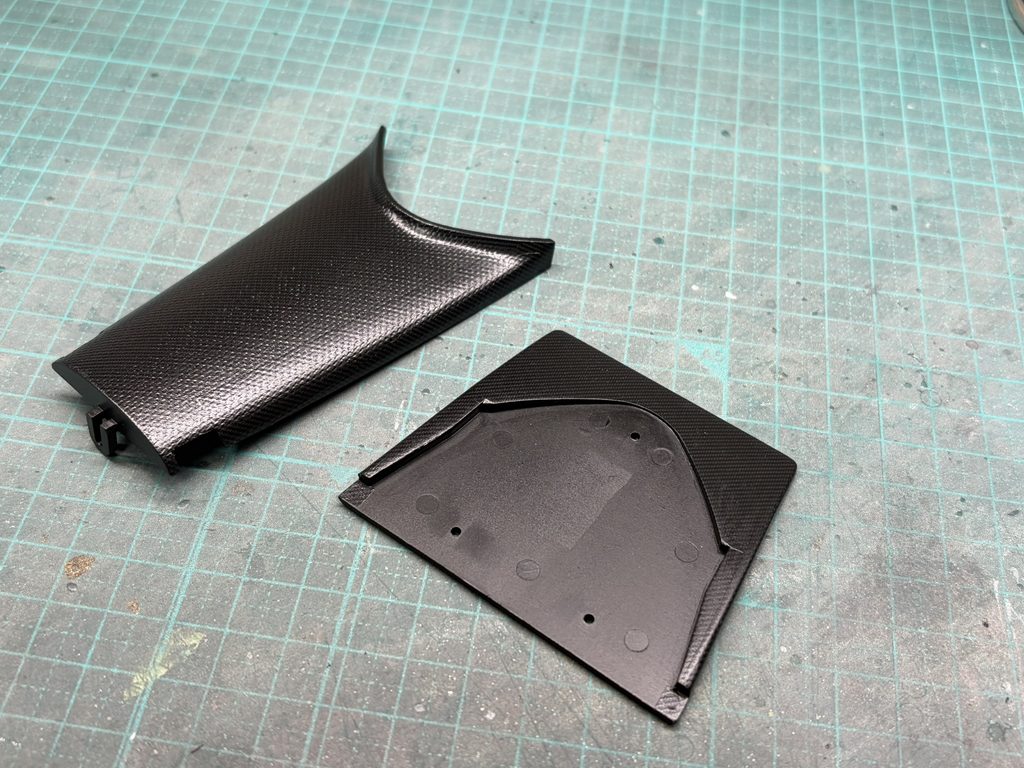
その後、カーボンデカールを貼り付け、数日間じっくりと乾燥させます。カーボンデカールが完全に乾燥したら、クリアーを吹き付けて仕上げます。
The carbon fiber decals are then applied and left to cure thoroughly for several days. With the decals fully set, a clear coat is applied to protect and finish the surface.
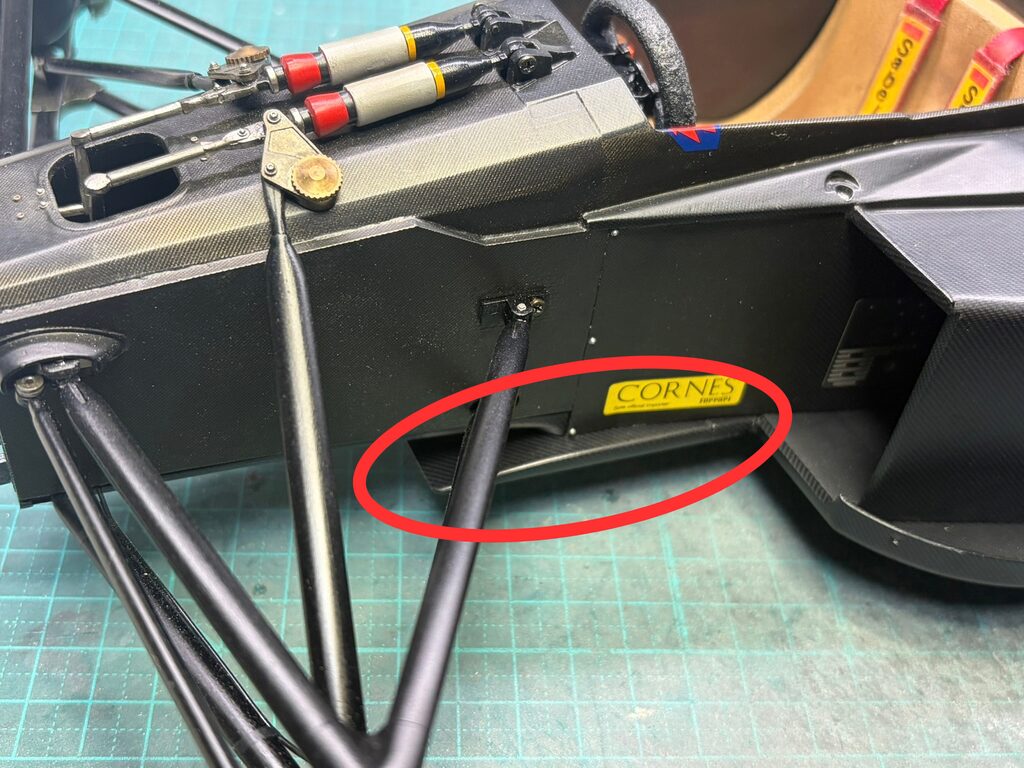
製作したパネルを本体に取り付けて行きます。
The completed panel is now installed onto the main assembly.