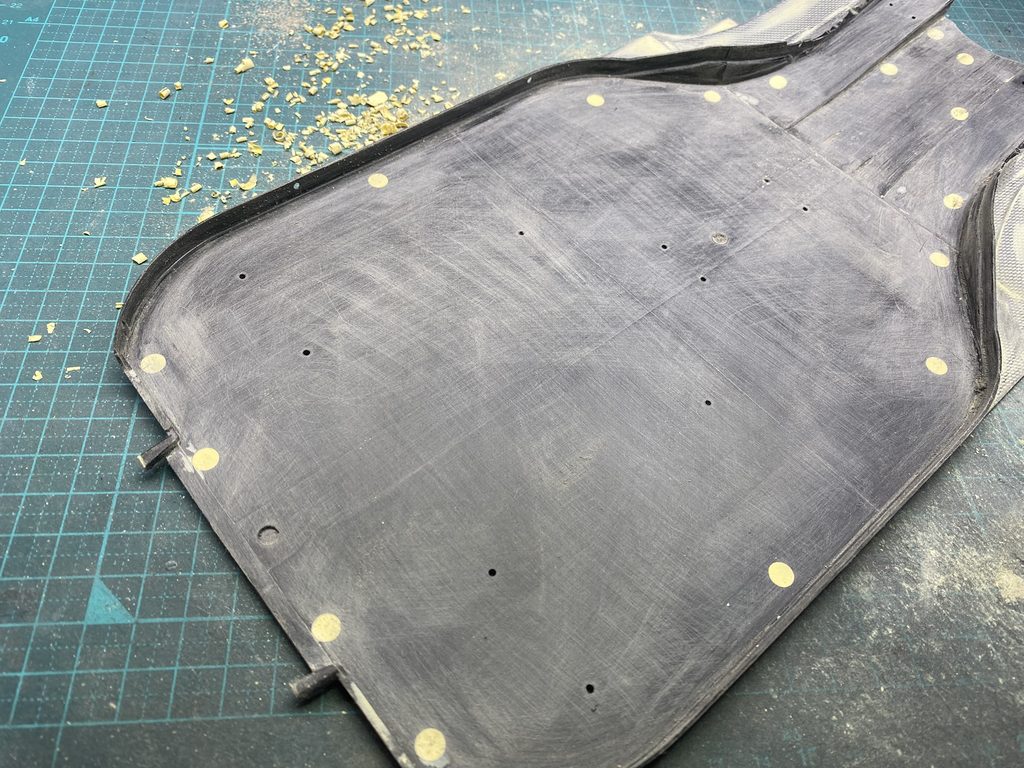
アンダートレイの製作に移ります。
アンダートレイにも複数の押出ピンの跡があるため、パテで丁寧に補修します。その他、アンダートレイ後方部分で気になる箇所も整形し、全体をきれいに仕上げていきます。
Next, work begins on the undertray.
Several ejector pin marks are present on the undertray, so they are carefully filled with putty and smoothed out. Other areas of the rear section that require improvement are also reshaped and refined to achieve a cleaner overall finish.
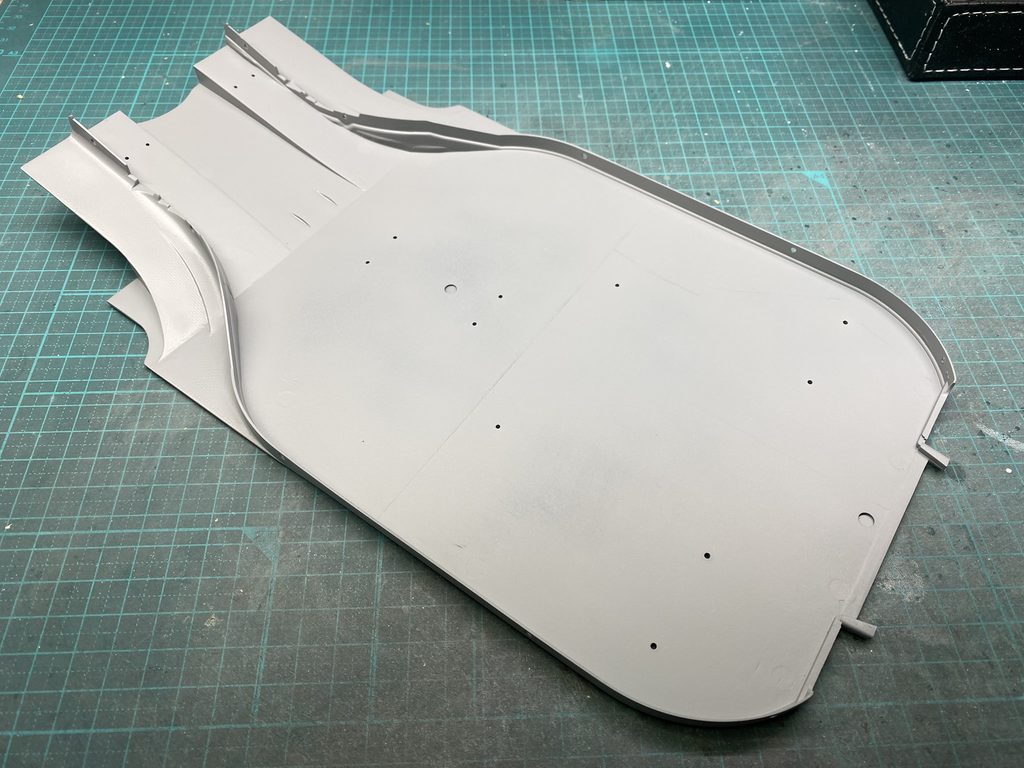
補修と整形が完了したら、プライマーとサーフェーサーで下地を整えていきます。
Once the repairs and reshaping are complete, the surface is prepared with primer and surfacer.
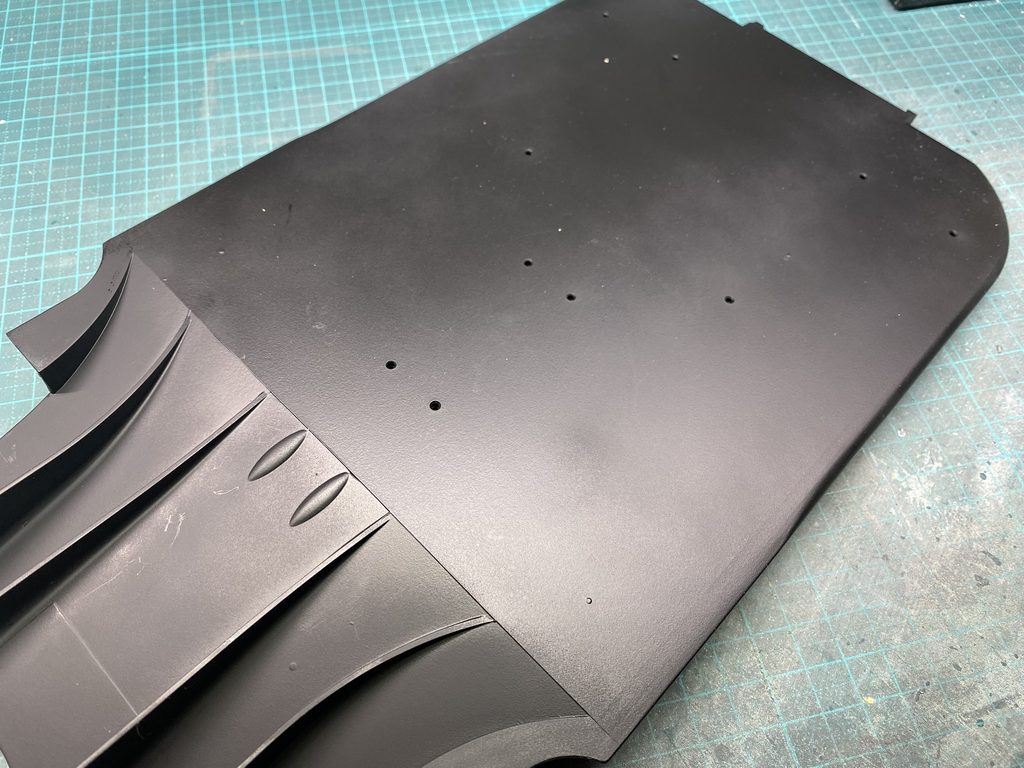
サーフェーサーが完全に乾燥したら、細かな部分を補修して表面を整えます。
その後、ベースカラーとなるブラックを吹き付けます。
Once the surfacer has fully dried, any minor imperfections are corrected and the surface is carefully refined.
The base coat of black is then sprayed over the entire undertray.
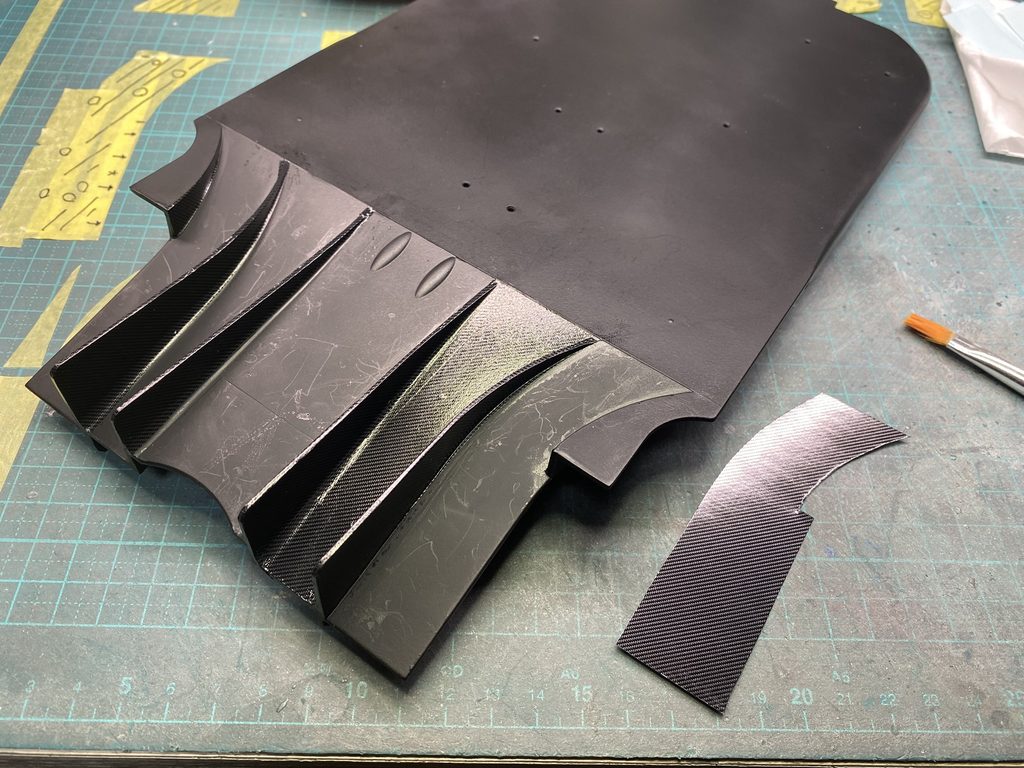
その後、必要な箇所にカーボンデカールを貼り付けていきます。
Next, carbon fiber decals are carefully applied to the areas where they are required.
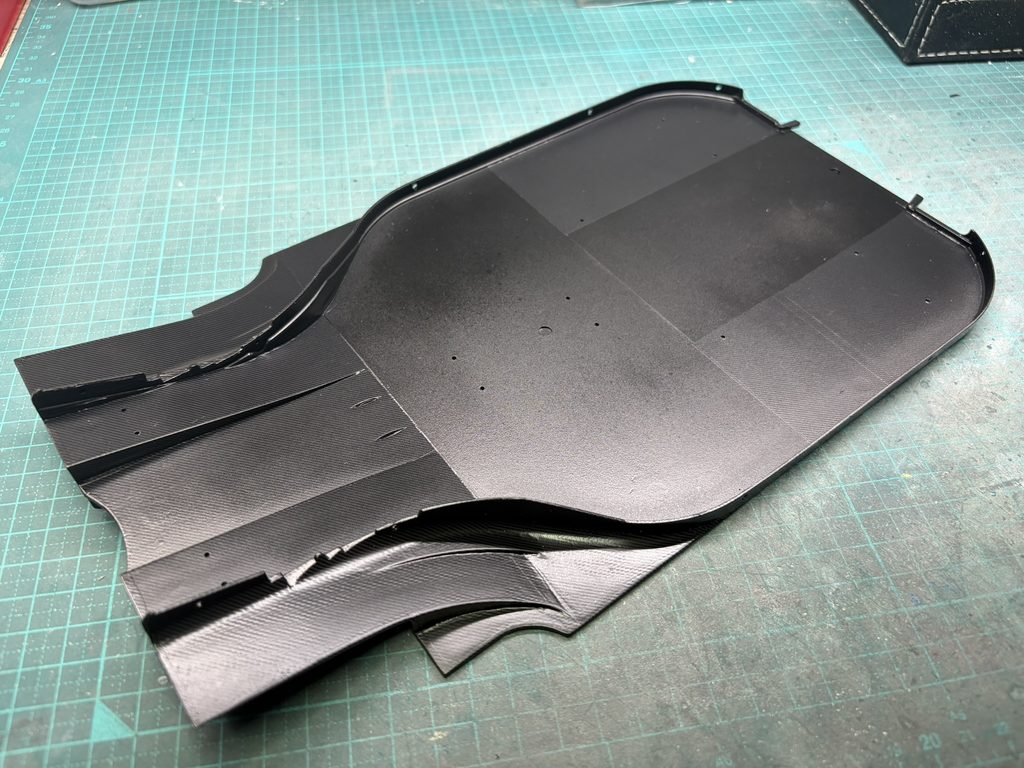
カーボンデカールが完全に乾燥するのを待ち、クリアーを数回に分けて吹き付けます。
Once the carbon fiber decals have fully dried, several coats of clear are applied to protect and seal the surface.
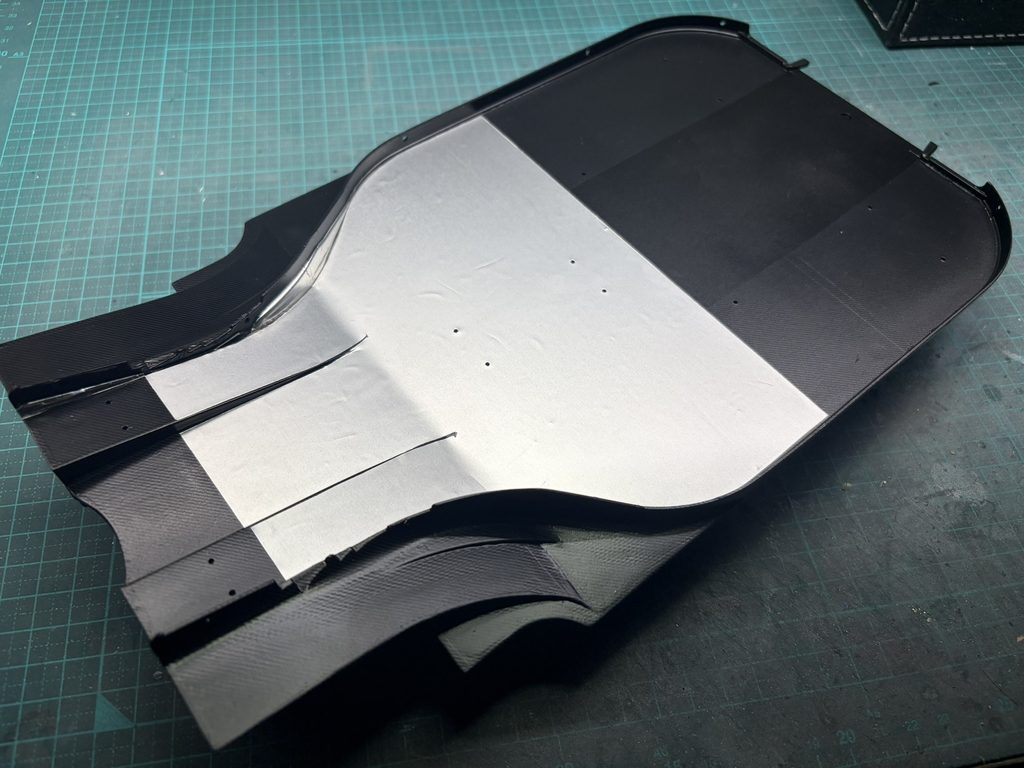
続いて、後方部分にメタルテープを貼り付けていきます。
Next, metal tape is applied to the rear section.
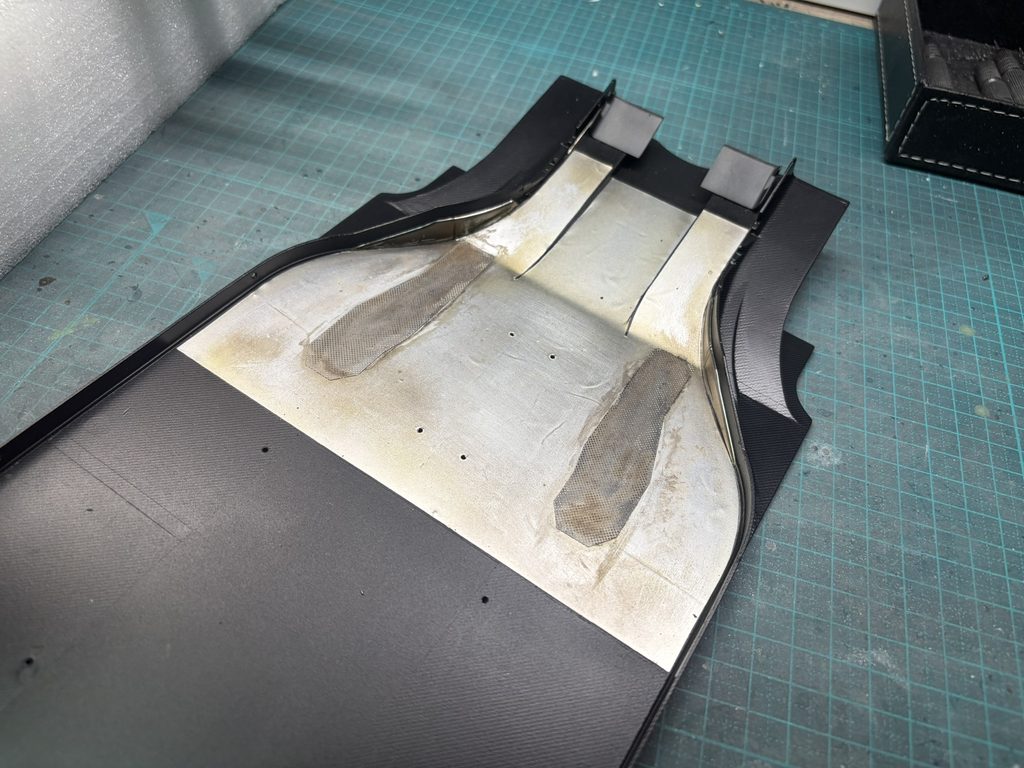
実車と同様に、エキゾーストシステムの下側にも耐熱板が設けられているため、こちらも再現していきます。
さらに、熱による焼けや汚れも塗装で表現し、実車らしい質感に仕上げました。
As on the real car, additional heat shielding is present beneath the exhaust system, so this detail is also reproduced on the model.
Heat discoloration and accumulated grime are then added through painting, giving the area a more realistic and authentic appearance.
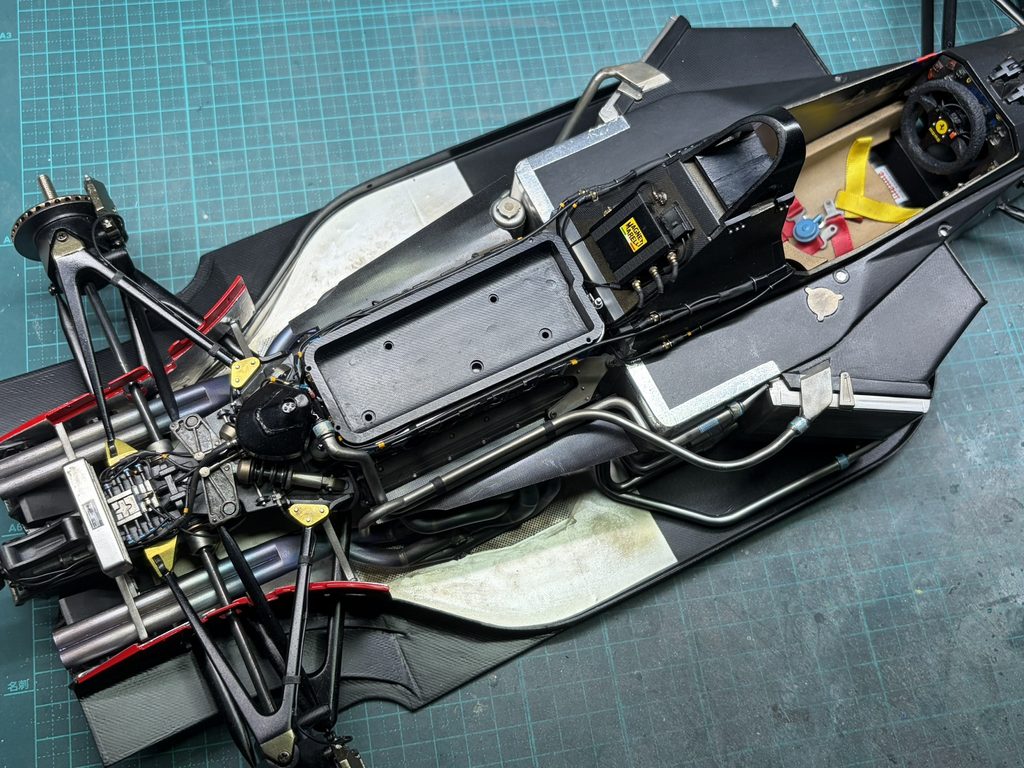
完成したアンダートレイを本体に取り付けます。
The completed undertray is now installed onto the main assembly.
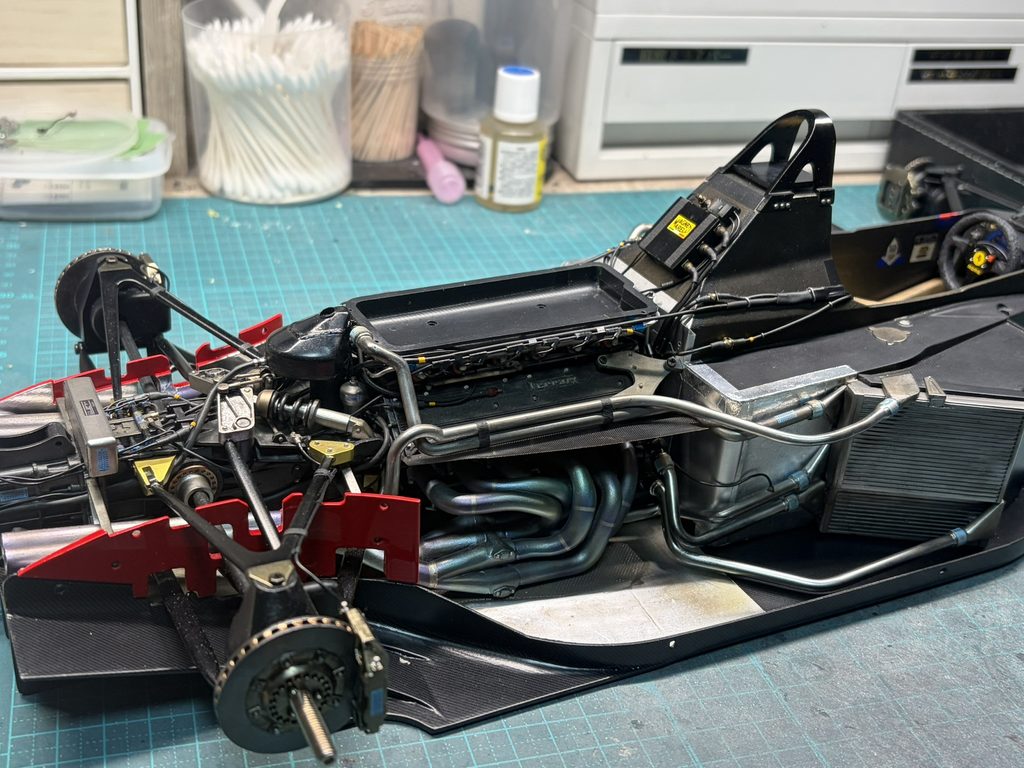
アンダートレイと本体は、多数のビスで固定する構造になっていますが、仮組みと調整を入念に行っておいたため、すべてのビスをスムーズに取り付けることができました。
The undertray is secured to the main assembly with a large number of screws. Thanks to the thorough test fitting and adjustments carried out beforehand, all of the screws aligned perfectly and went in smoothly.