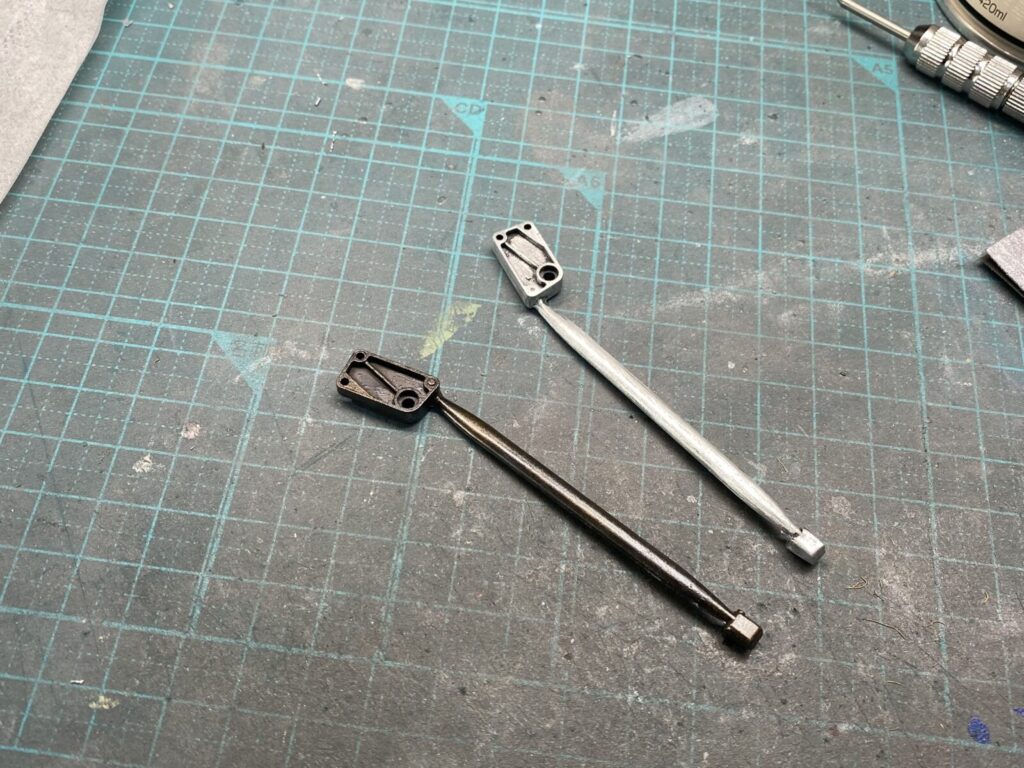
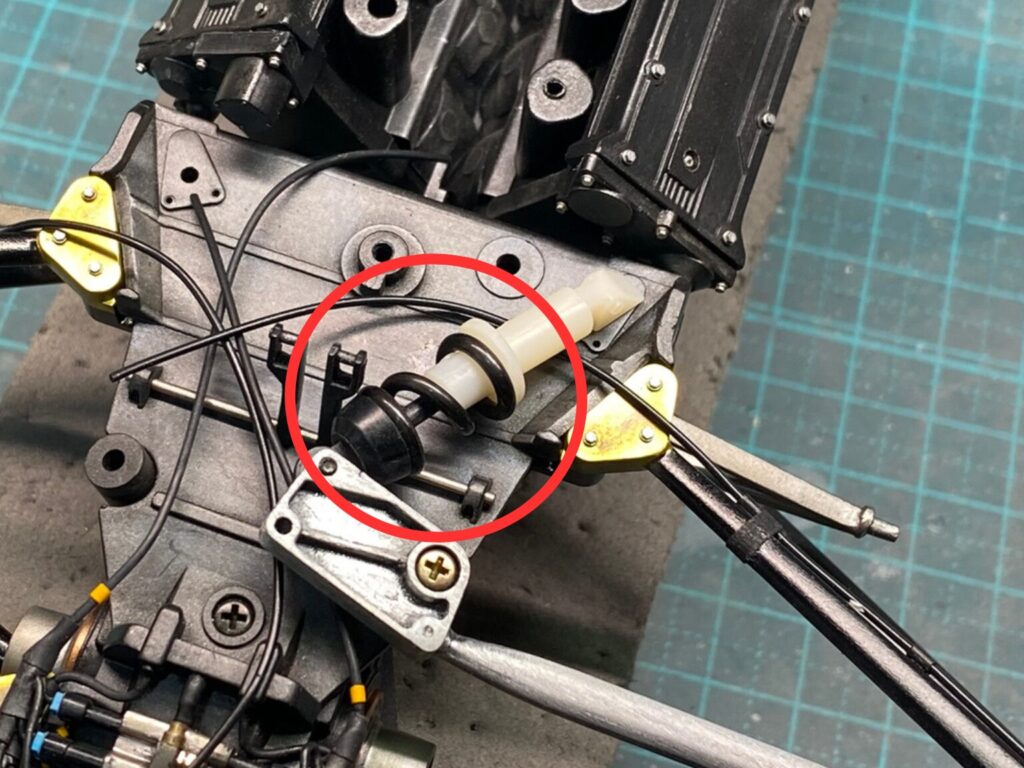
プッシュロッドの仮組みを行います。
キットではあらかじめ黒色で塗装されていますが、押し出しピン跡やバリが残っているため、一度塗装を剥離して表面を整えることにします。
The pushrods are first test-fitted to check their overall alignment.
Although the kit parts come pre-painted in black, ejector pin marks and mold flash are still present. The paint is therefore stripped so the surfaces can be properly cleaned up and refined before further work.
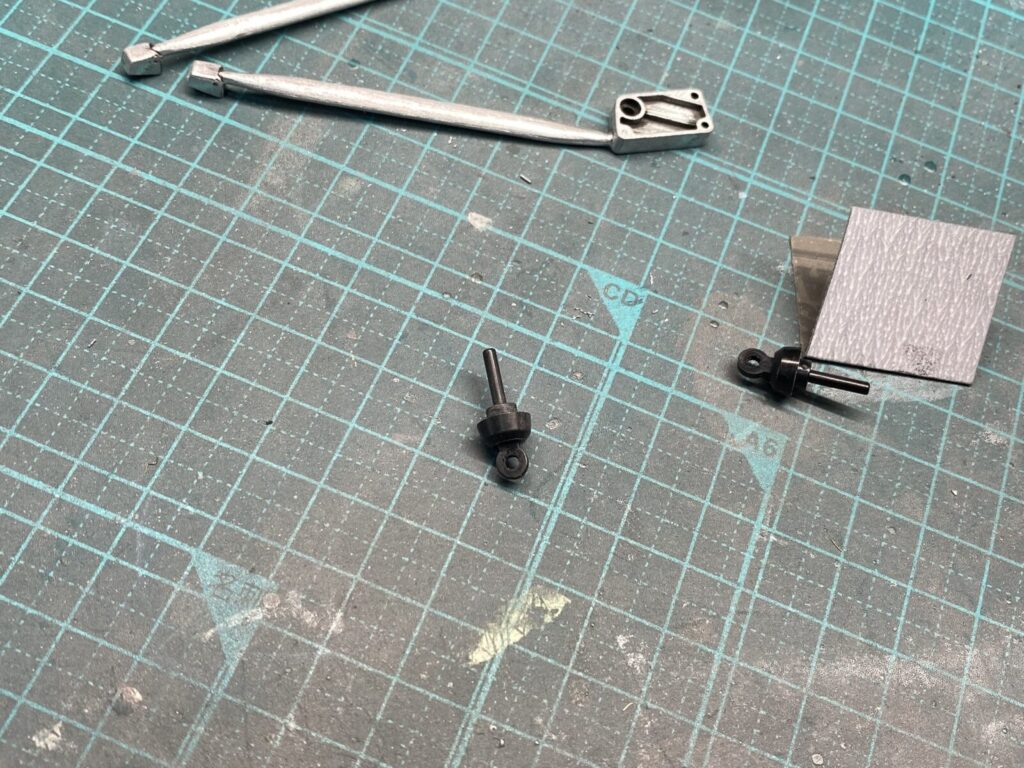
あわせてダンパーのパーツも整形していきます。
パーティングラインや表面の荒れを丁寧に処理し、塗装後によりシャープな仕上がりとなるよう下地を整えていきます。
The damper components are also cleaned up and refined at this stage.
Mold seams and surface imperfections are carefully removed to ensure a sharper and more realistic finish once the parts are painted.
キットのまま組み立てると、リアサスペンションのスプリング形状が実車とは異なっています。
特にスプリングの巻き数が不足しており、実車の印象とかけ離れているため、この部分はスプリングを自作して再現することにします。
If assembled straight from the box, the rear suspension springs do not accurately match those of the real car.
The number of coils is noticeably lower than on the actual Ferrari 643, resulting in a significantly different appearance. To correct this, new springs will be fabricated from scratch.
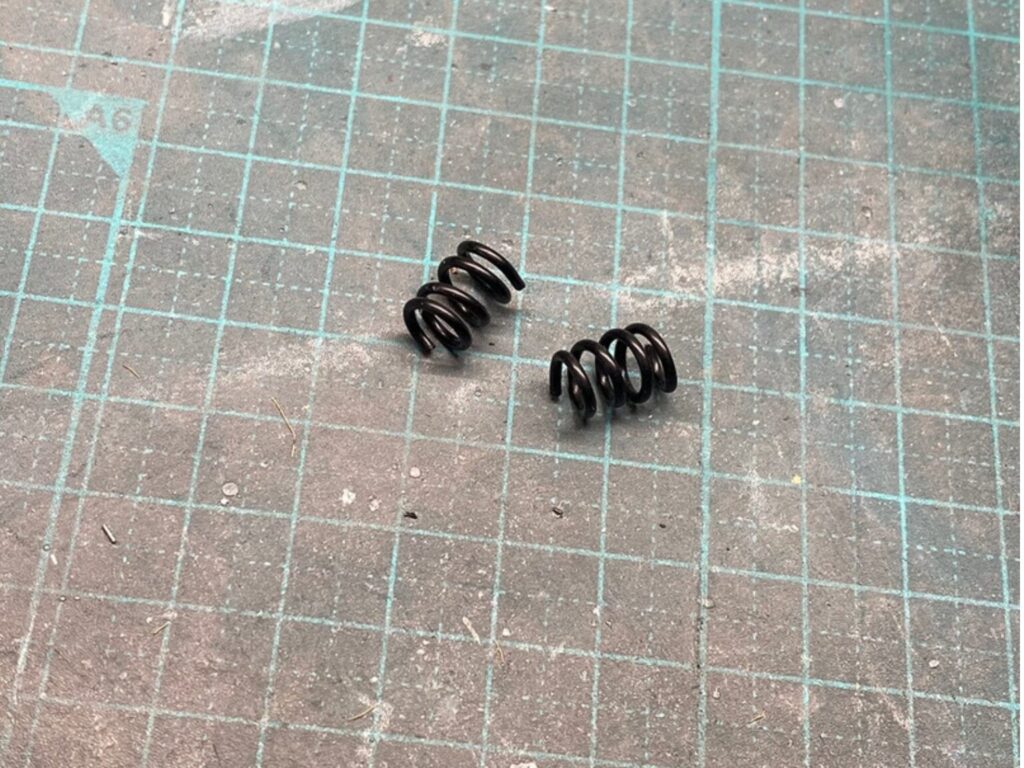
こちらが巻き数を増やして製作した自作スプリングです。
実車の資料を参考にしながら巻き数や全体のバランスを調整し、キットパーツよりも実車に近い印象となるよう仕上げました。
These are the scratch-built springs with an increased number of coils.
Using reference photos of the real car, the coil count and overall proportions were adjusted to achieve a much more accurate appearance than the kit parts.
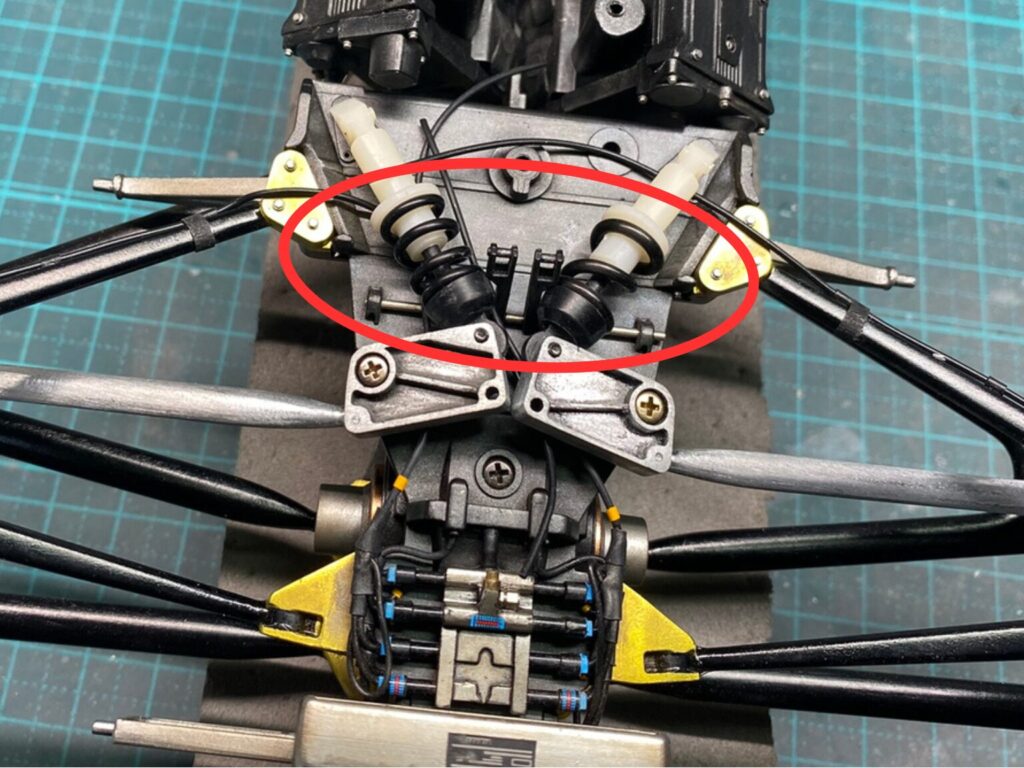
右がキット付属のスプリング、左が今回製作した自作スプリングです。
巻き数を見直したことで実車に近い印象となり、より自然な雰囲気になったと思います。仮組みを行いながら各部のクリアランスや車高とのバランスを確認し、調整が完了したところでプッシュロッドは一旦分解しておきます。
The spring on the right is the original kit part, while the one on the left is the scratch-built replacement.
By increasing the number of coils, the appearance is much closer to that of the real car, resulting in a far more convincing look. After a test assembly to check clearances and overall suspension geometry, the necessary adjustments were completed and the pushrods were disassembled once again for the next stage of work.
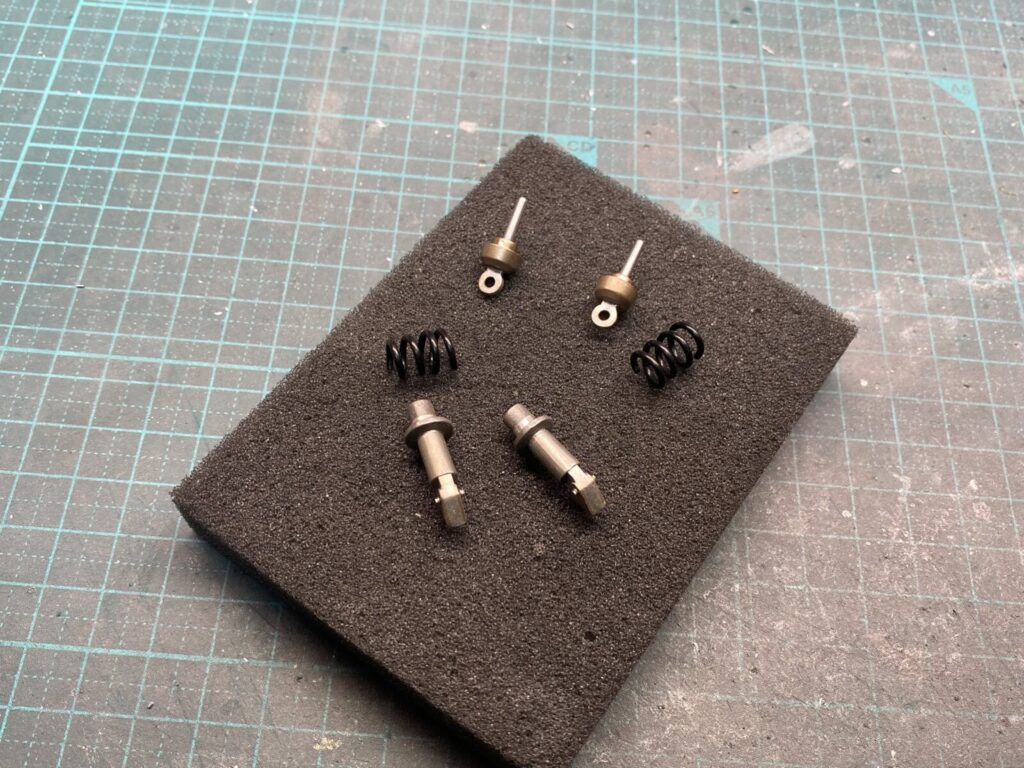
ダンパーユニットも一旦分解し、各パーツを塗装しておきます。
組み立ては後の工程で行うため、塗装後は破損や紛失がないよう保管しておきます。
The damper units are also disassembled and painted at this stage.
Final assembly will be carried out later, so the painted components are carefully stored to prevent damage or loss until they are needed.
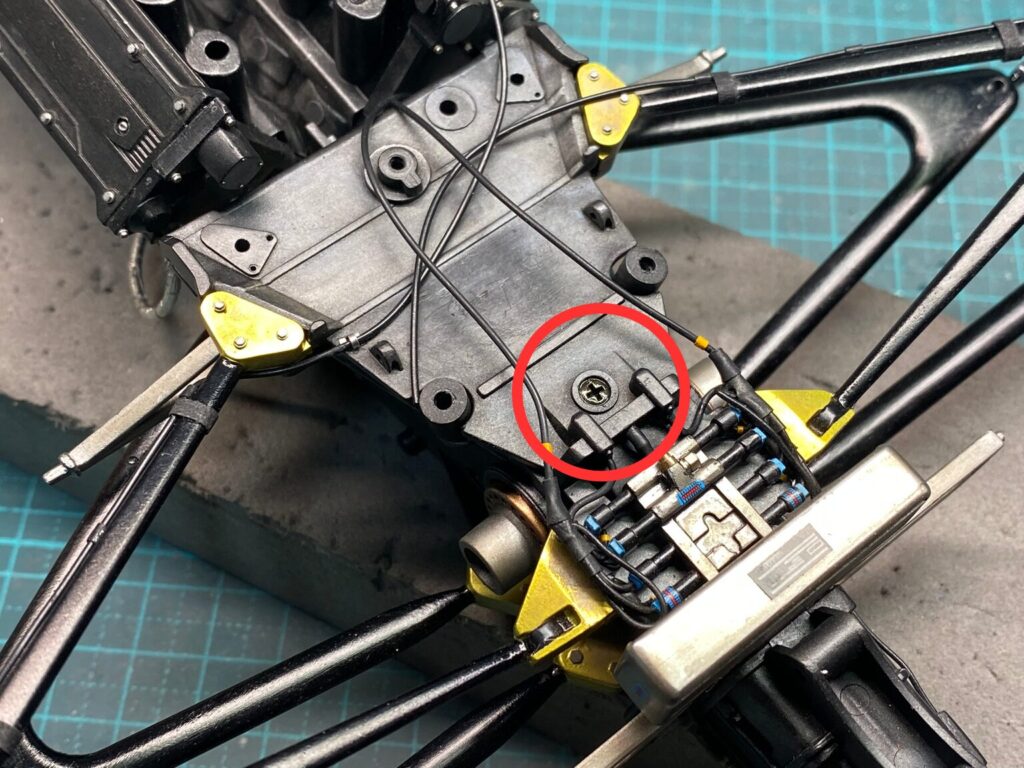
キットのまま組み立てると、ギアボックス上面に配置されたビスが目立ってしまいます。
実車には見られないディテールでもあるため、この部分は改修を行い、より自然な仕上がりとなるよう手を加えていきます。
If assembled as supplied in the kit, the screws on the top of the gearbox remain quite noticeable.
Since these fasteners are not representative of the real car, this area will be modified to achieve a cleaner and more realistic appearance.
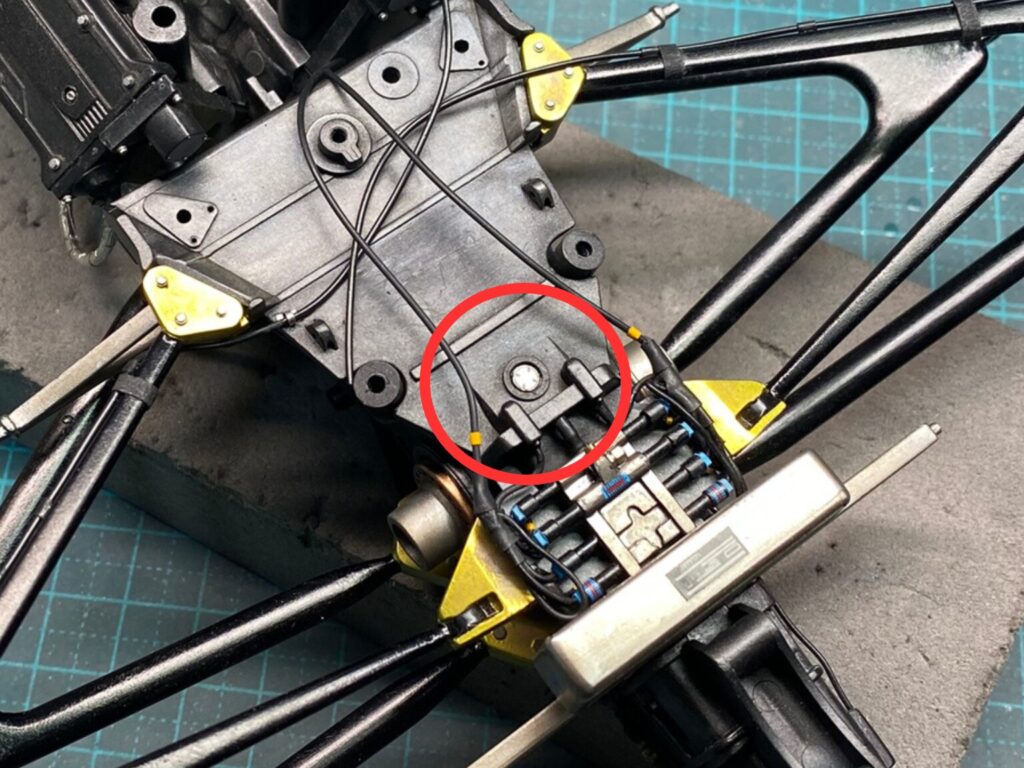
ギアボックス上面のビスを目立たなくするための改修が完了しました。
The modification to reduce the visibility of the screws on the top of the gearbox is now complete.