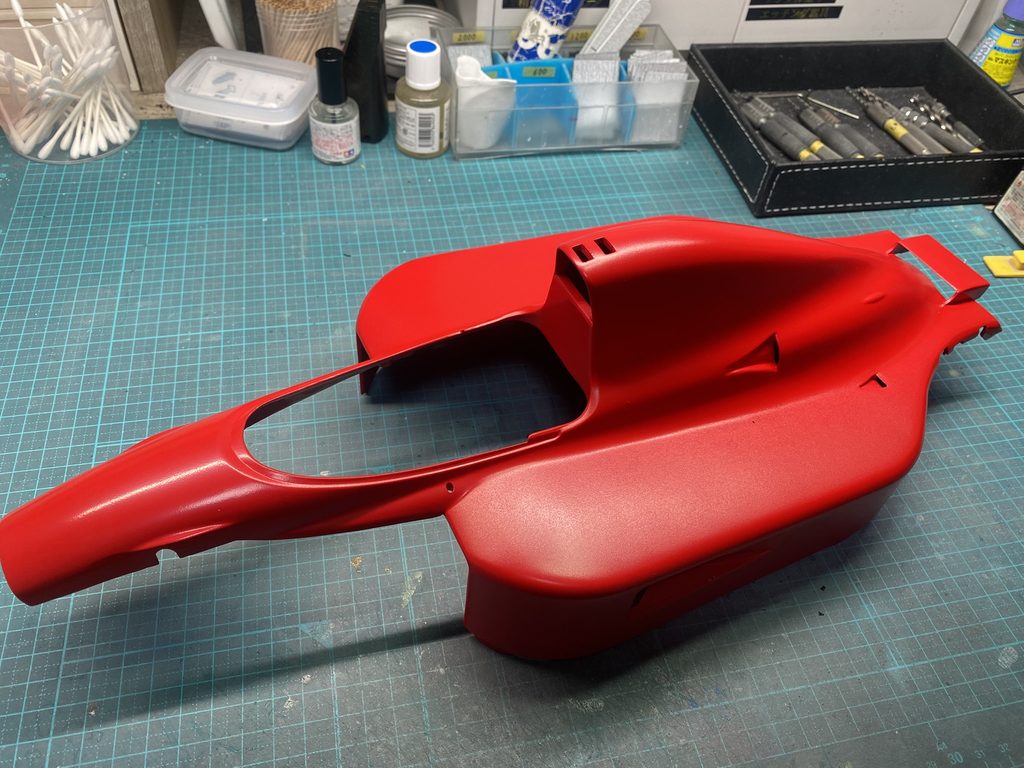
下地のピンクが完全に乾燥したら、本塗装に入ります。
本体色のフェラーリレッドには、塗料メーカーに依頼して調合してもらった「ロッソコルサ」を使用します。理想の色味になるよう、塗装の状態を確認しながら複数回に分けて吹き付けていきます。
Once the pink base coat has fully dried, the main color can be applied.
For the Ferrari Red, I am using a custom-mixed Rosso Corsa prepared by a paint manufacturer specifically for this project. Several coats are applied, carefully building up the color until the desired shade is achieved.
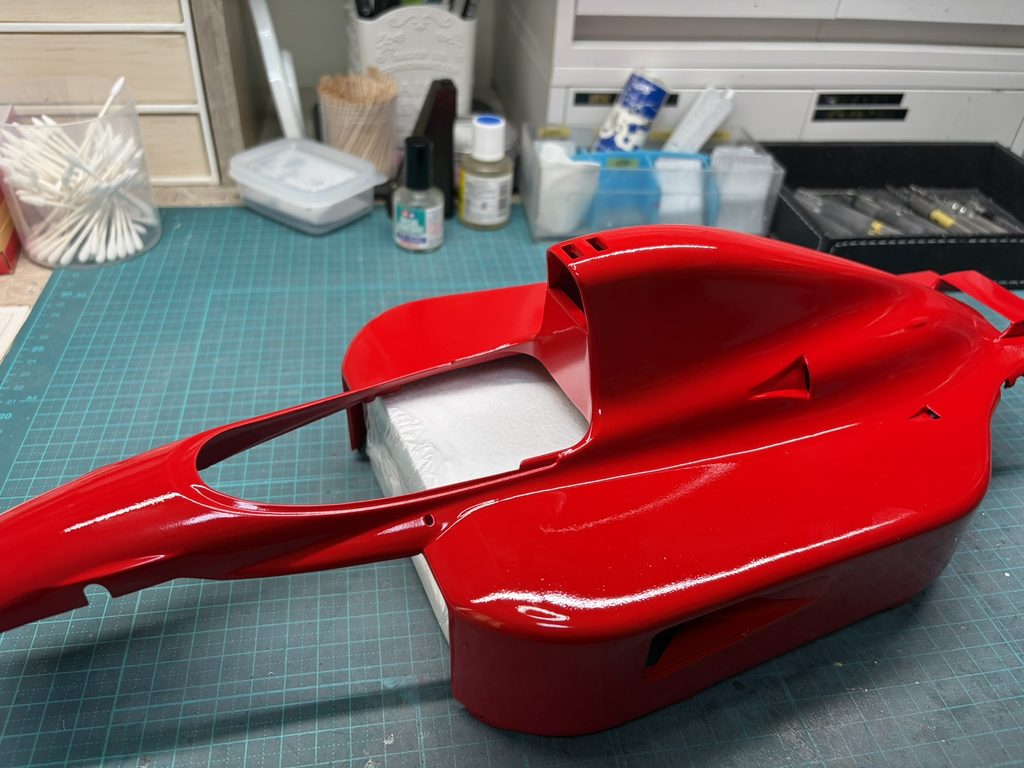
塗装が完全に乾燥したら、ここで一度クリアーを吹き付けます。
今回はフェラーリレッドを塗料メーカーに依頼して調合したため、仕上がりには少し不安もありましたが、理想としていた色味を再現することができました。
Once the paint has fully dried, a clear coat is applied at this stage.
Since the Ferrari Red was custom-mixed by a paint manufacturer, I had some concerns about the final result. However, the color turned out exactly as I had hoped, achieving the ideal shade of Rosso Corsa.
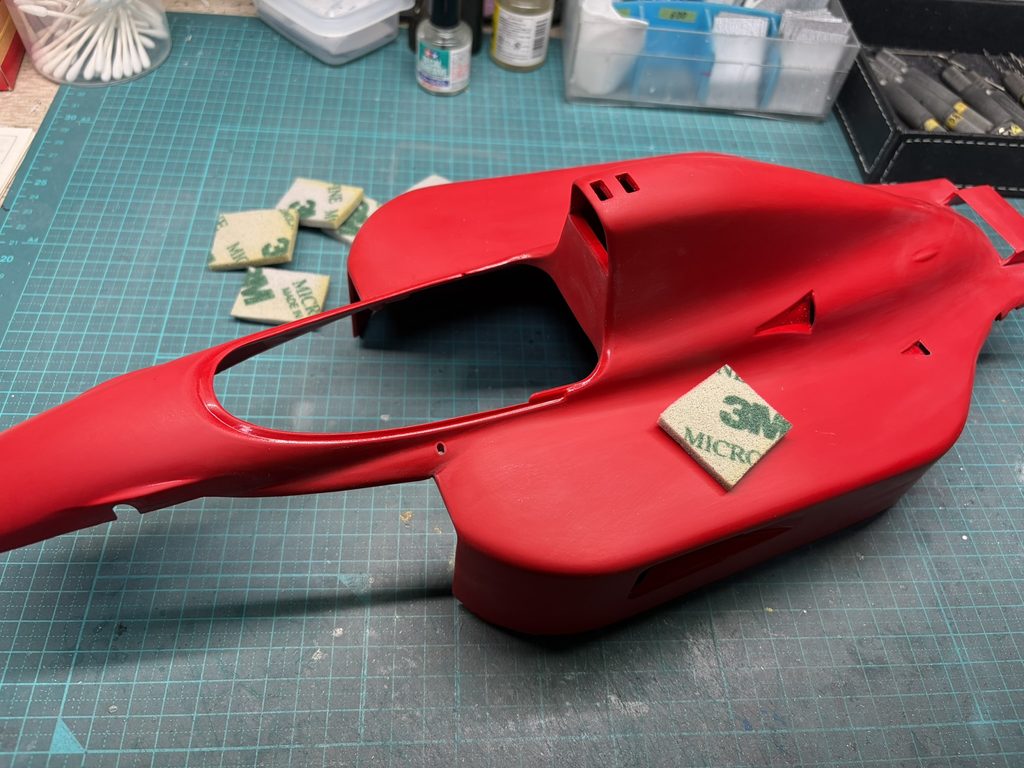
クリアーが完全に乾燥したら、ボディカウルの表面をペーパーで全体的に滑らかに整え、デカールを貼るための下準備を行います。
Once the clear coat has fully dried, the entire surface of the bodywork is carefully smoothed with fine abrasive paper, preparing it for decal application.
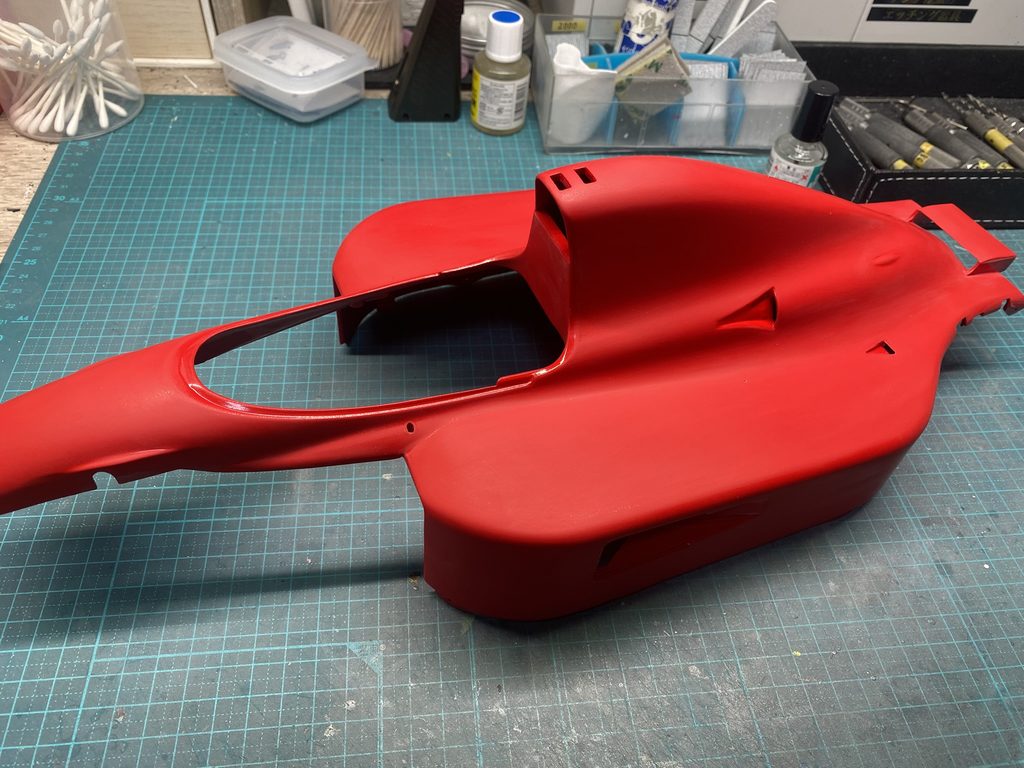
表面をきれいに洗浄し、デカール貼りの準備が整いました。
The surface is thoroughly cleaned, completing the preparation for decal application.

その他のパーツも同様に下準備を行い、デカールを貼る準備を整えておきます。
The remaining parts are prepared in the same manner, ready for decal application.
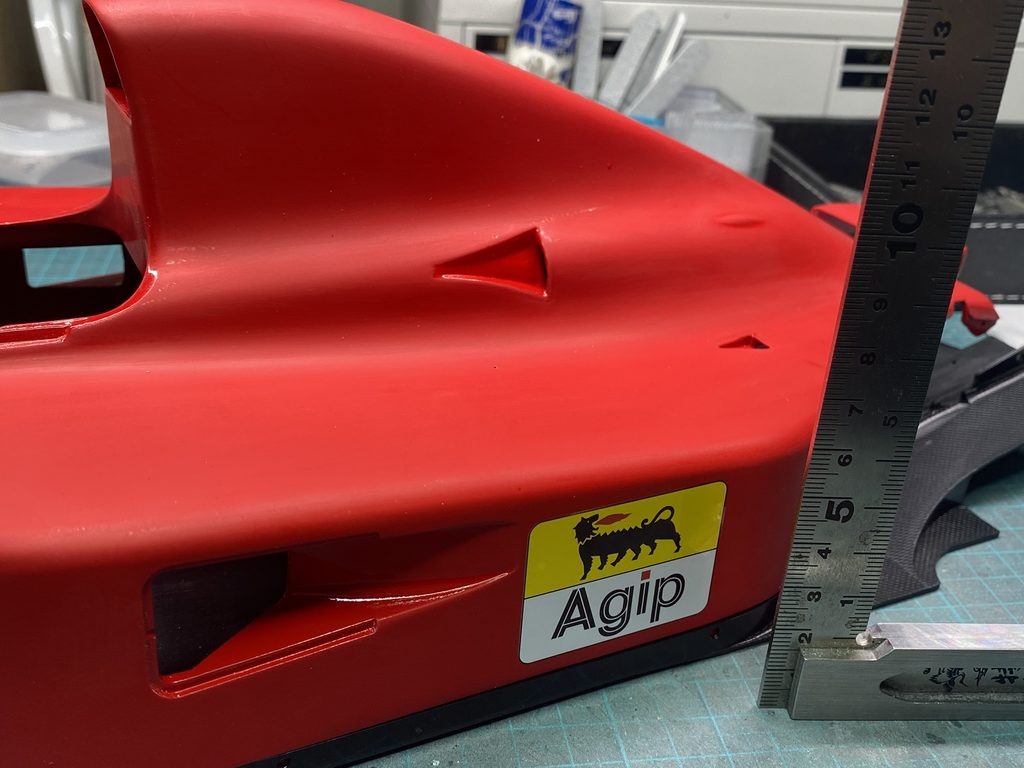
アンダーパネルを仮組みし、水平や垂直に注意しながら、デカールを慎重に貼り付けていきます。
The undertray is test-fitted, and the decals are carefully applied while paying close attention to the horizontal and vertical alignment.
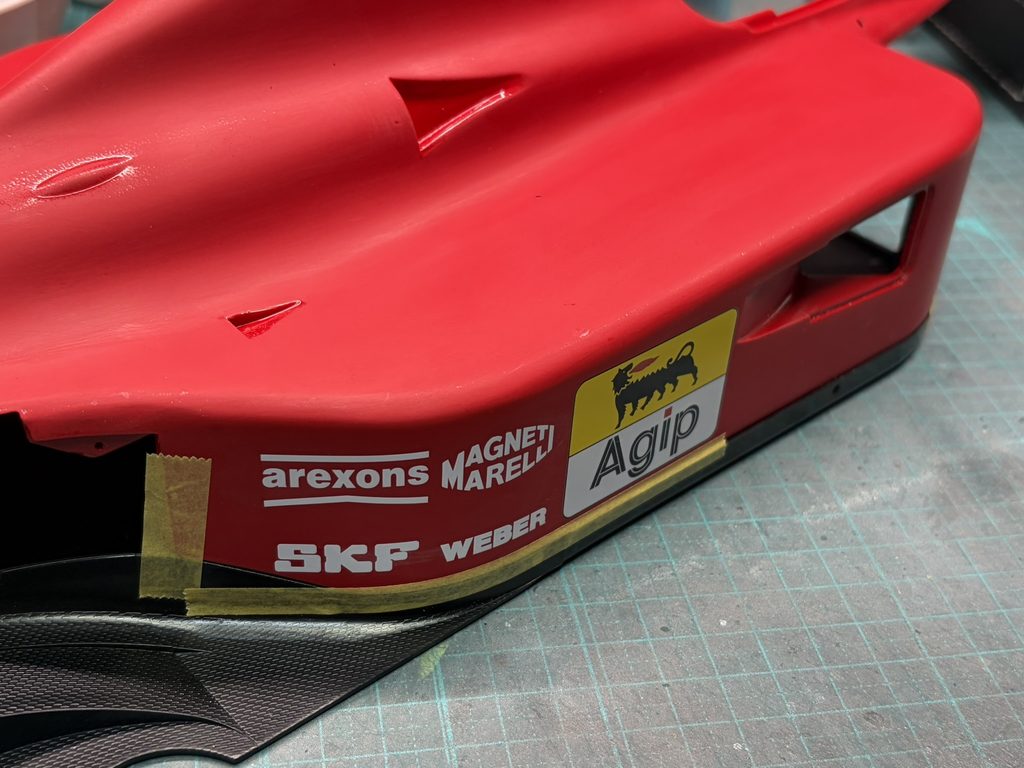
実車の写真を参考にしながら、位置や向きを確認してデカールを慎重に貼り進めていきます。
Using reference photos of the real car, the decals are carefully applied while checking their exact position and orientation.

水平レーザーを使ってガイドテープを貼り、デカールの位置決めを行います。
ガイドテープを目印に、左右のバランスを確認しながら正確な位置にデカールを貼り付けていきます。
A horizontal laser is used to position guide tape for accurate decal placement.
Using the guide tape as a reference, the decals are carefully applied while checking the alignment and ensuring perfect symmetry from side to side.
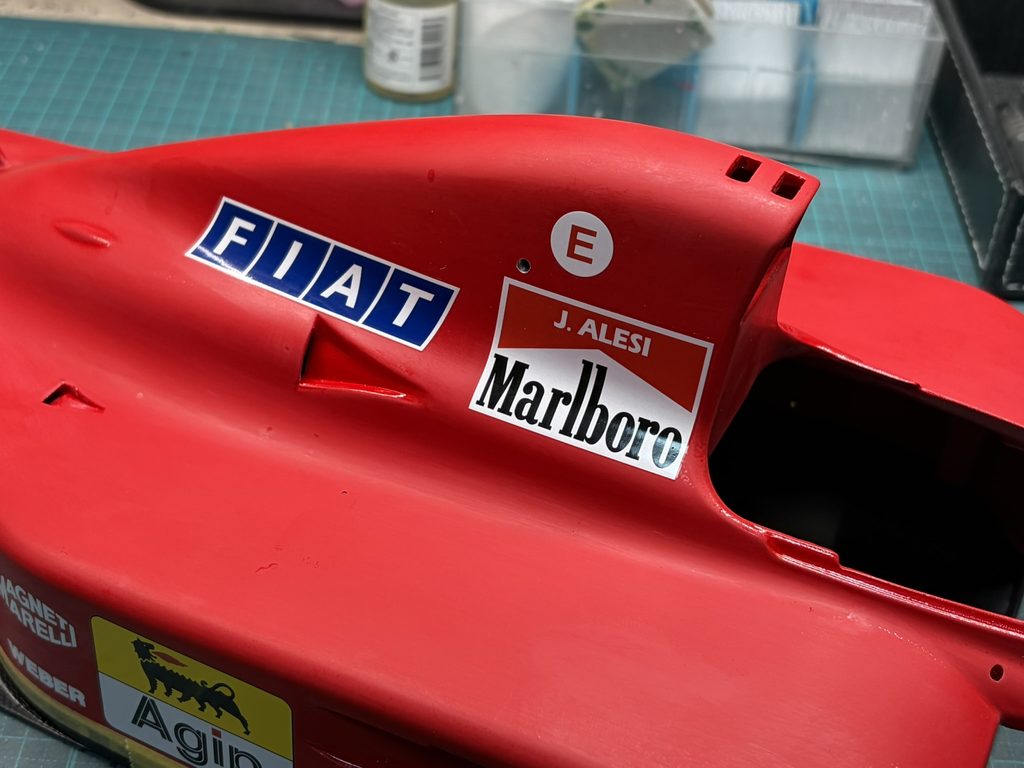
キットではカウルにファイアー・エクスティングイッシャーの穴が再現されていないため、実車資料を参考に正確な位置を確認し、消火装置の外部作動用の穴を開けていきます。
The kit does not reproduce the opening for the fire extinguisher system on the bodywork. Using reference photos of the real car, the exact position is carefully determined and the external activation opening for the fire extinguisher system is drilled.
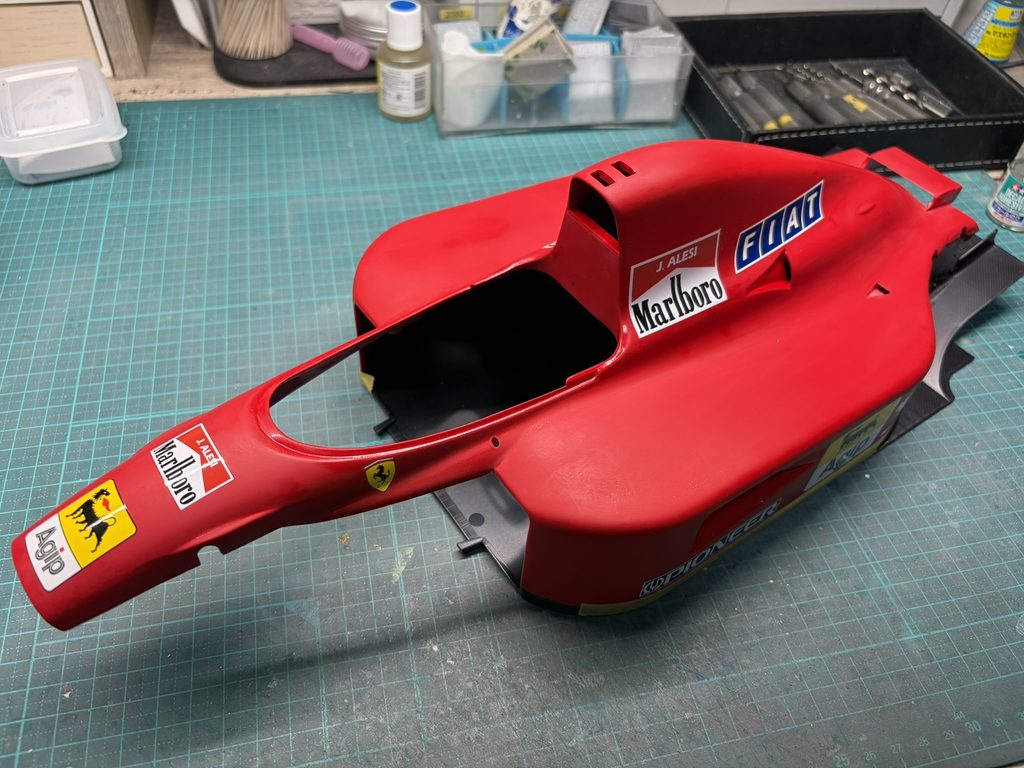
すべてのデカールを貼り終えました。
この状態でデカールが完全に乾燥するまで、じっくりと時間をかけて乾燥させます。
All of the decals have now been applied.
The bodywork is left to dry thoroughly, allowing the decals to fully cure before moving on to the next stage.