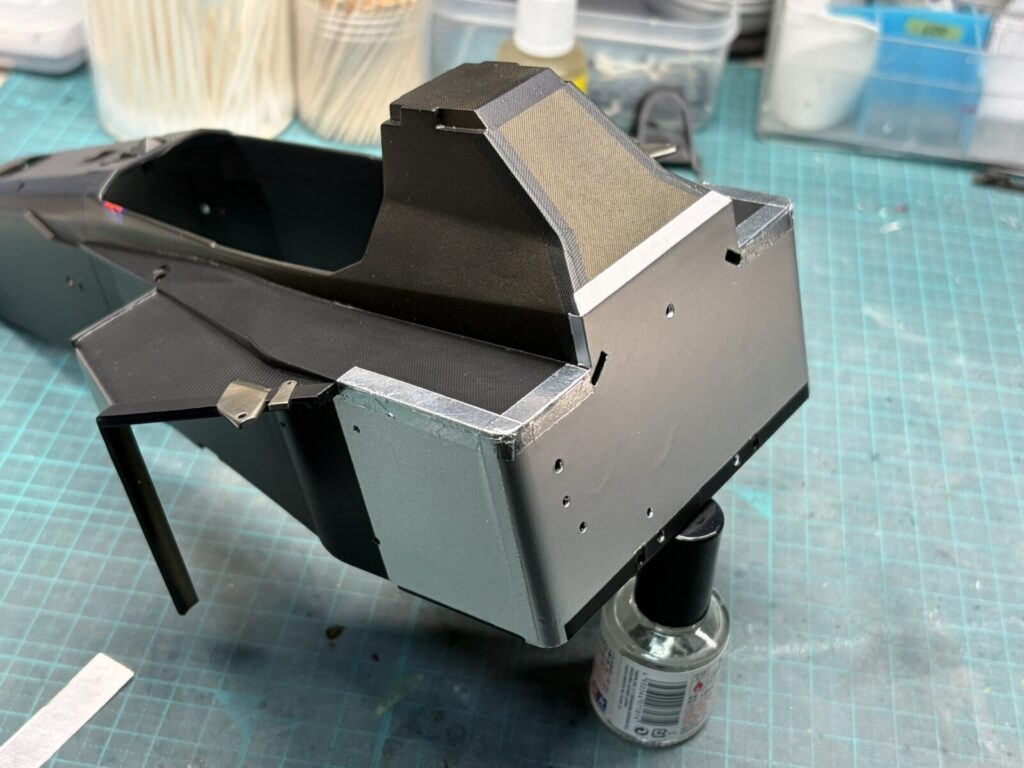
カーボンデカールの表面処理が完了したら、モノコック後方部分にアルミシールを貼り付けます。
この部分も実車の質感を再現するため、数種類のアルミシールを使い分けながら施工しました。
Once the surface treatment of the carbon fiber decals is complete, aluminum foil is applied to the rear section of the monocoque.
To reproduce the appearance of the real car, several different types of aluminum foil were used, each selected according to the area being replicated.
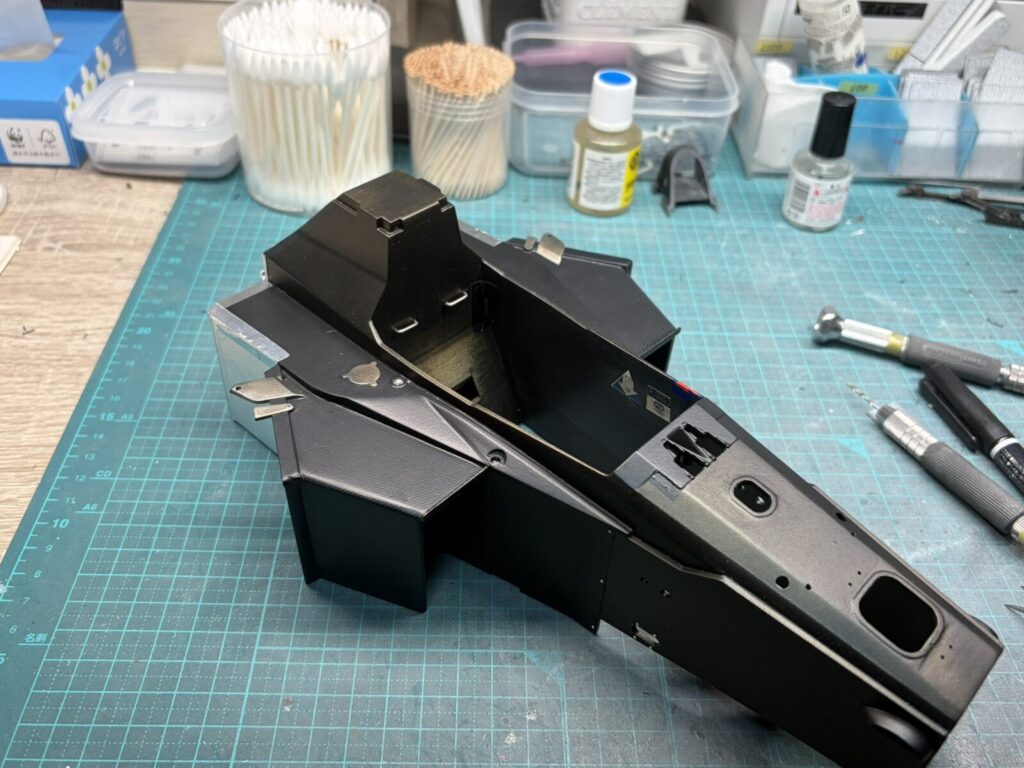
シートを取り付けると見えなくなるためか、キットではシートベルトの取付金具が省略されています。
この部分も実車に合わせるため、取付金具を自作して取り付けました。
Perhaps because it is hidden once the seat is installed, the kit omits the seat belt mounting brackets.
To match the real car more closely, these brackets were scratch-built and installed.
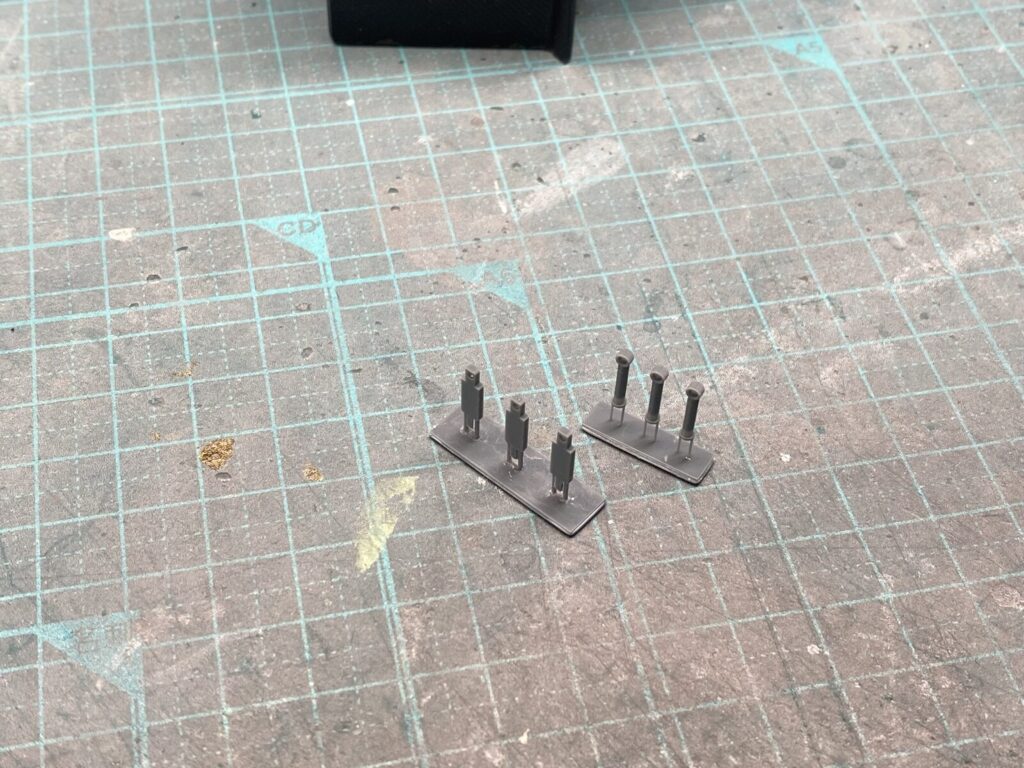
キットでは、スタビライザーの調整レバーがすべて省略されています。
コックピット内でも目立つディテールのひとつなので、3Dプリンターを使用して新たに製作し、実車に近い仕様へと再現することにします。
The kit completely omits the anti-roll bar adjustment levers.
As they are one of the more noticeable details inside the cockpit, they will be recreated using a 3D printer to more accurately replicate the real car.
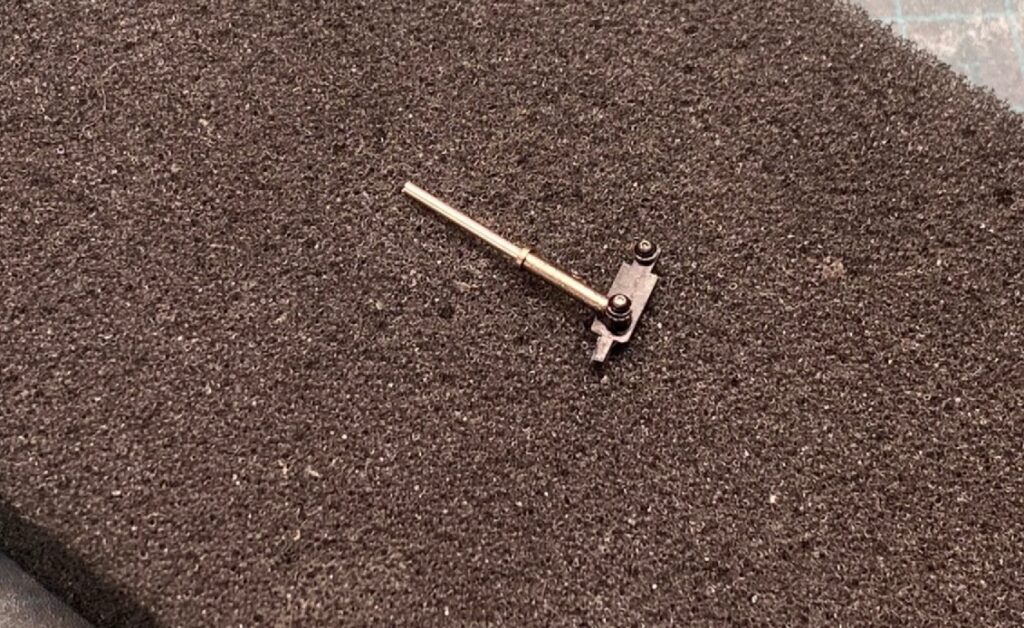
自作したスタビライザー調整レバーの各パーツを組み立てていきます。
細かな部品で構成されているため、可動部の位置関係を確認しながら慎重に組み立てを進めました。
The scratch-built anti-roll bar adjustment lever components are now assembled.
As the assembly consists of several small parts, each piece was carefully aligned to ensure the mechanism was accurately reproduced.
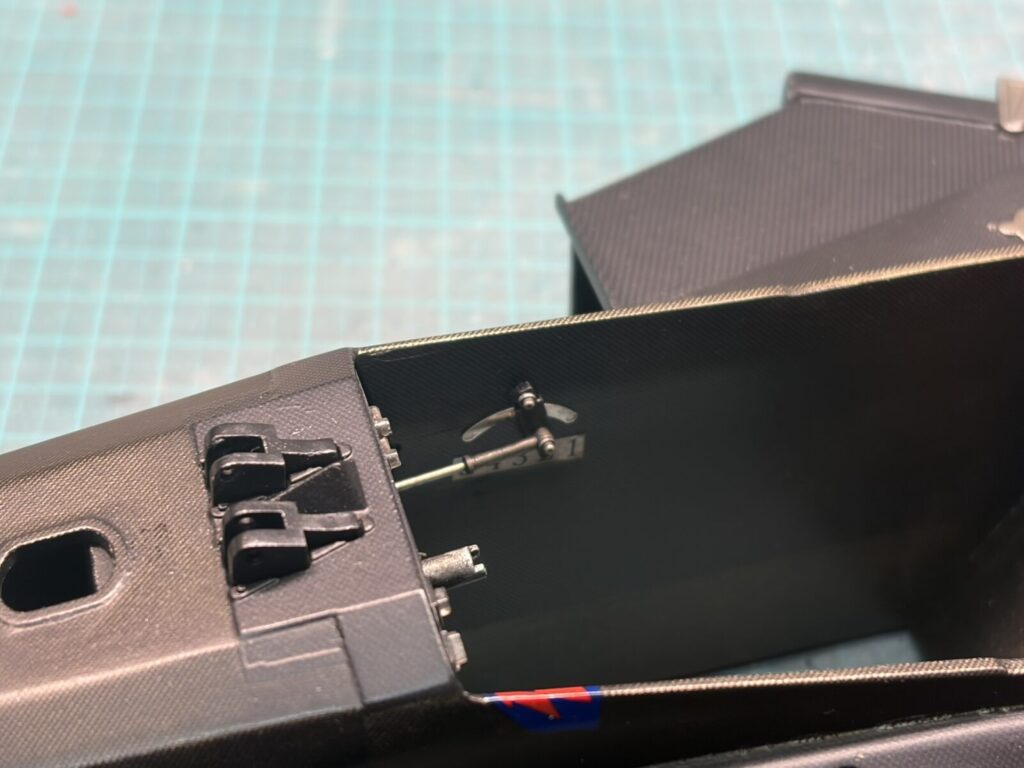
組み立てたスタビライザー調整レバーを、コックピット内部へ取り付けていきます。
実車と同じレイアウトになるよう位置関係を確認しながら組み付け、コックピット内の密度感を高めていきます。
The assembled anti-roll bar adjustment levers are now installed inside the cockpit.
Each lever is carefully positioned to match the layout of the real car, adding both accuracy and a greater sense of detail to the cockpit.
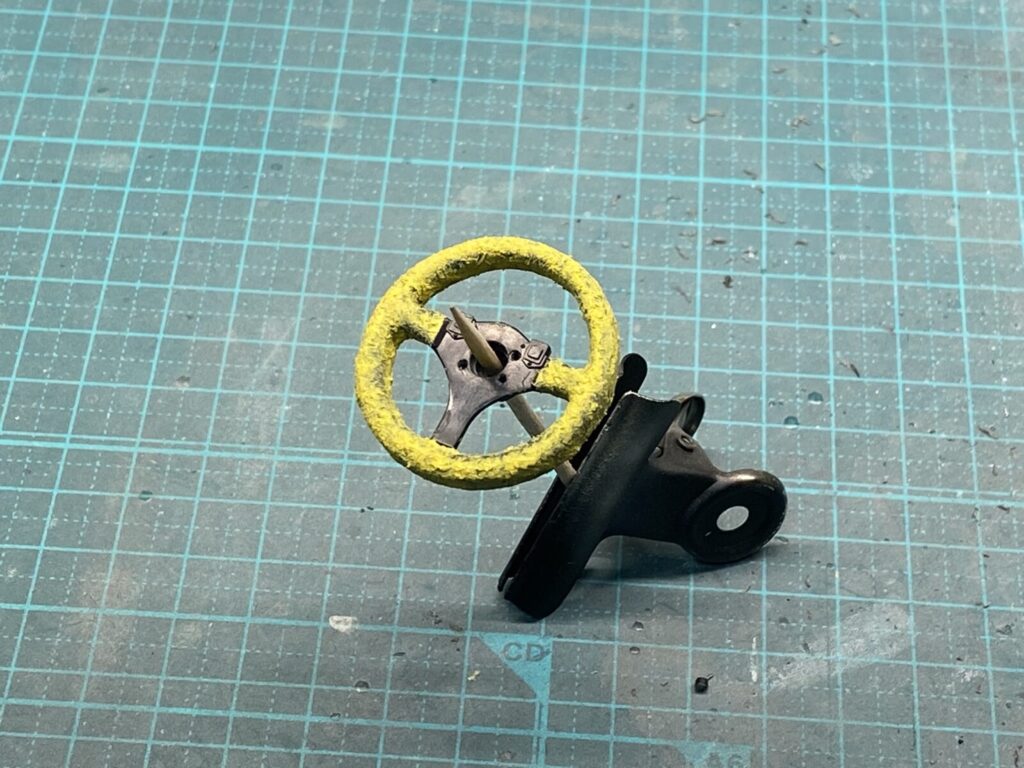
続いて、ステアリングを製作していきます。
実車ではグリップ部分はバックスキン調の素材で覆われているため、パテを使って表面に質感を加え、実車らしい風合いを再現していきます。
Next, work begins on the steering wheel.
On the real car, the grip is covered with a suede-like material, so putty is used to add surface texture and recreate its authentic appearance.
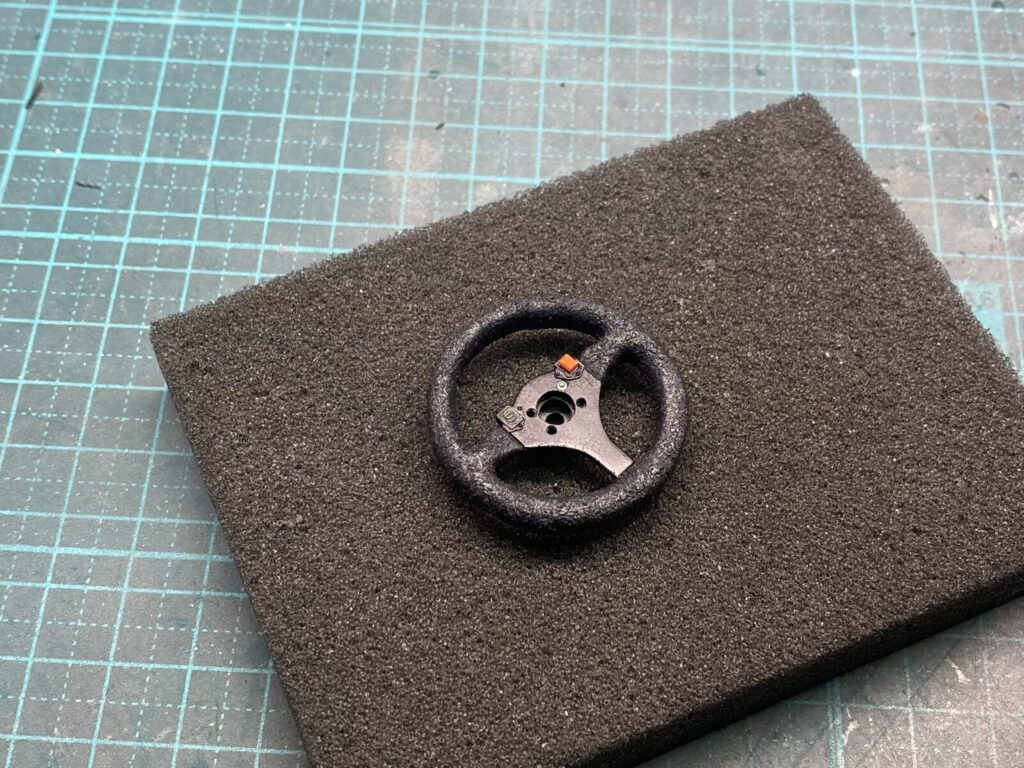
下地が完成したら塗装を行い、実車に合わせて艶を調整します。
さらに、ステアリングスイッチを追加するとともに、中央部のボルト類も再現し、細部のディテールアップを行います。
Once the surface preparation is complete, the steering wheel is painted and the finish is adjusted to match the appearance of the real car.
Additional steering wheel switches are installed, and the center mounting bolts are also recreated to further enhance the overall level of detail.
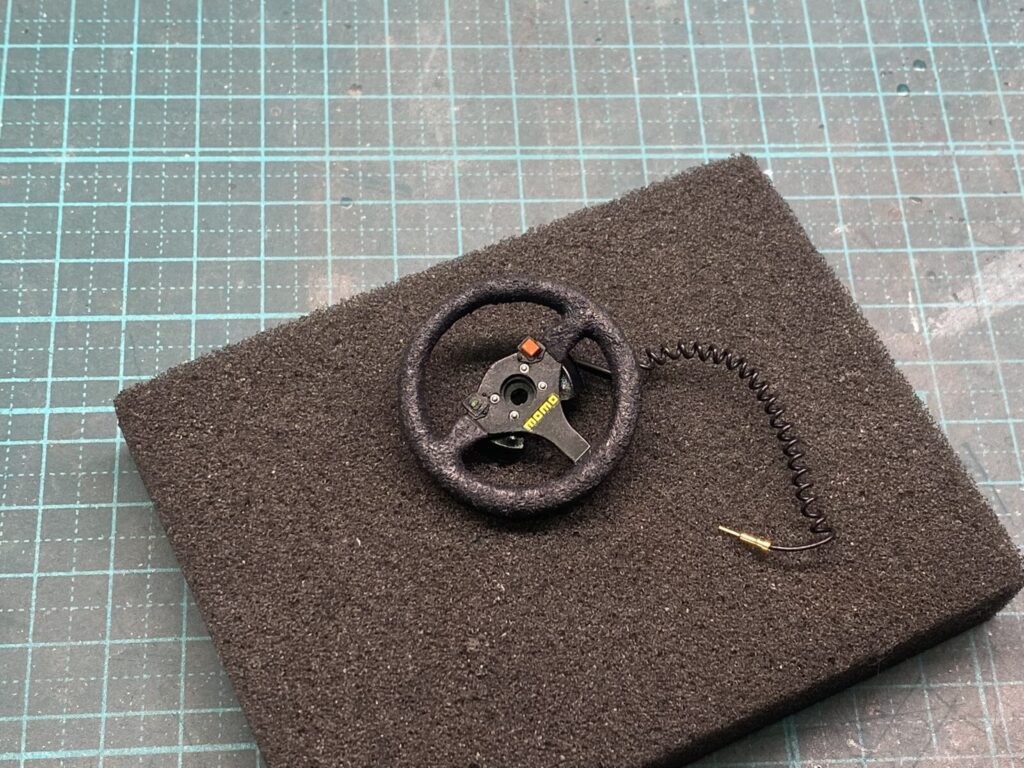
最後にカールコードを追加して、ステアリングの完成です。
この段階では取り付けは行わず、最終組み立てまで大切に保管しておきます。
Finally, the coiled cable is added, completing the steering wheel.
Rather than installing it at this stage, it is carefully set aside and stored until the final assembly.