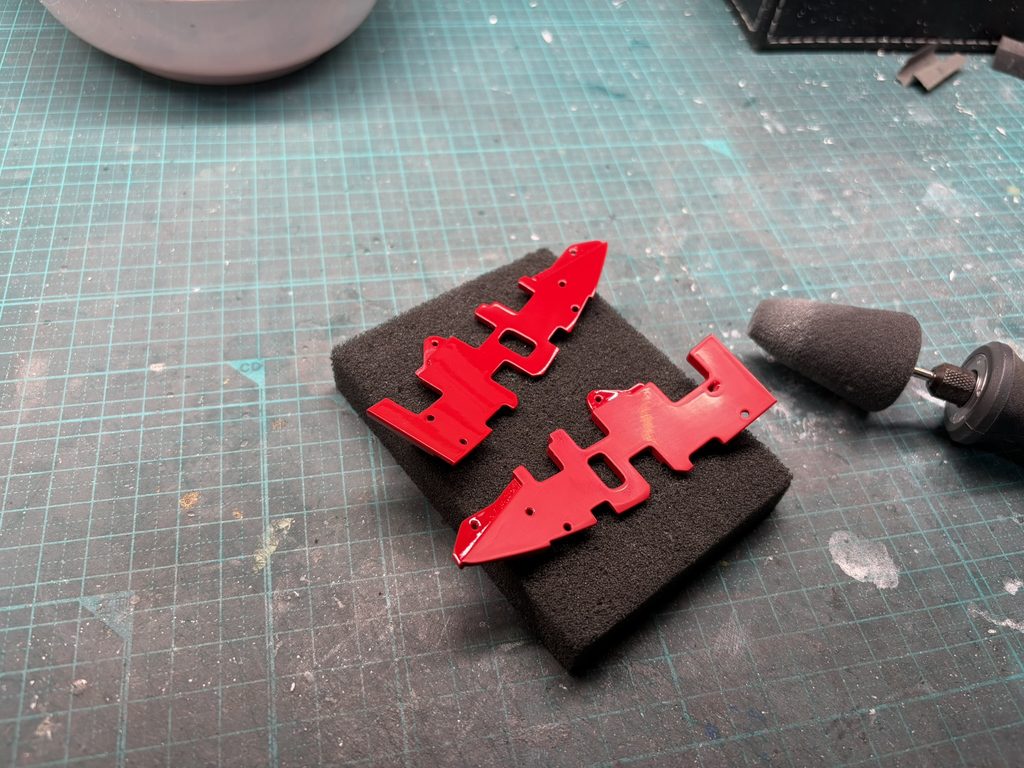
リアのサイドパネルも、ボディカウルと同様に磨き出しを行います。
The rear side panels are also polished in the same manner as the main bodywork.
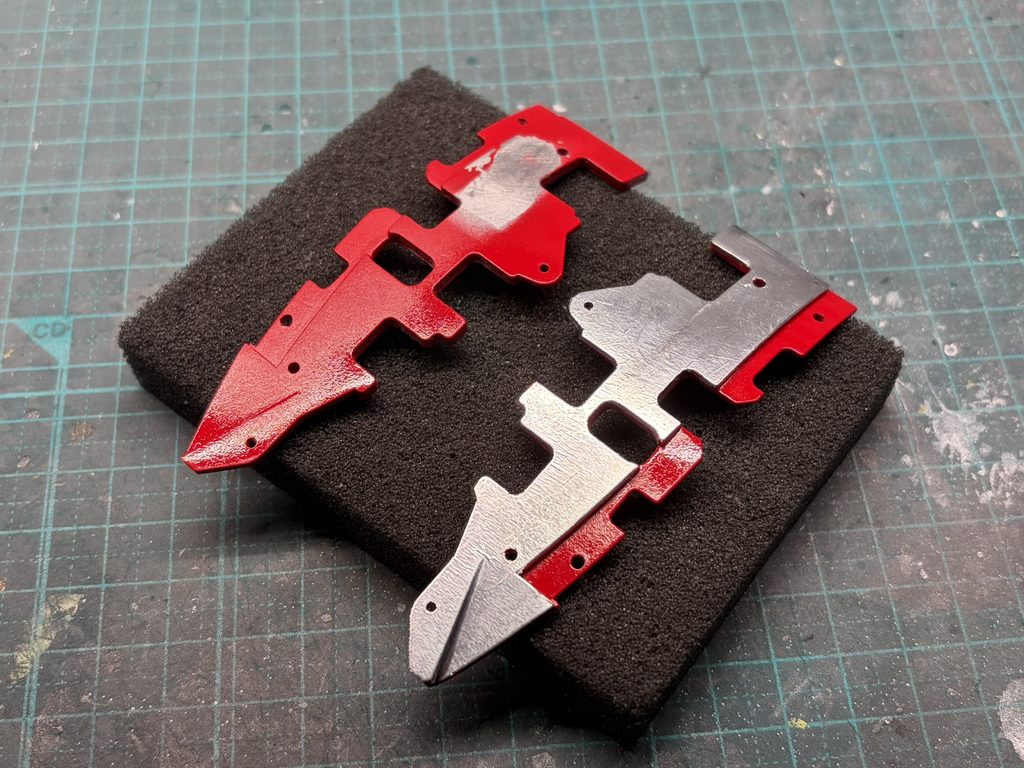
内側は耐熱シールを貼り付け、実車の雰囲気に近づけて仕上げておきます。
The inner surfaces are finished with heat-resistant foil tape to more closely replicate the appearance of the real car.
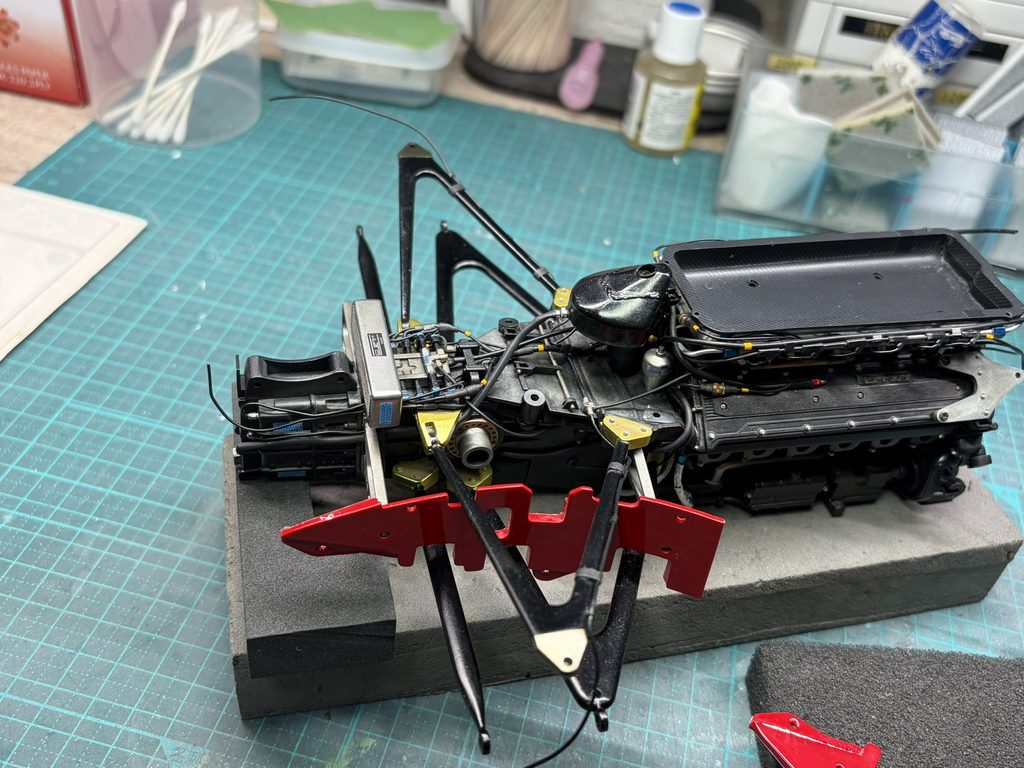
完成したサイドパネルを、本体へ取り付けていきます。
The completed side panels are now installed onto the main assembly.
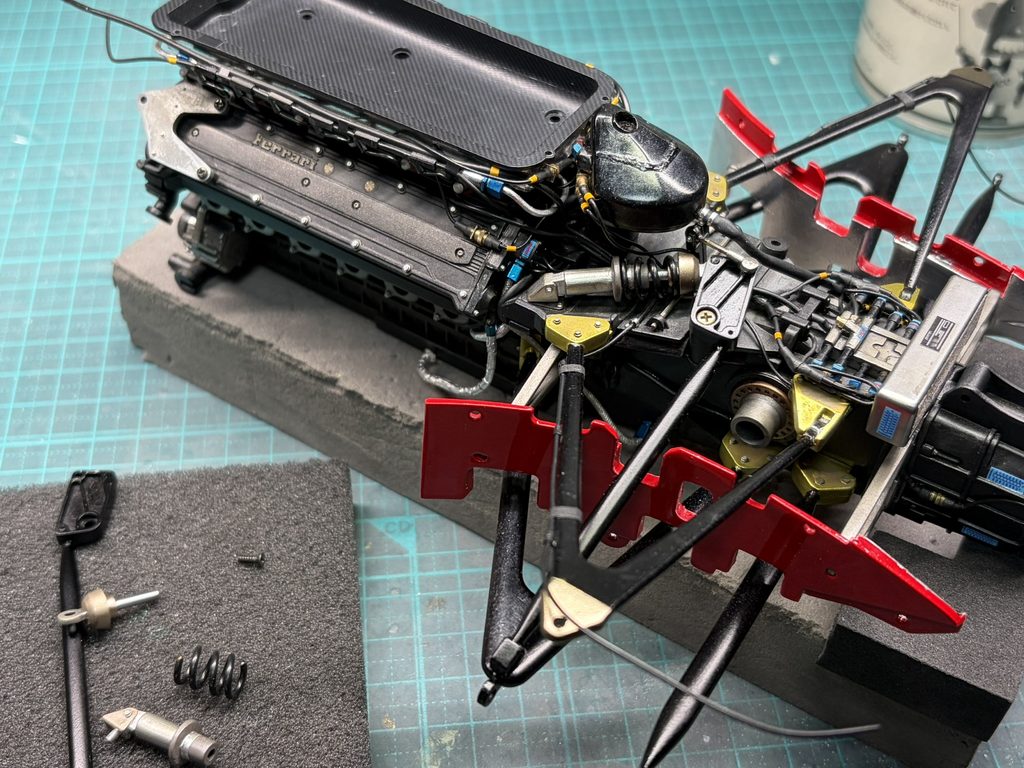
次に、製作しておいたプッシュロッドを取り付けていきます。
自作したアンチロールバーリンケージにも、きれいに接合することができました。
Next, the previously fabricated pushrods are installed.
They also fit cleanly into the scratch-built anti-roll bar linkages, completing the connection with a precise fit.

反対側のプッシュロッドも取り付けていきます。
プッシュロッドは強度を確保するため、ビスで固定する構造になっています。ただし、ビスの頭が目立ってしまうため、ここも加工して目立たないように仕上げておきます。
The pushrod on the opposite side is installed in the same manner.
The pushrods are secured with screws to ensure sufficient strength. However, the screw heads are quite noticeable, so this area is also modified to make them less visible and achieve a more realistic appearance.
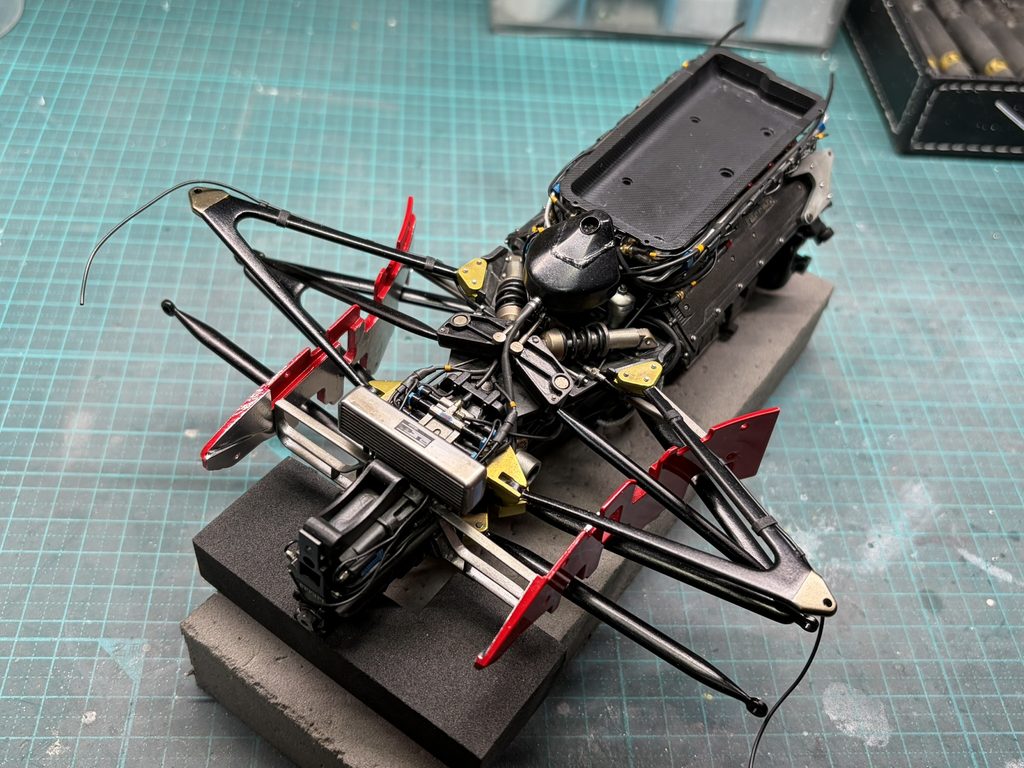
左右のプッシュロッドの取り付けが、無事に完了しました。
The installation of both the left and right pushrods has now been completed successfully.

続いて、製作しておいたアップライトを取り付けていきます。
Next, the previously completed uprights are installed.
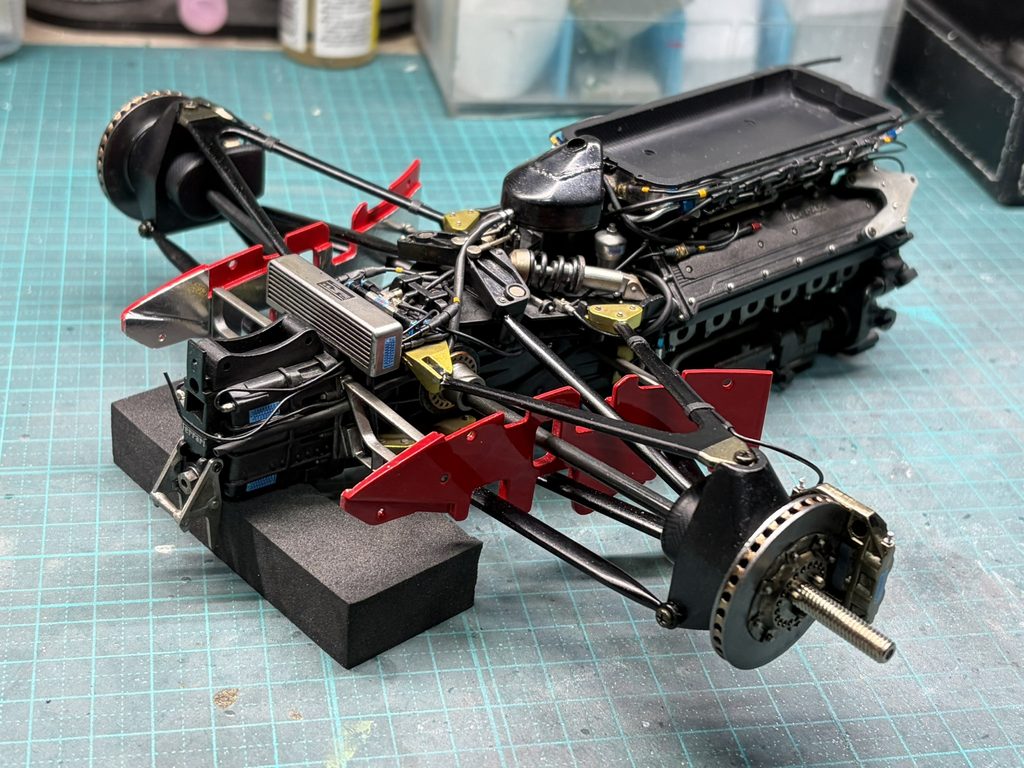
反対側のアップライトも取り付け、ブレーキホースも接続します。
The upright on the opposite side is also installed, and the brake hose is connected.
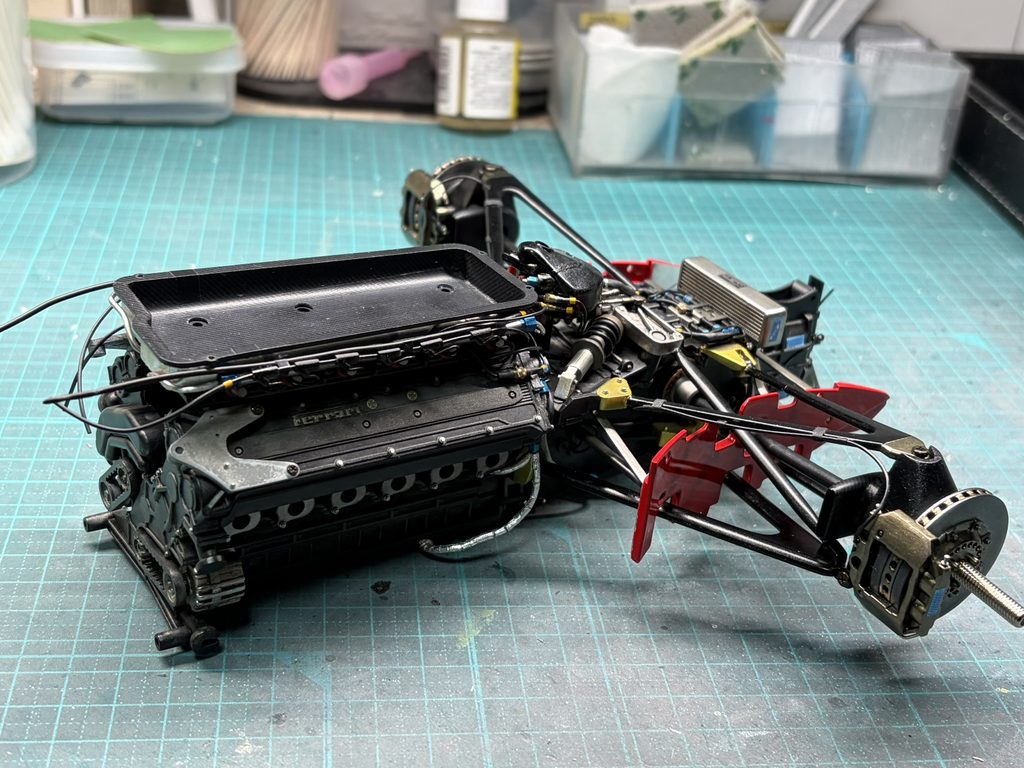
左右のバランスを確認しながら、足回りが均等になるよう位置を調整してしっかりと固定します。
While checking the balance from side to side, the suspension components are carefully aligned and securely fixed in place to ensure a symmetrical setup.
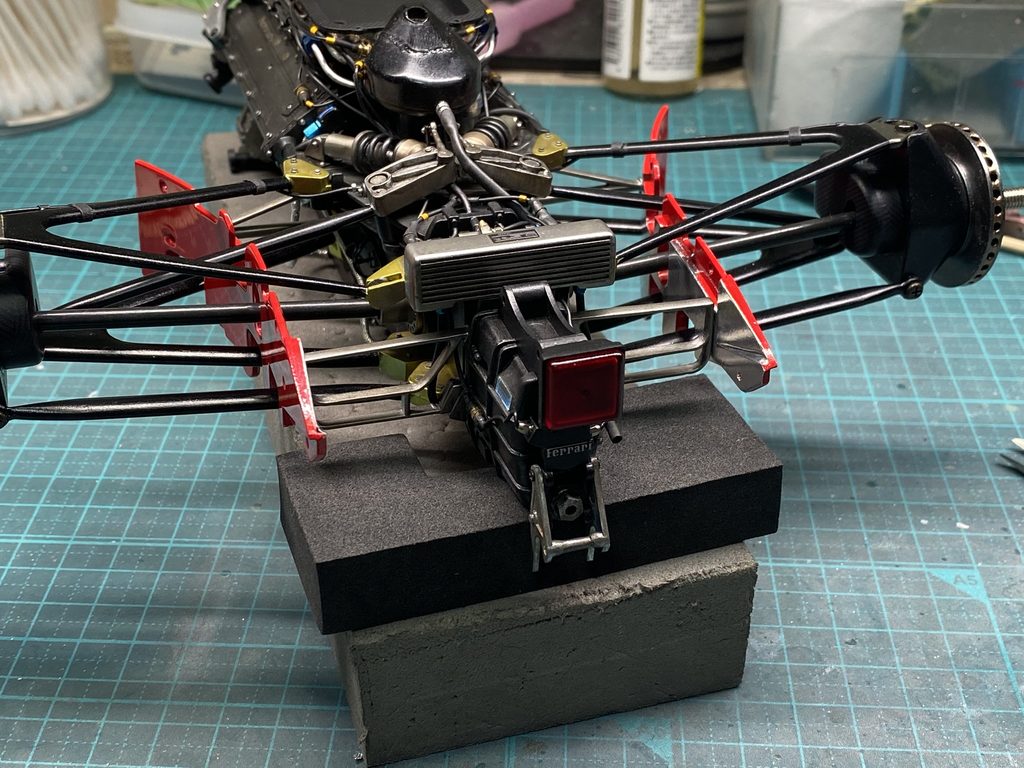
テールランプも取り付け、配線を追加してディテールを仕上げていきます。
The tail light is also installed, and additional wiring is added to further enhance the detail.