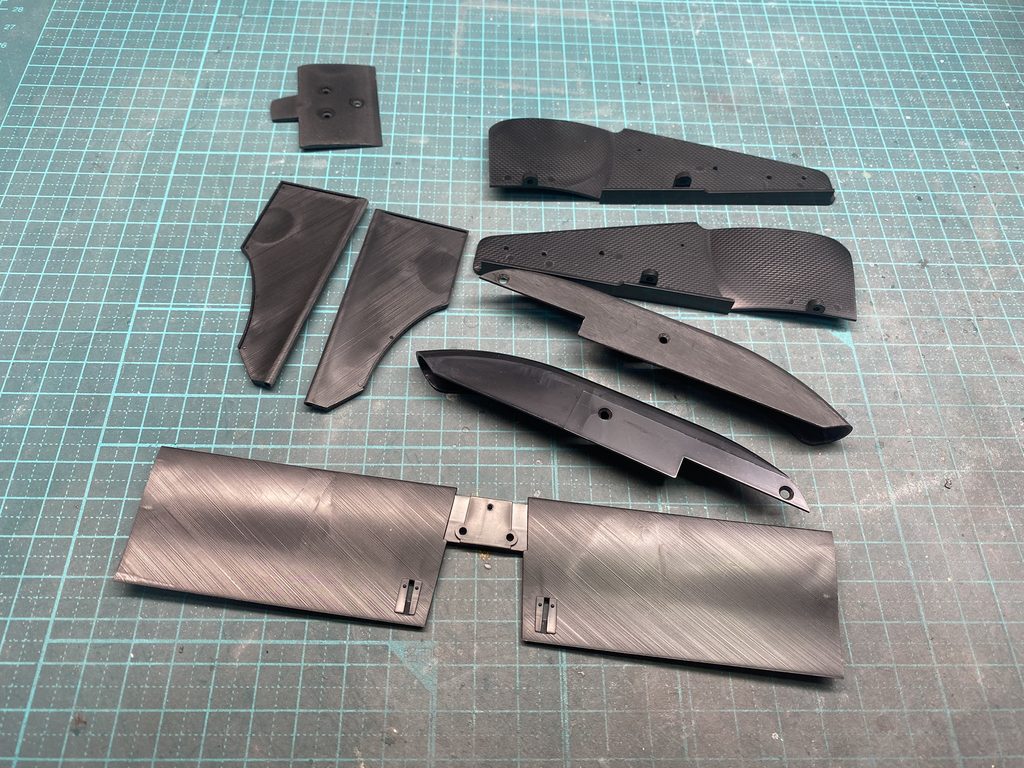
今回はフロントウイングの製作に取り掛かります。
こちらがフロントウイングのパーツ一式です。
This stage of the build focuses on the front wing.
Here are the parts supplied for the front wing assembly.
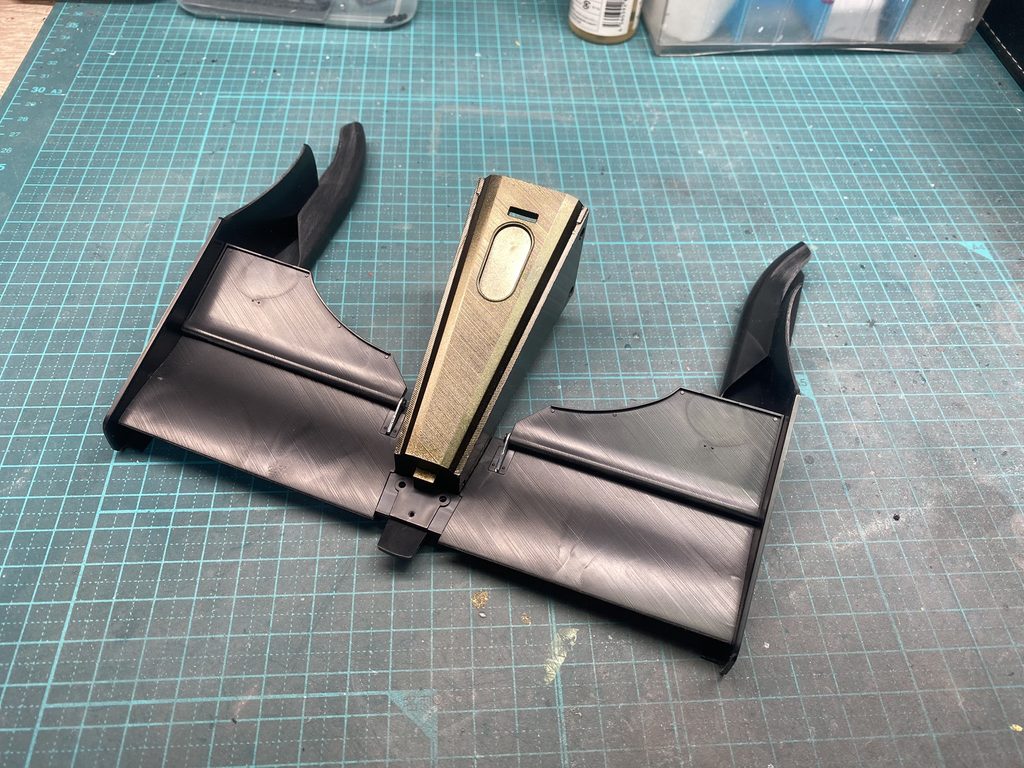
まずは仮組みを行い、全体のバランスや形状を確認しながら、改修が必要な箇所をチェックしていきます。
The front wing is first test-fitted to assess its overall proportions and alignment, while identifying any areas that require modification.
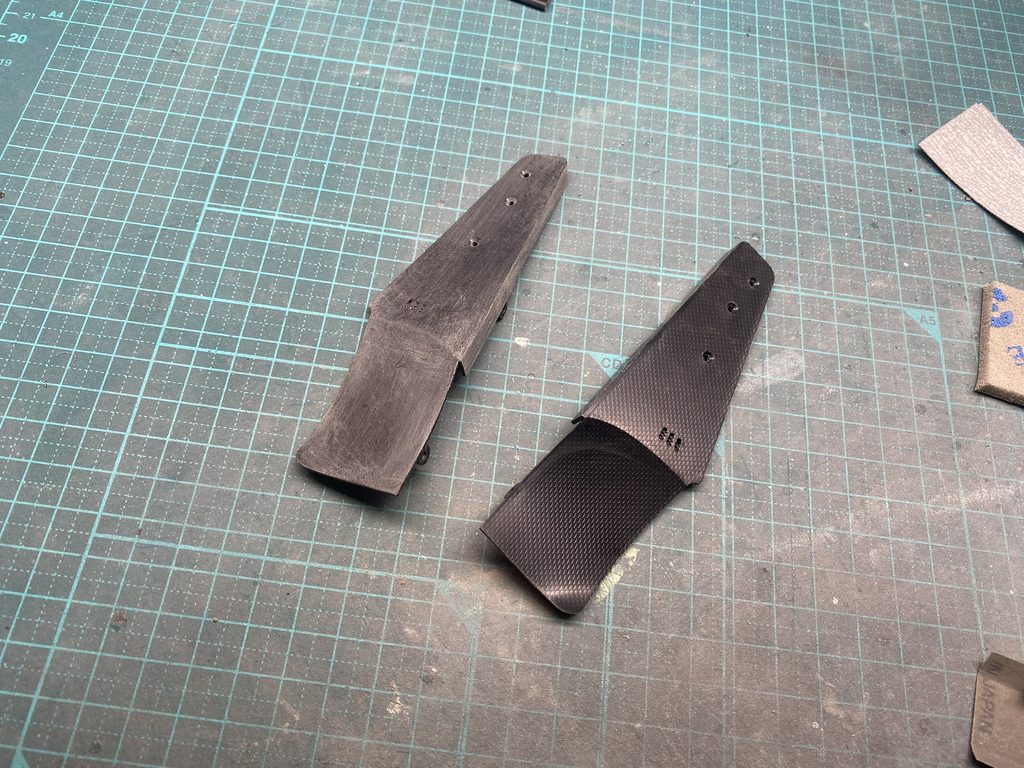
パーツ表面にはモールドが施されているため、すべて削り落とし、表面を滑らかに整えていきます。
The parts feature molded surface details that will be removed completely. The surfaces are then carefully smoothed in preparation for further modifications and finishing.
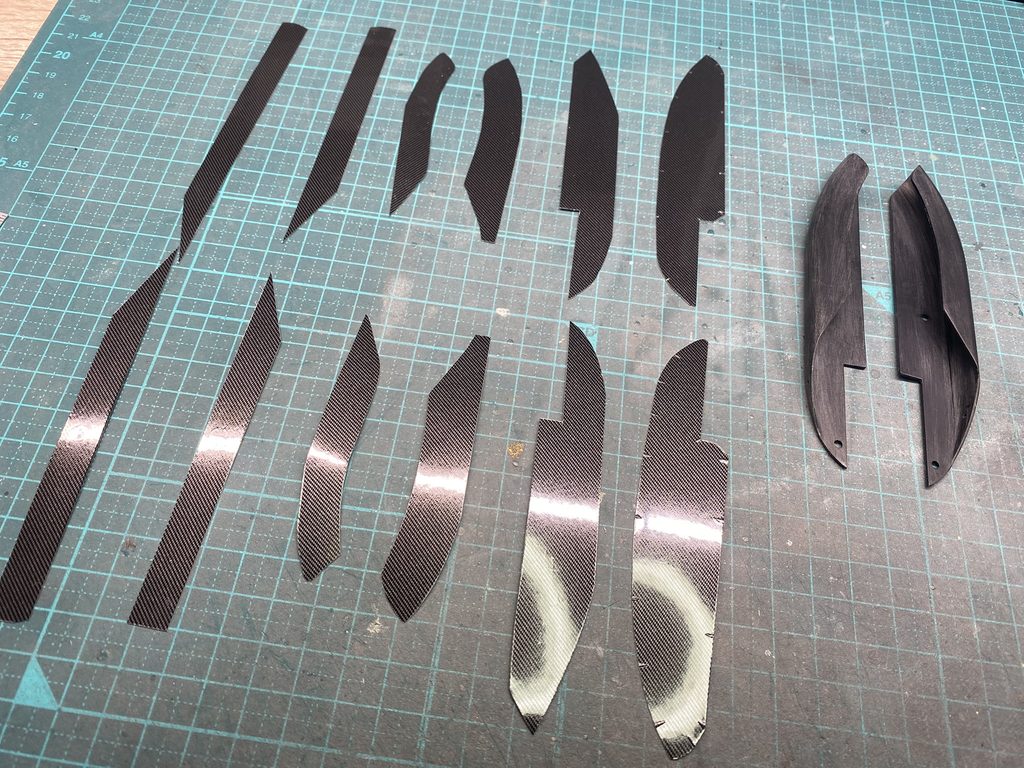
フロントウイングも、すべてカーボンデカールで仕上げていきます。
まずは型紙を作成し、各パーツの形状に合わせてカーボンデカールを切り出します。
The entire front wing will also be finished with carbon fiber decals.
The process begins by making templates and cutting the decals to match the shape of each component.

下地処理が完了したパーツにベースカラーのブラックを吹き付け、十分に乾燥させてからカーボンデカールを貼っていきます。
The prepared parts are first coated with a black base color and left to dry thoroughly. The carbon fiber decals are then carefully applied to each component.
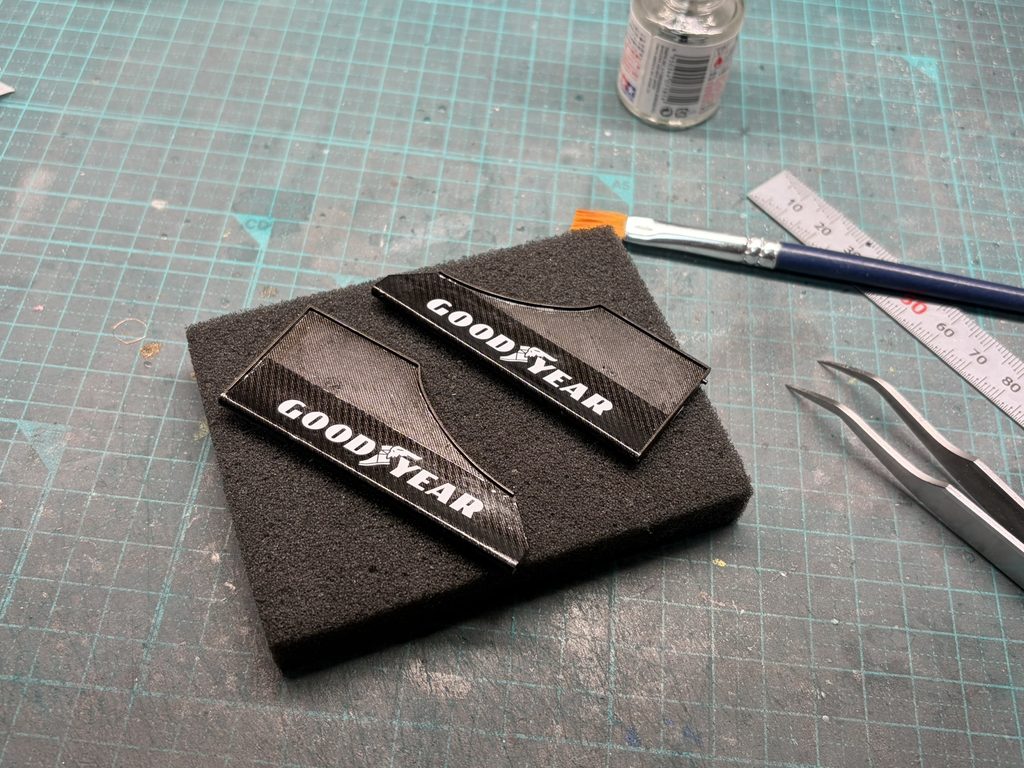
パーツごとにカーボンデカールの種類を使い分け、必要に応じて重ね貼りを行いながら、実車に近い色味や質感を再現していきます。
Different types of carbon fiber decals are selected for each component, with additional layers applied where necessary to achieve a more authentic color and texture, closely matching the real car.

すべてのパーツにカーボンデカールを貼り付け、十分に乾燥させてからクリアーを吹き付けて仕上げます。
With the carbon fiber decals applied to all components, the parts are left to dry thoroughly before a clear coat is applied to protect and seal the finish.
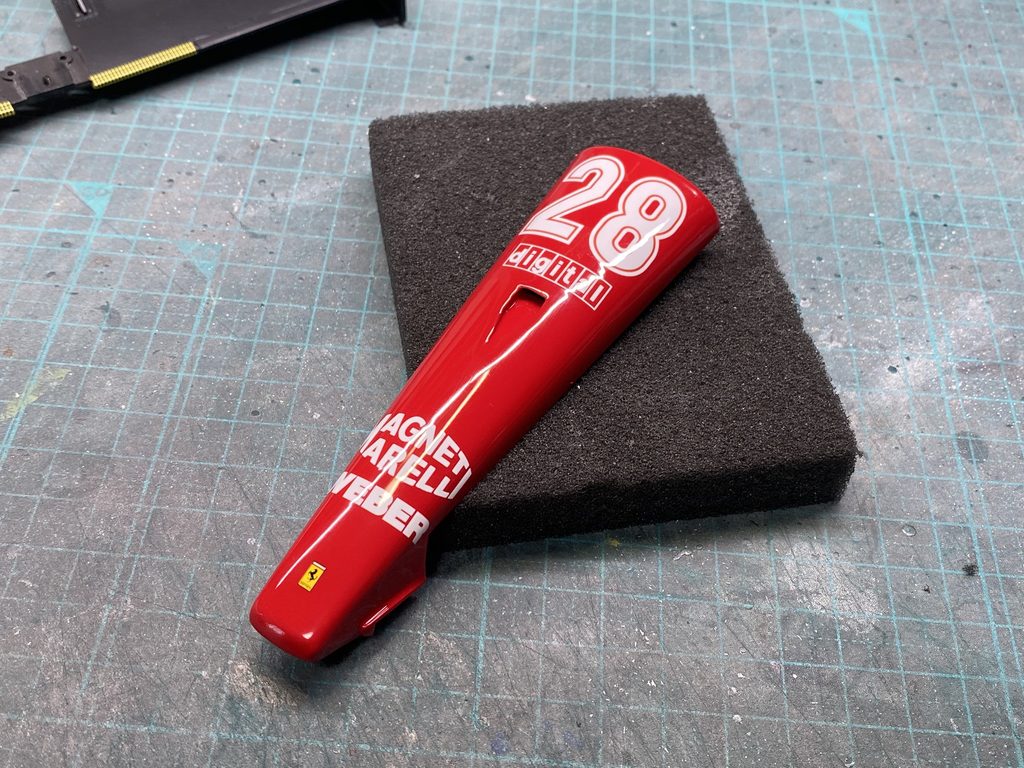
次に、フロントノーズの磨き出しを行います。
Next, the front nose is carefully polished to achieve a smooth, glossy finish.
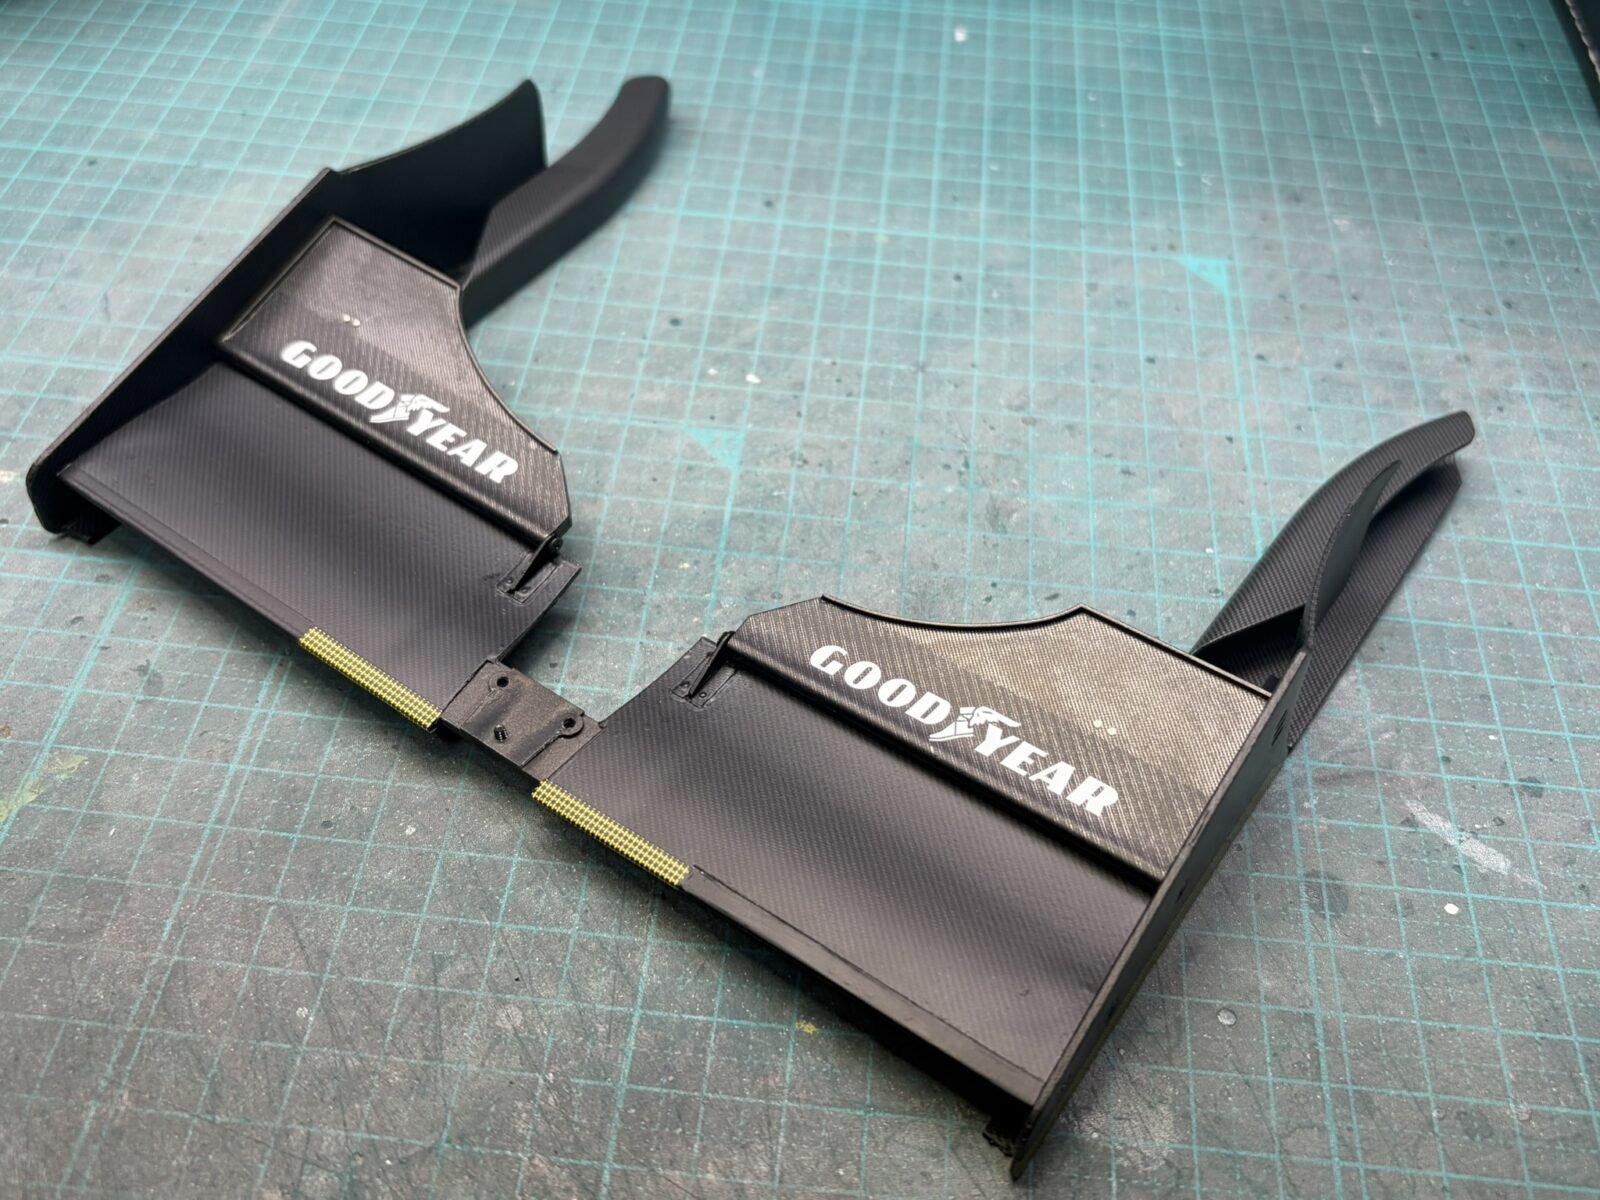
セミグロスクリアーが完全に乾燥したら、フロントウイングの組み立てに入ります。
実車では、光の当たり方によってマットにも光沢のある仕上がりにも見えるため、まずは組み立てを進め、全体の雰囲気を確認したうえで、後からガラスコーティングによって艶を微調整することにします。
With the semi-gloss clear coat fully cured, assembly of the front wing can begin.
On the real car, the surface can appear either matte or glossy depending on the lighting conditions. I will first complete the assembly, then assess the overall appearance and fine-tune the sheen with a glass coating to achieve a more authentic finish.
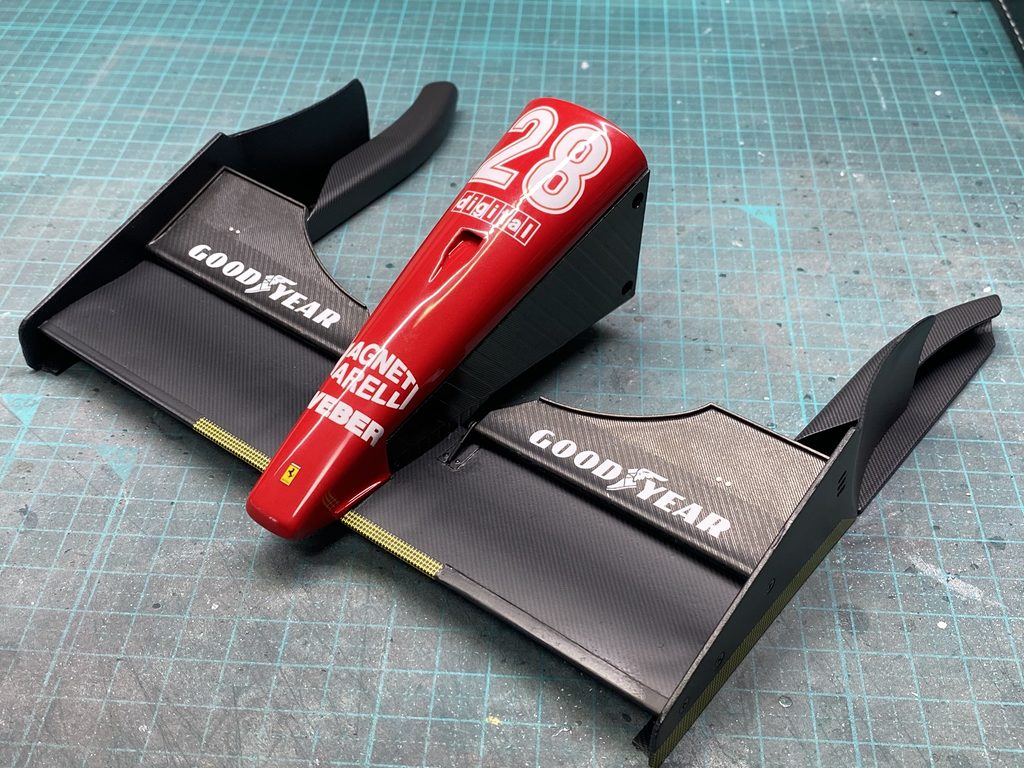
フロントノーズを取り付け、フロントウイングの組立が完了しました。
The front nose is now in place, completing the front wing assembly.
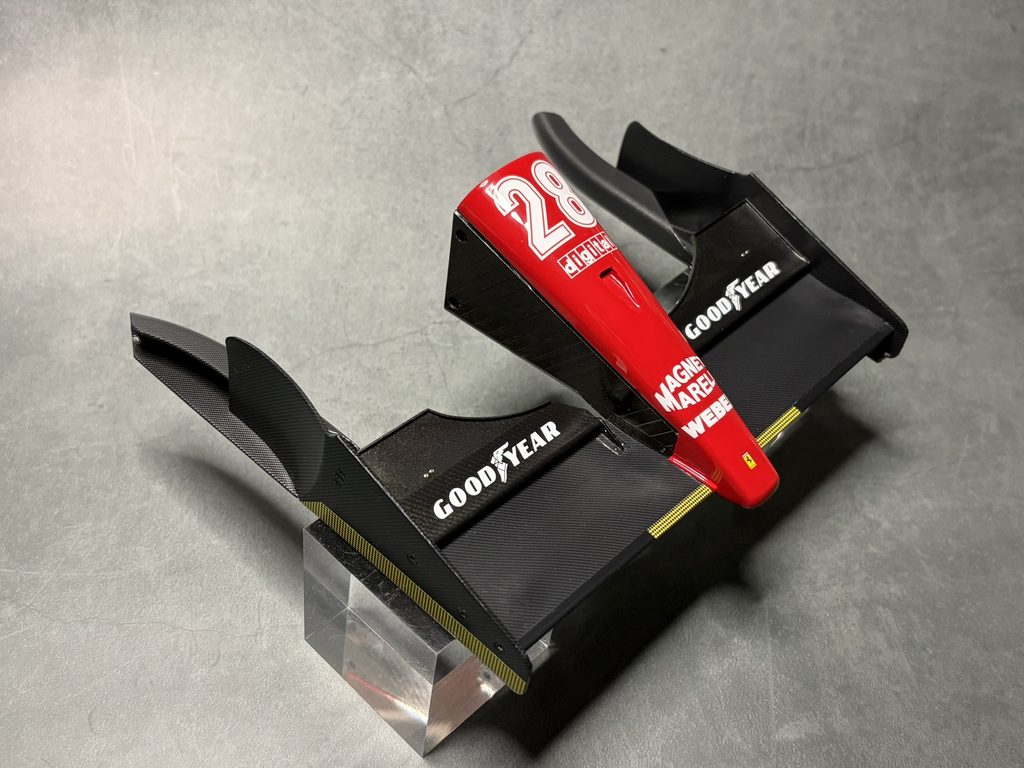
最後に、カーボンデカールの部分にガラスコーティングを施し、全体のバランスを見ながら艶を微調整します。これでフロントウイングが完成しました。
As a final touch, a glass coating is applied to the carbon fiber surfaces, allowing the sheen to be fine-tuned for a more realistic appearance. With this final adjustment complete, the front wing is finished.
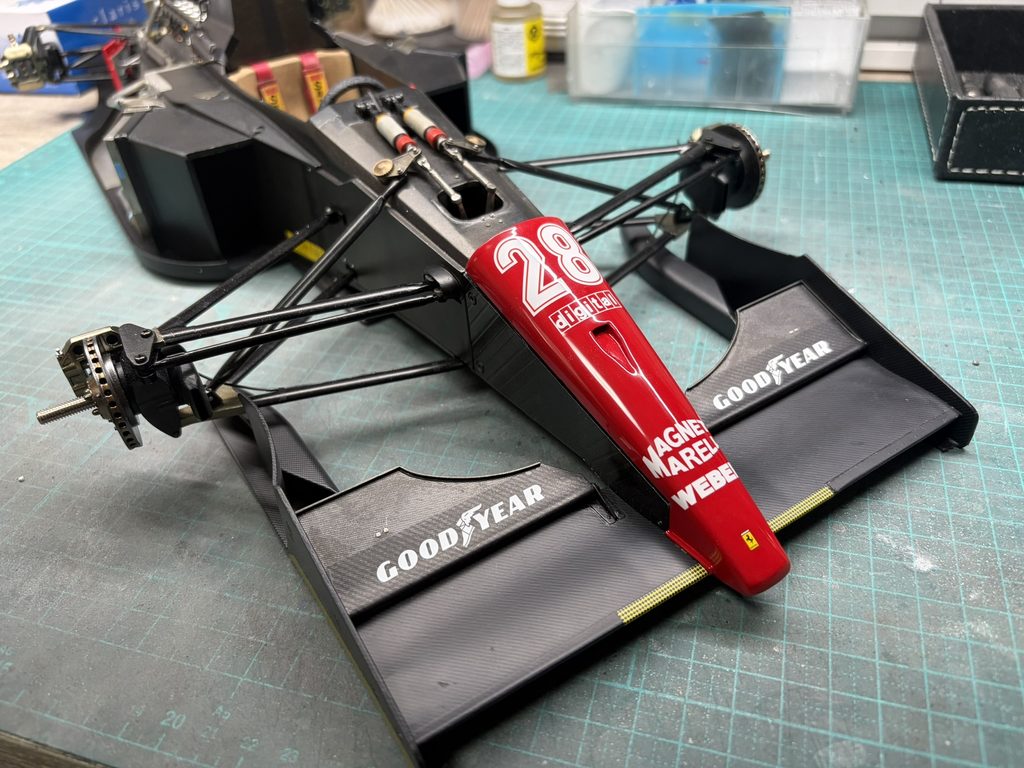
完成したフロントウイングを本体に取り付けていきます。
The completed front wing is now installed onto the main assembly.
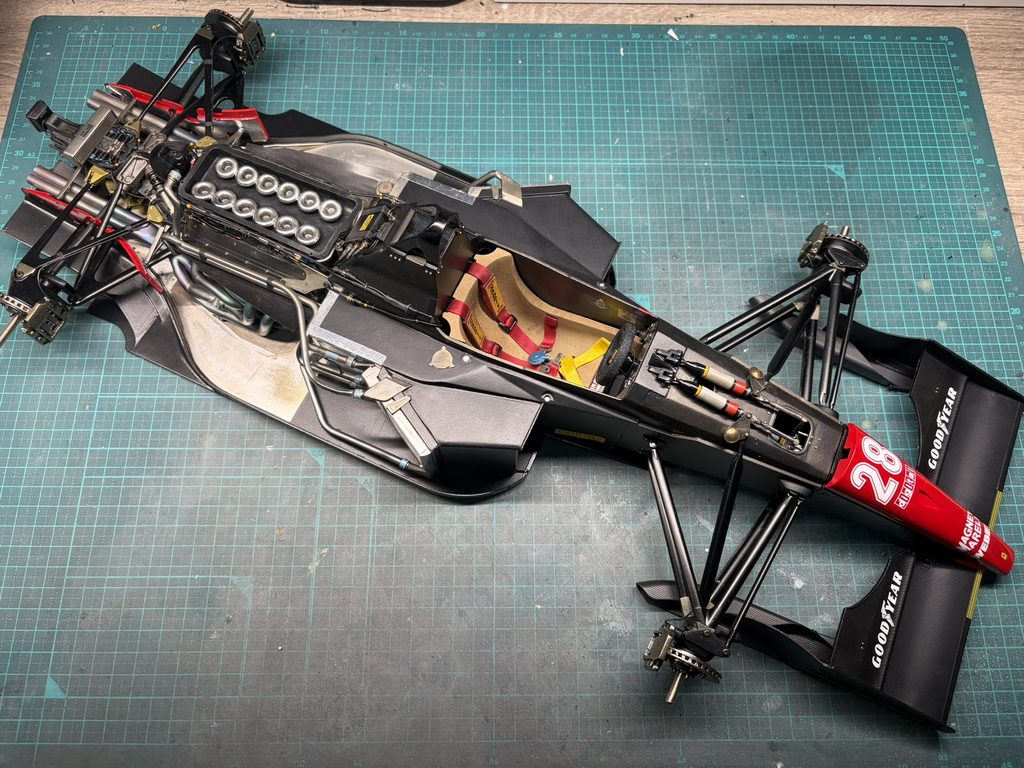
フロントウイングが取り付けられ、マシンの姿がさらに整ってきました。各部のディテールを積み重ねながら、完成に向けて引き続き製作を進めていきます。
With the front wing installed, the model is beginning to take on a more complete appearance. The build continues, with each carefully reproduced detail bringing the Ferrari 643 one step closer to completion.