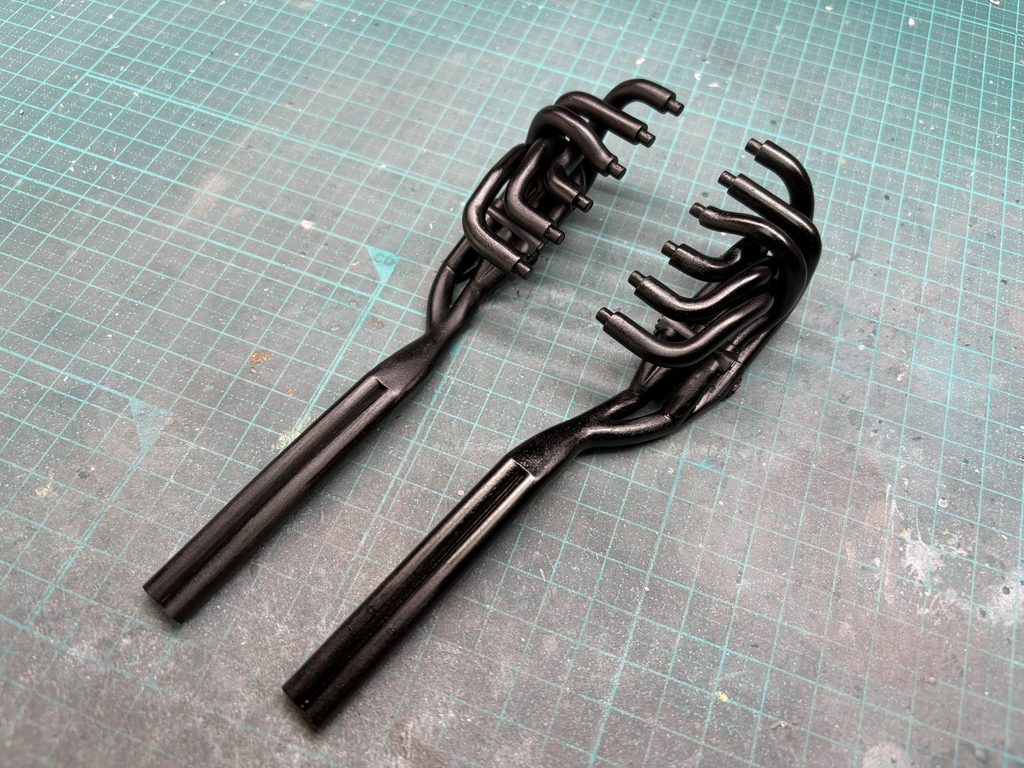
徹底的に整形したエキゾーストシステムを塗装していきます。まずはプライマー処理を施し、その後サーフェーサーで下地を整えます。
続いて、ベースカラーとなるブラックを吹き付け、しっかりと乾燥させます。
The extensively reshaped exhaust system is now ready for painting. First, a coat of primer is applied, followed by surfacer to prepare a smooth base.
Next, the base color of black is sprayed over the parts and allowed to dry thoroughly.
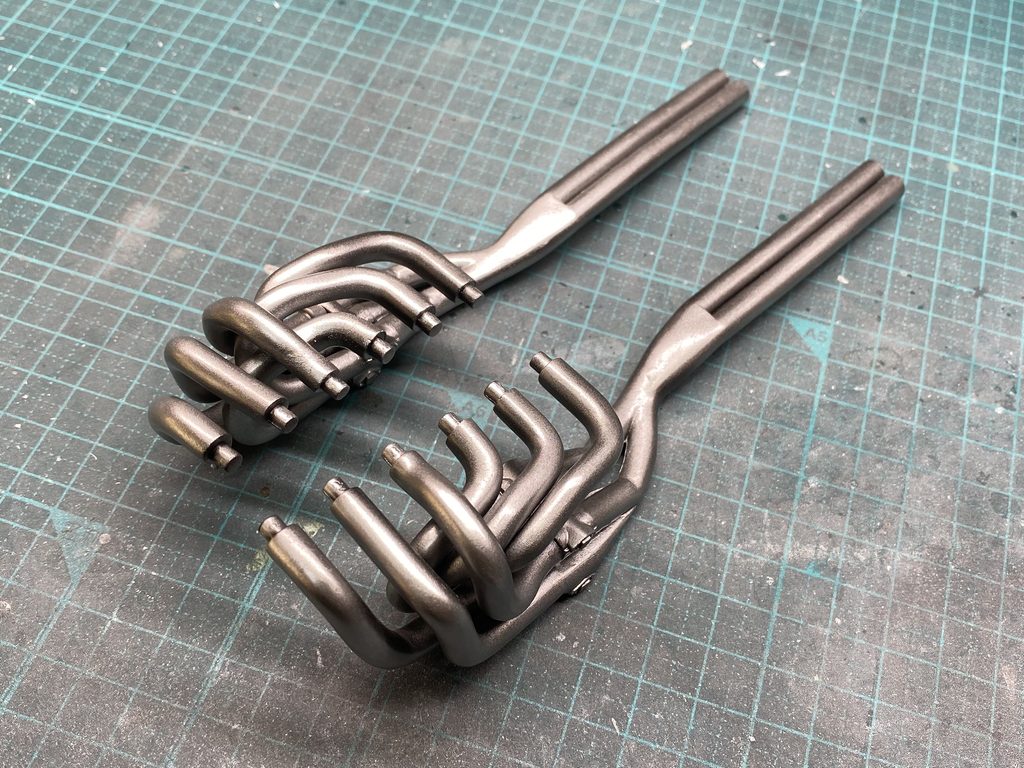
ブラックが完全に乾燥したら、調合しておいたシルバーを塗装していきます。
Once the black base coat has fully dried, the custom-mixed silver is applied.
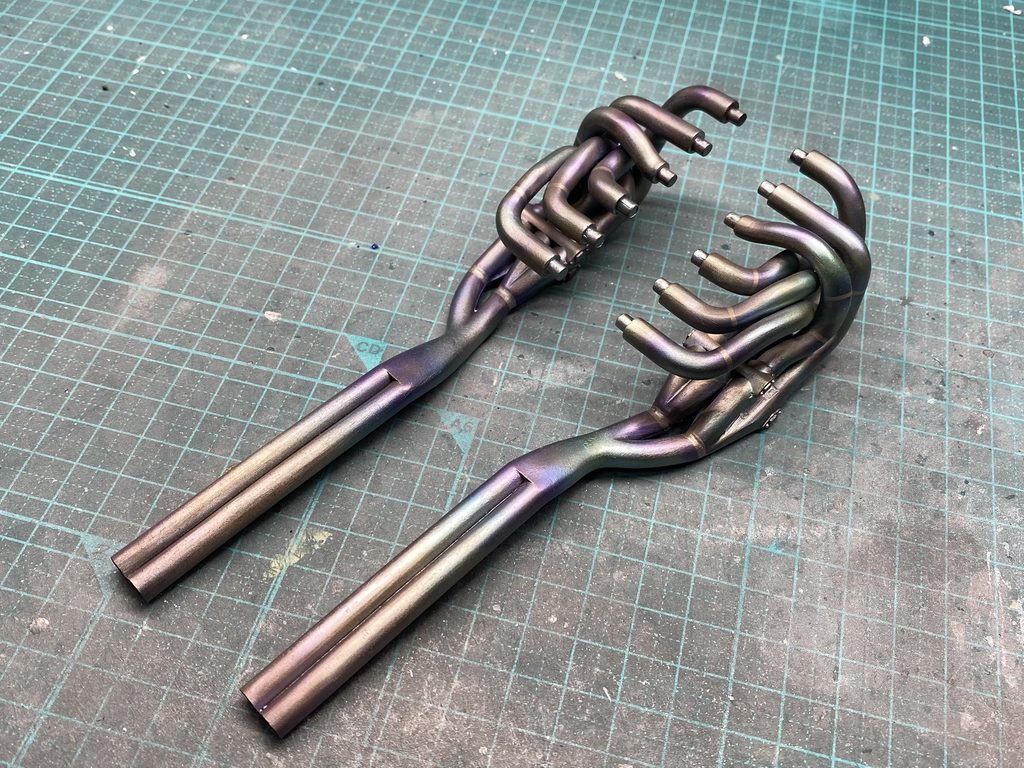
さらに、溶接部分やエキゾーストシステムの焼けた質感も、塗装で再現していきます。
本体へ取り付ける際には、全体のバランスを確認しながら色味を調整し、さらに実車らしい雰囲気に仕上げていきたいと思います。
The appearance of the welds and the heat-discolored areas of the exhaust system are also reproduced through painting.
Once the exhaust system is installed onto the main assembly, the color tones will be adjusted while checking the overall balance, bringing the finish even closer to that of the real car.
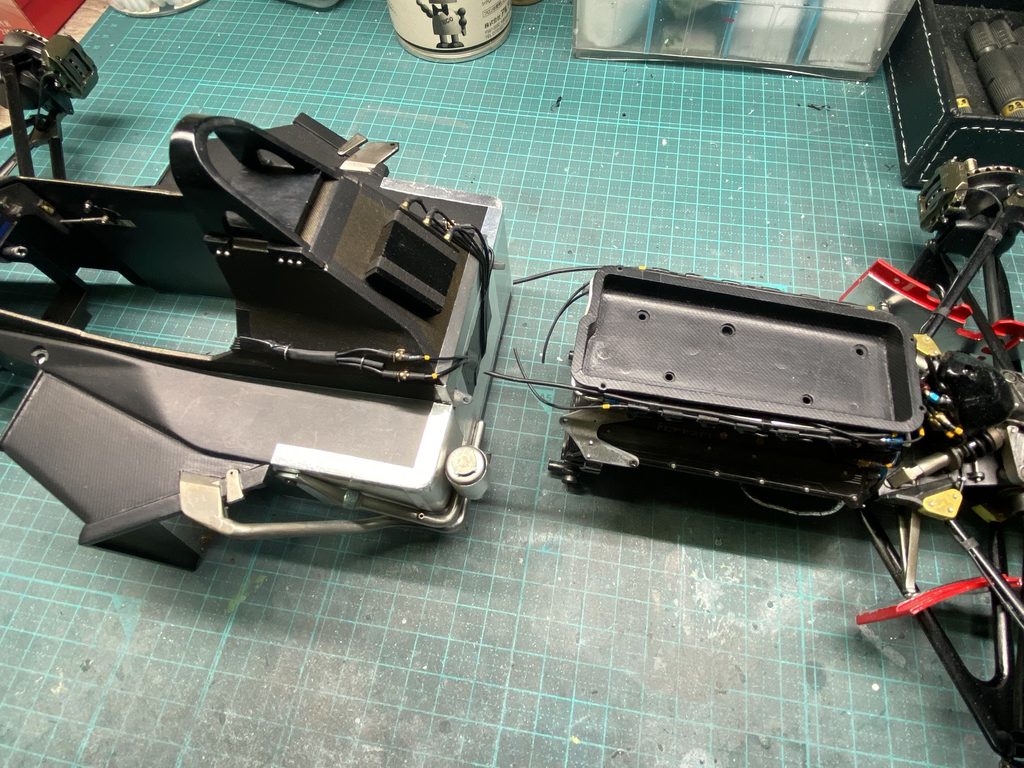
ここでモノコックとエンジン部分をビスでしっかりと接合し、強固に固定します。
At this stage, the monocoque and engine assembly are firmly joined together with screws, ensuring a strong and secure connection.
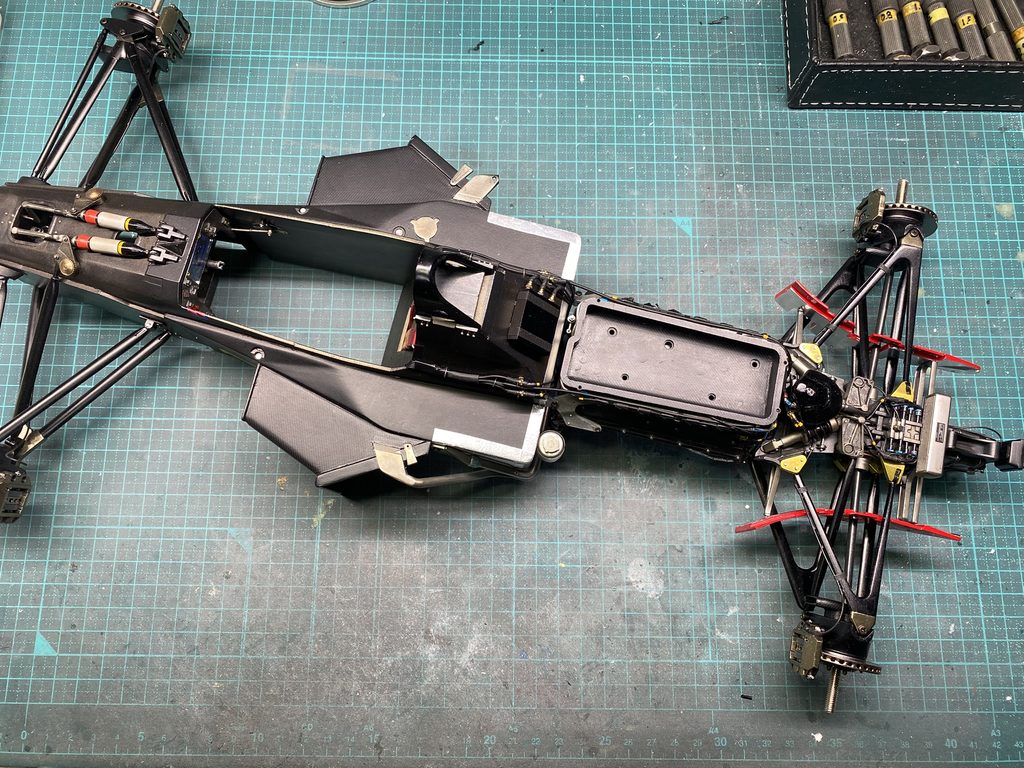
モノコックとエンジン部分の接合が完了しました。やはり1/8スケールは、接合するとかなりの大きさになります。
これから製作を続けるにあたり、大きさと重量があるため、完成まで慎重に取り扱っていきます。
The monocoque and engine assembly are now firmly joined together. As expected, the 1/8 scale becomes quite substantial once these major components are assembled.
Due to its size and weight, I will handle the model with extra care throughout the remainder of the build until completion.
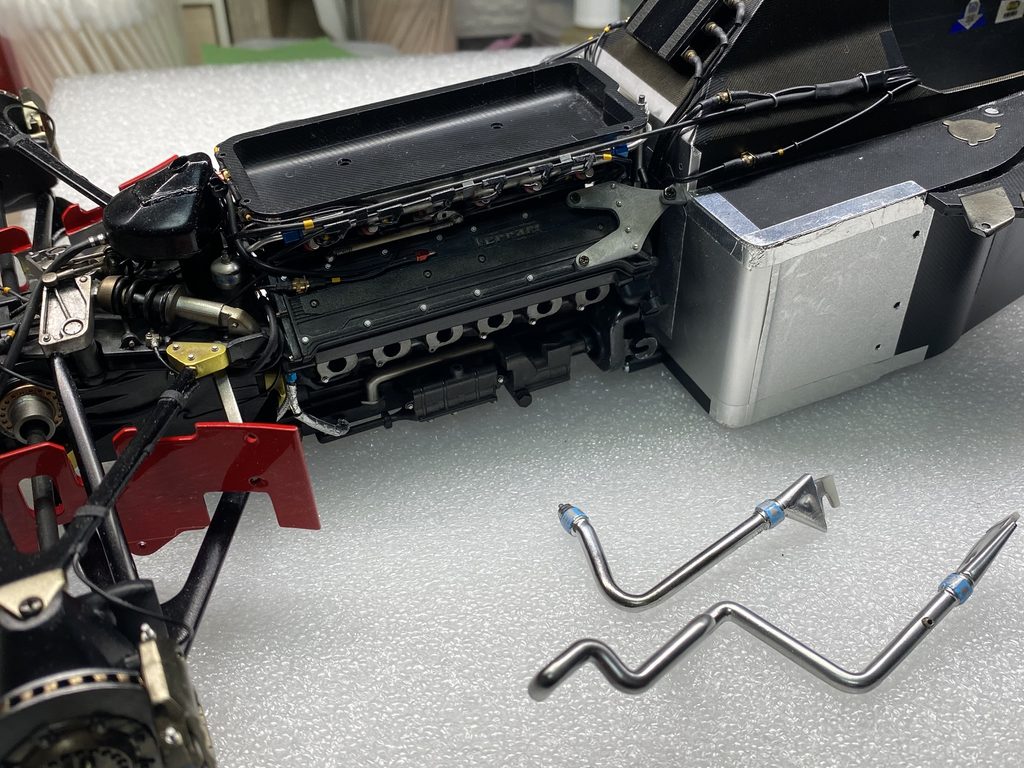
続いて、ラジエーター周辺のパイプ類も接続していきます。
Next, the pipes and hoses around the radiators are also connected.
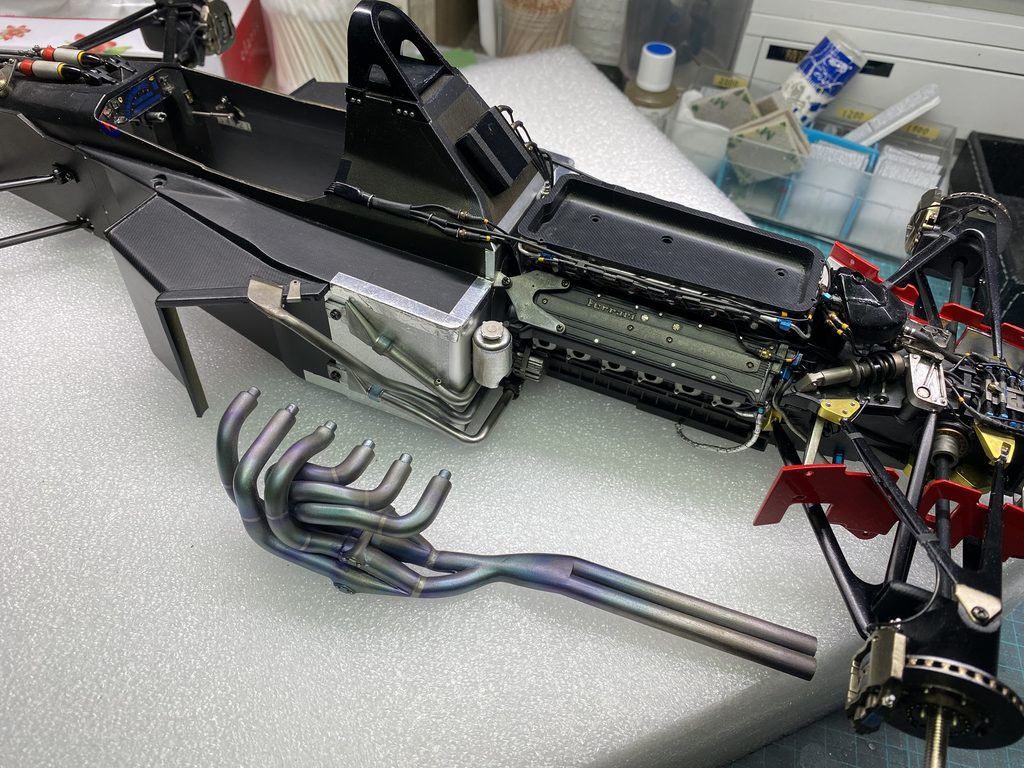
次に、製作しておいたエキゾーストシステムを取り付けていきます。
Next, the previously completed exhaust system is installed.
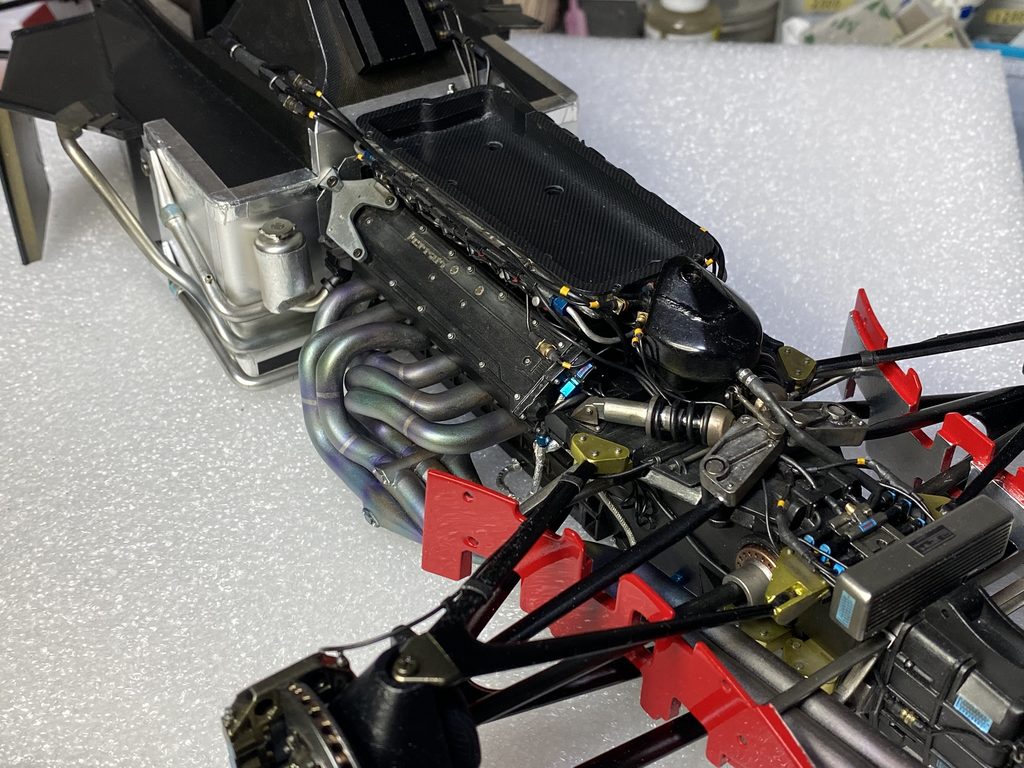
取り付ける前に、エキゾーストシステム全体のカラートーンを若干落としておきます。その後、位置や角度に注意しながら、しっかりと取り付けていきます。
Before installation, the overall color tone of the exhaust system is slightly toned down to create a more realistic appearance. It is then carefully installed, paying close attention to the position and angle of each component.
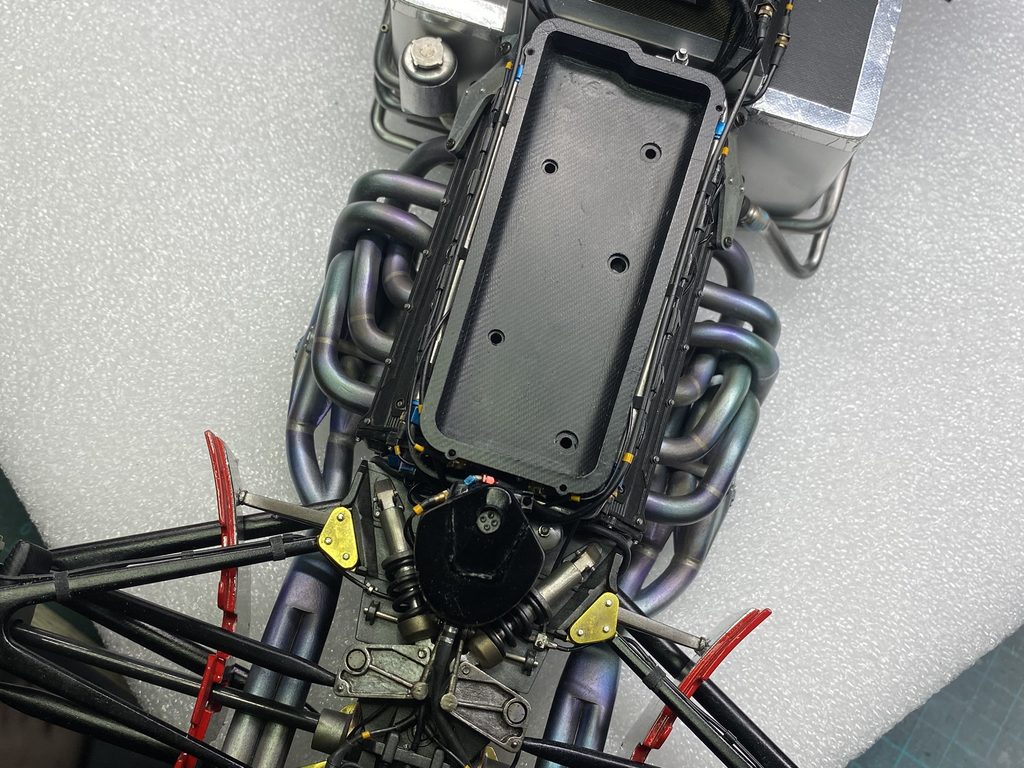
左右のバランスに注意しながら、反対側も同様に取り付けていきます。
位置や角度を調整しながら、きれいに取り付けることができました。
The exhaust system on the opposite side is installed in the same manner, carefully checking the balance from side to side.
After fine-tuning the position and angle, it was successfully installed with a clean and precise fit.
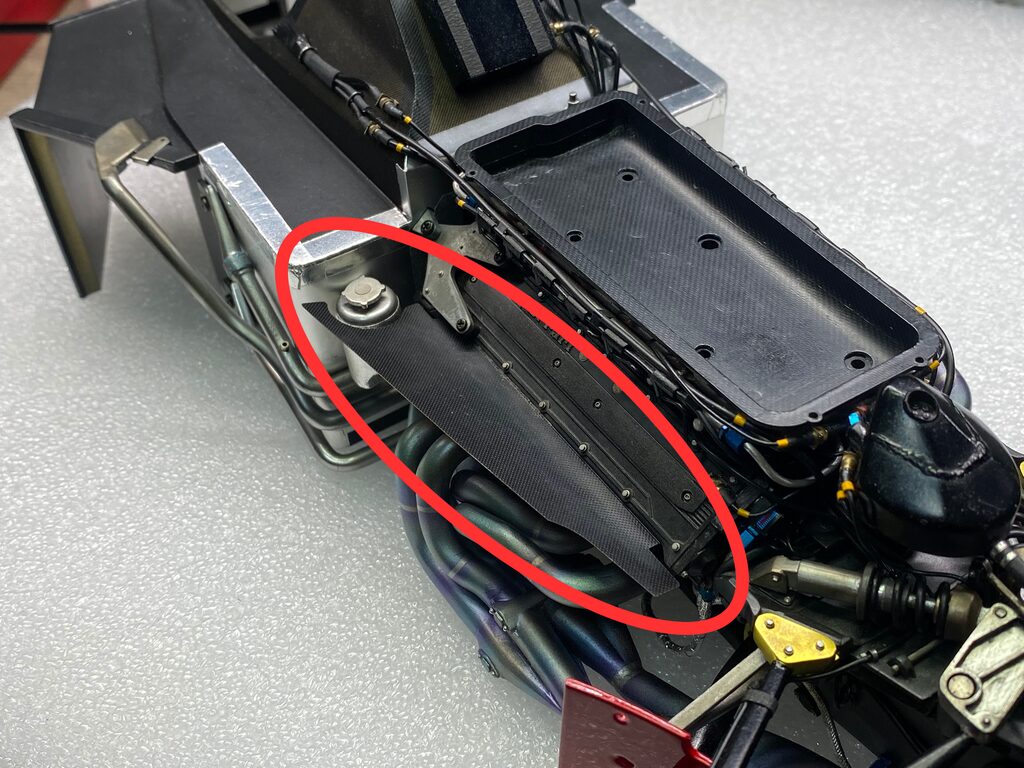
続いて、キットでは省略されているエキゾーストパイプ上部の耐熱板を追加していきます。
Next, the heat shield above the exhaust pipes, which is omitted from the kit, is fabricated and added to improve the level of detail.
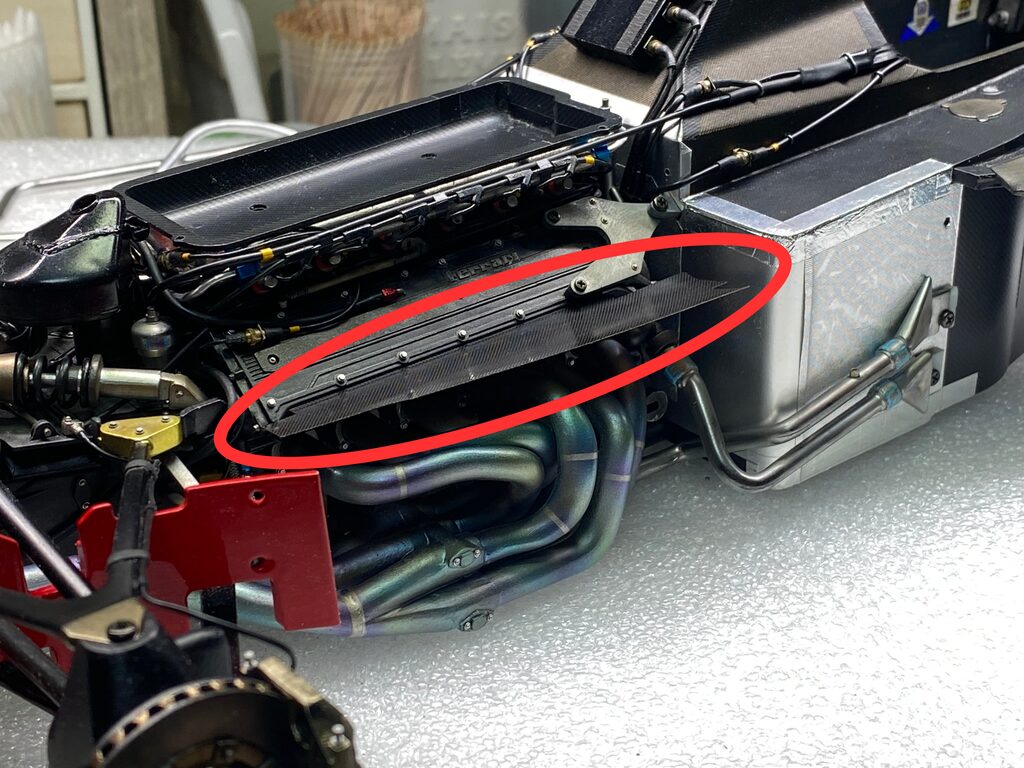
反対側の耐熱板も取り付けます。
左右に耐熱板を追加することで、より実車に近い雰囲気に仕上がったと思います。
The heat shield on the opposite side is also installed.
With the heat shields added on both sides, I believe the exhaust area now has a much more realistic appearance, closer to that of the real car.