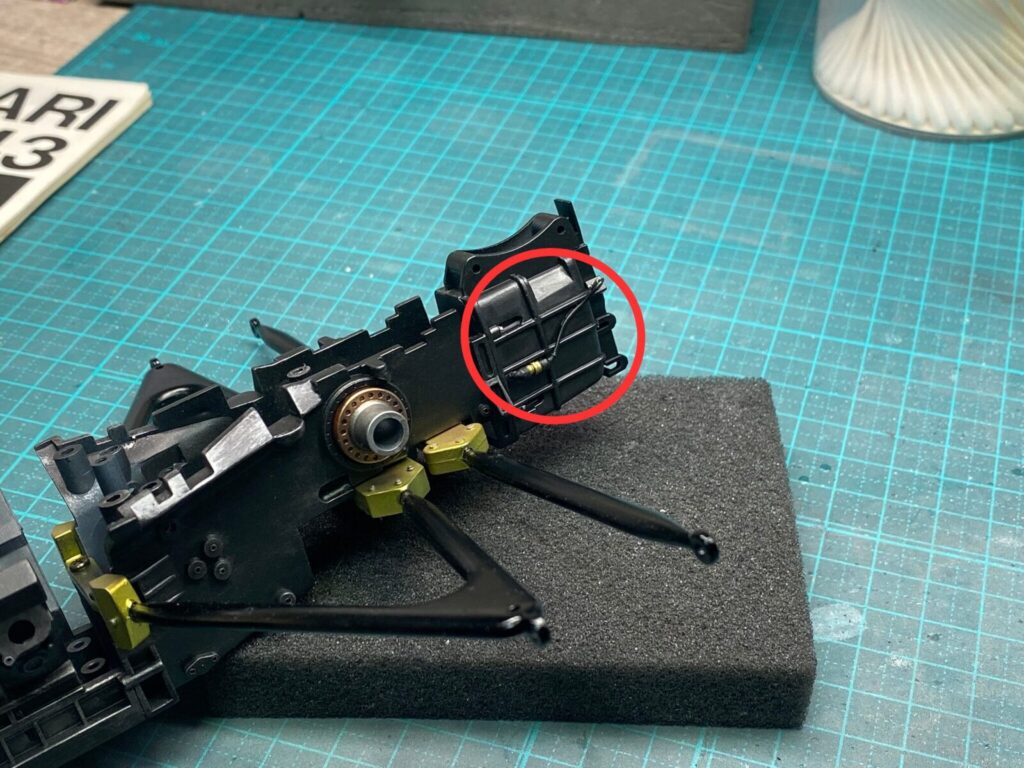
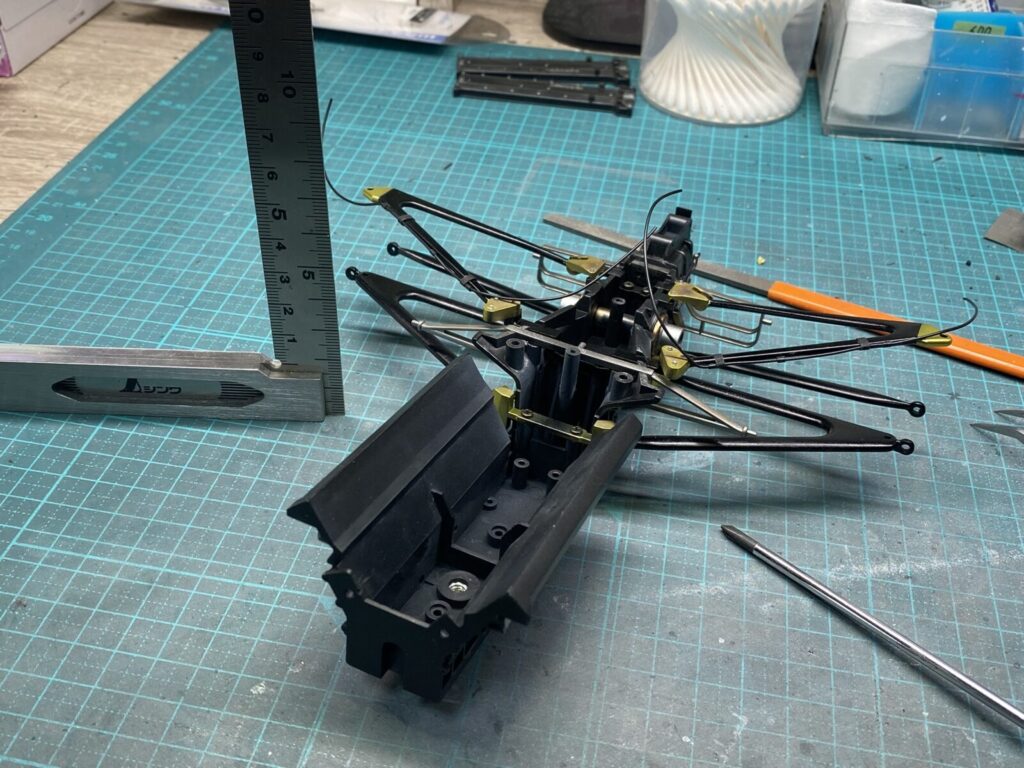
キットでは省略されているコネクターや配線類についても、実車資料を参考にしながら追加していきます。
Additional connectors and wiring not included in the kit were added based on reference photos of the real car.
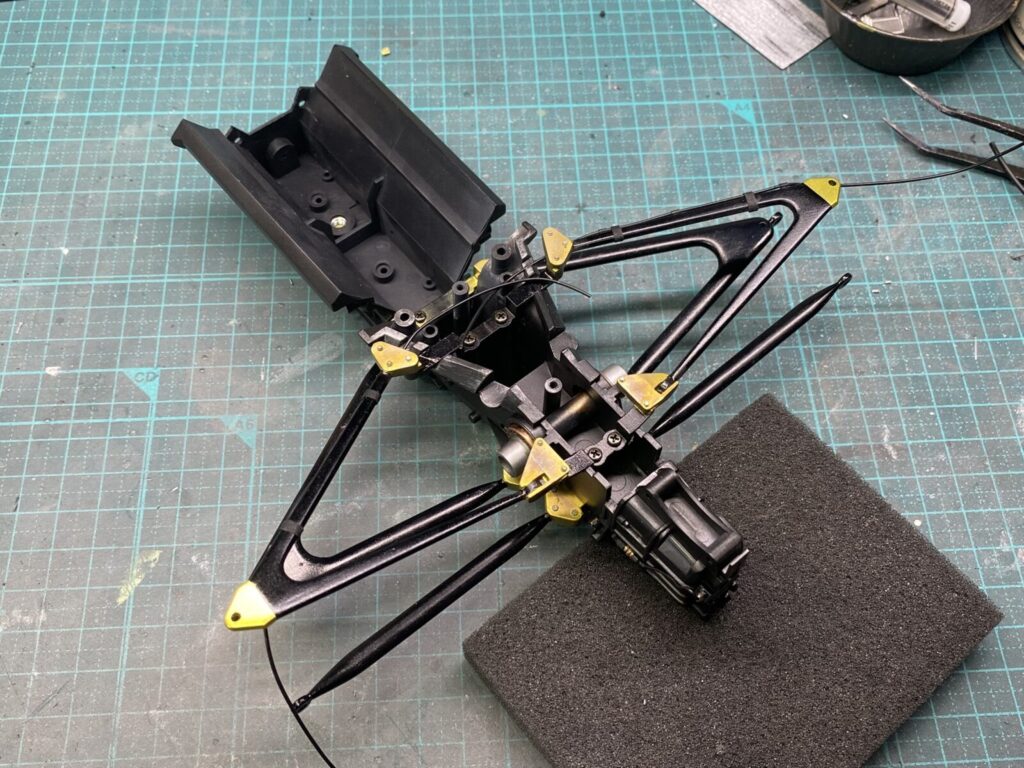
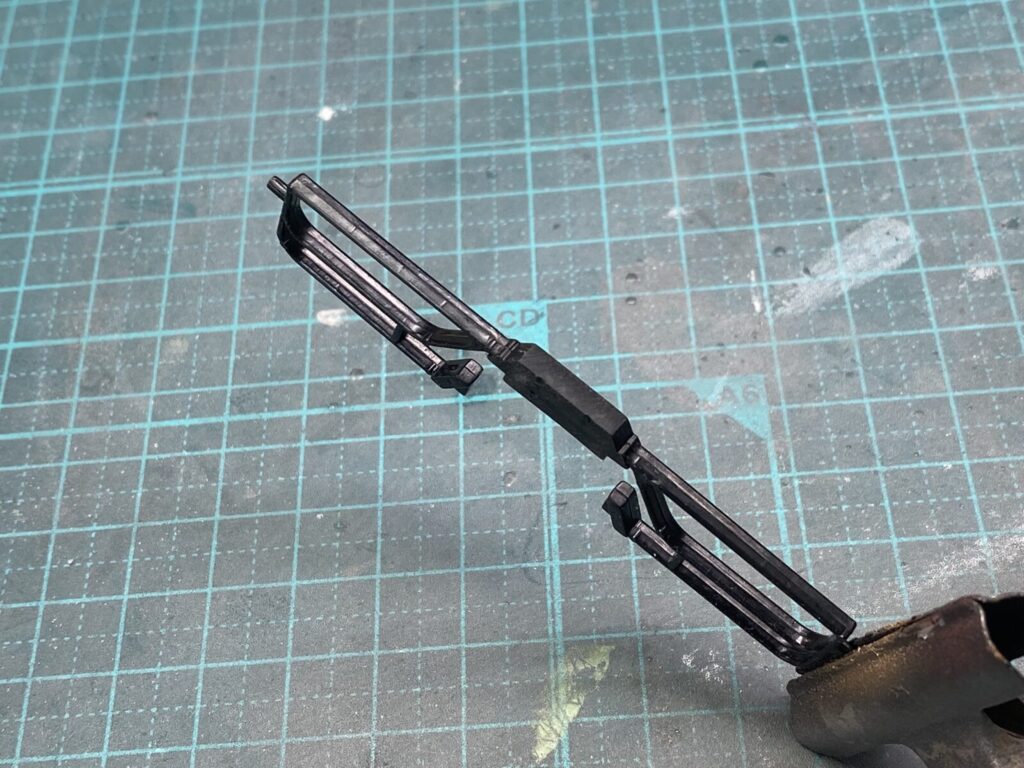
続いて、あらかじめ製作しておいたアッパーウィッシュボーンを取り付けていきます。
サスペンション全体の位置関係に影響する重要なパーツのため、各部のクリアランスや角度を確認しながら慎重に組み付けを進めます。
Next, the upper wishbones prepared earlier were installed.
As these components play a key role in the overall suspension geometry, their alignment and clearances were carefully checked during assembly.

エンジン周辺に使用されるメッキパーツは、一度すべてメッキを剥離しておきます。
そのまま使用するよりも質感や色味を細かく調整できるため、下地から作り直してより実感的な仕上がりを目指します。
All of the chrome-plated parts used around the engine were stripped of their factory plating.
Reworking these parts from the base material provides greater control over the final finish, allowing a more realistic metallic appearance to be achieved.
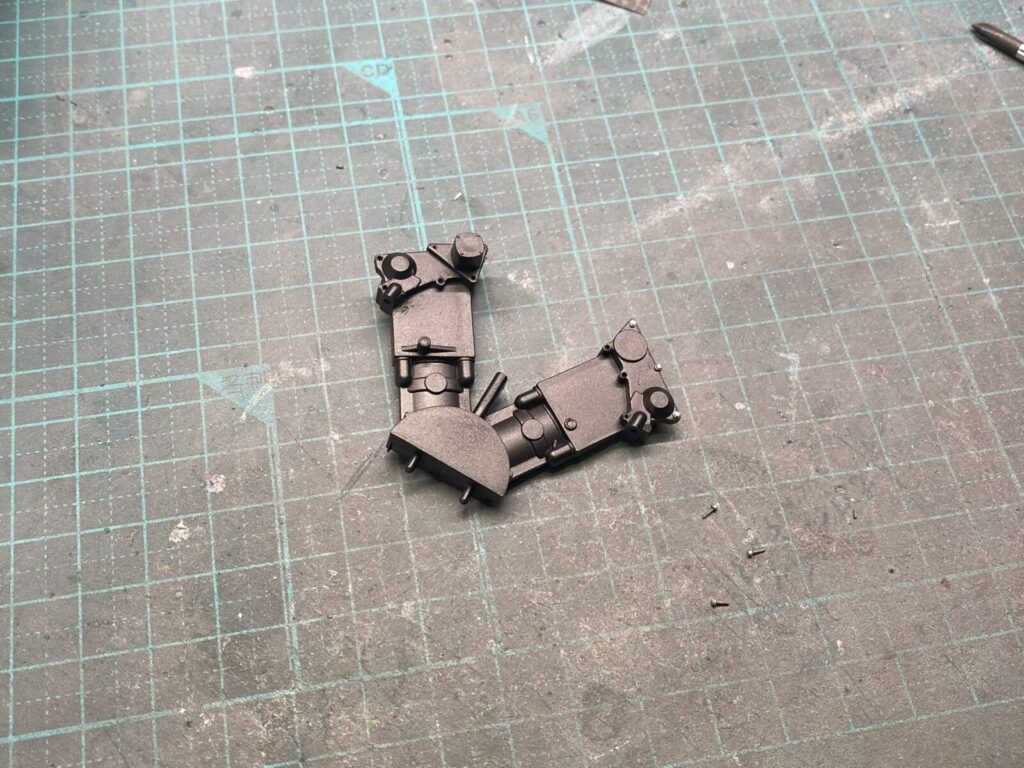
リアサイドパネルを固定するステーは、まずメッキを剥離します。
その後、パーティングラインを丁寧に処理しながら各部の形状を整え、シャープな仕上がりを目指します。
The support brackets used to secure the rear side panels were first stripped of their chrome plating.
The mold seams were then carefully removed and the shape of each part refined to achieve a cleaner and more realistic appearance.

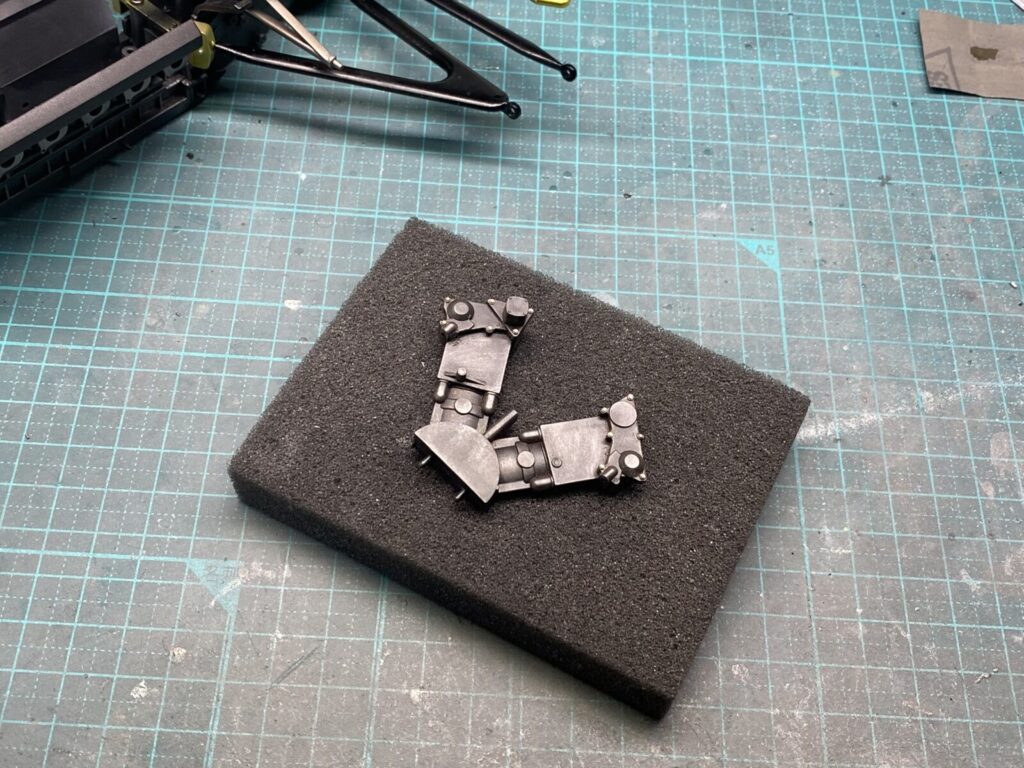
下地処理が完了したら、実車の質感を意識しながらシルバーで塗装します。
このパーツは金属感を強調し過ぎず、スケール感とのバランスを取りながら仕上げることで、より実車らしい雰囲気を目指します。
Once the surface preparation had been completed, the parts were painted silver to better capture the appearance of the real car.
For these components, the finish was kept subtle rather than overly metallic, with careful attention paid to maintaining a realistic sense of scale and authenticity.
塗装が十分に乾燥したら、各パーツを取り付けていきます。
塗膜を傷めないよう注意しながら組み付けを進め、各部の位置関係や仕上がりを確認していきます。
Once the paint had fully cured, the parts were installed.
Assembly was carried out carefully to avoid damaging the finish, while checking the fit and alignment of each component.
続いて、あらかじめ塗装を済ませておいたエンジン後方のパーツにボルトを追加していきます。
Next, replacement bolts were added to the rear engine components that had been painted earlier.
完成後はほとんど見えなくなる部分ですが、金属感を強調するために陰影を加えながら仕上げていきます。
仕上げが完了したら、出来上がったパーツをエンジンへ取り付けます。
Although this area will be barely visible once the model is completed, subtle shading was added to enhance the metallic appearance and bring out the detail.
Once finished, the completed assembly was installed on the engine.