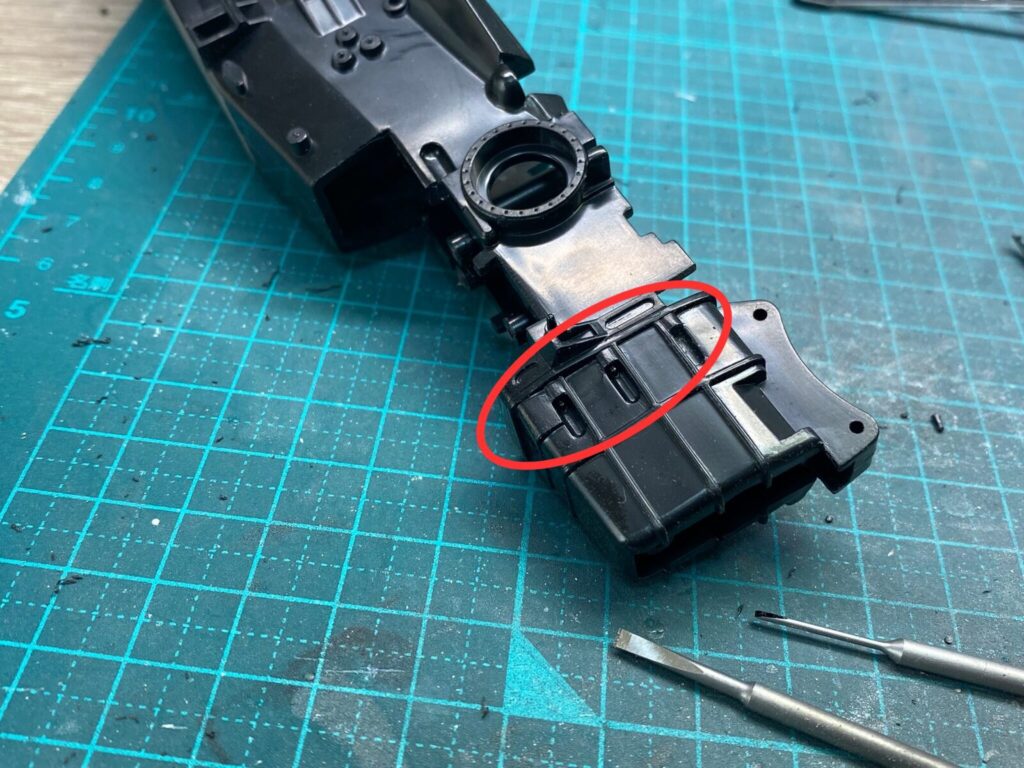
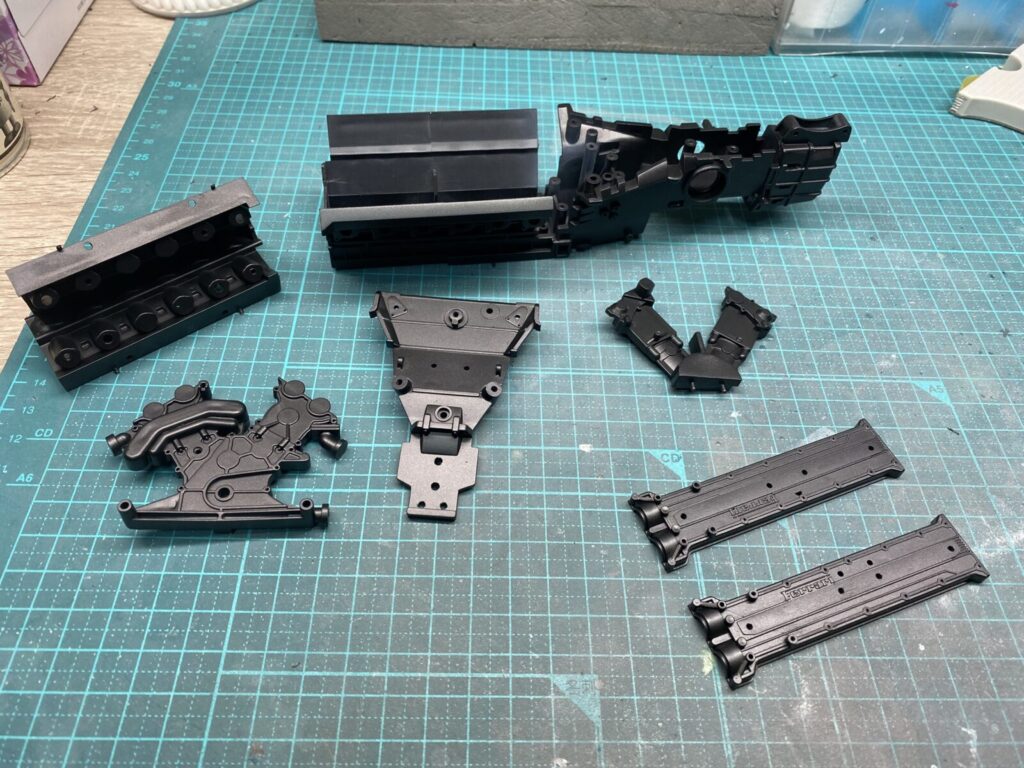
まずはエンジンやギアボックスにモールドされているボルト表現をすべて削り取ります。
キットのままでも十分な仕上がりですが、より立体感のある表現を目指すため、後ほど別パーツのボルトへ置き換えることにしました。
The first step was to remove all of the molded-on bolt details from the engine and gearbox.
While the kit parts are well detailed, the molded bolts were removed to allow them to be replaced with separate fasteners later, creating a more realistic and three-dimensional appearance.
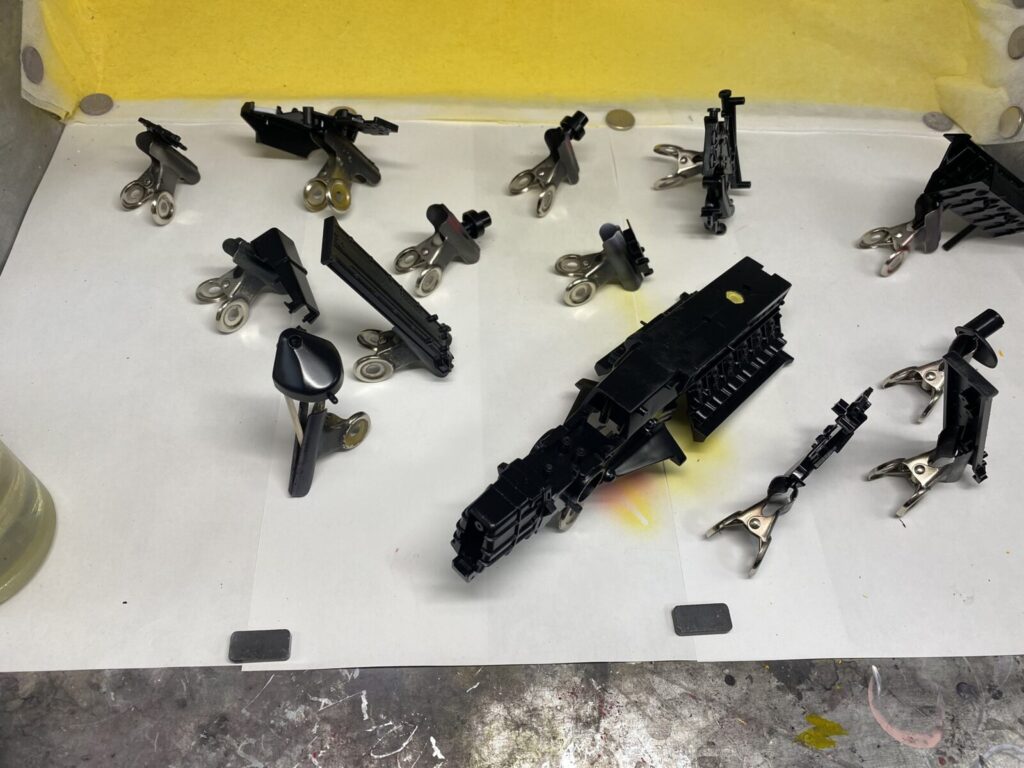
ボルトの削り取りが完了したら、パーツ全体を洗剤で丁寧に洗浄します。
表面に付着した削りカスや油分を除去した後、塗料の密着性を高めるためにマルチプライマーを吹き付けます。
Once the bolt details had been removed, all of the parts were thoroughly cleaned with detergent.
After removing any sanding residue and surface contaminants, a coat of multi-purpose primer was applied to improve paint adhesion.
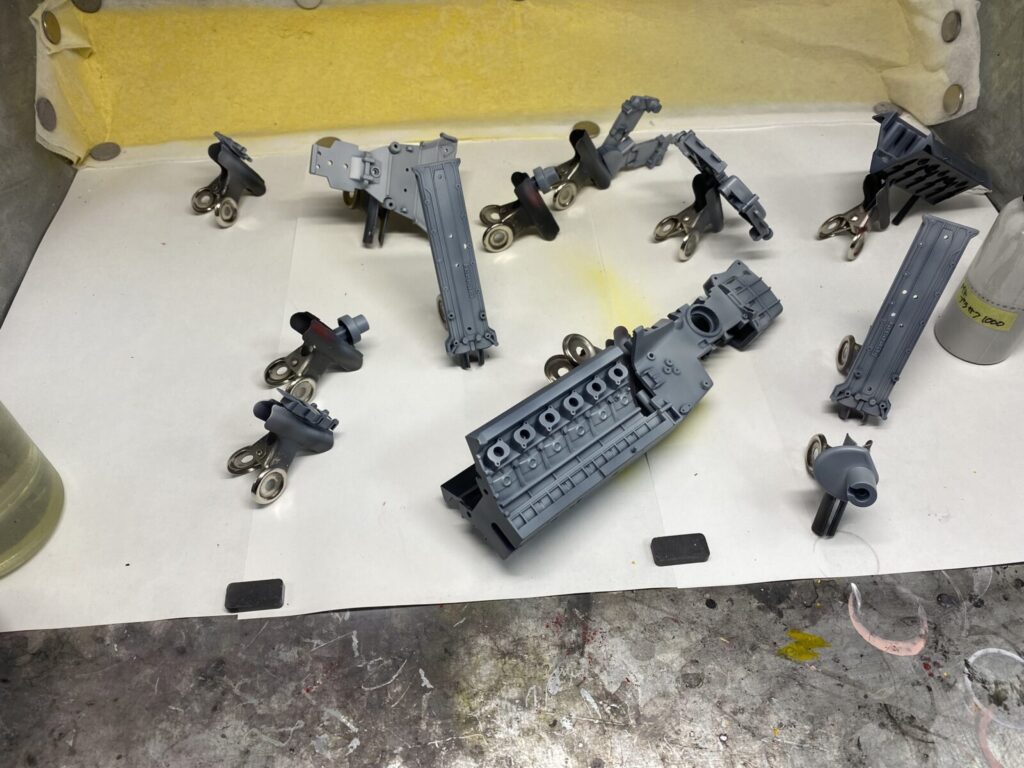
プライマーが完全に乾燥したら、グレーサーフェイサーを吹き付けます。
サーフェイサーを吹くことで表面の状態が確認しやすくなるため、この段階で傷やヒケなどの細かな不具合を修正し、塗装に向けて下地を整えていきます。
Once the primer had fully cured, a coat of grey surfacer was applied.
The surfacer makes surface imperfections easier to identify, allowing any remaining scratches, sink marks, or minor flaws to be corrected before moving on to the painting stage.
下地処理が完了したら、あらかじめ調合しておいた塗料を使用して全体を塗装します。
実車の質感やスケール感を意識しながら色味を調整し、各パーツが自然に馴染むよう仕上げていきます。
Once the surface preparation is complete, the entire assembly is painted using a custom-mixed color prepared in advance.
The shade is carefully adjusted to capture the texture and scale appearance of the real car, allowing all of the components to blend together naturally.
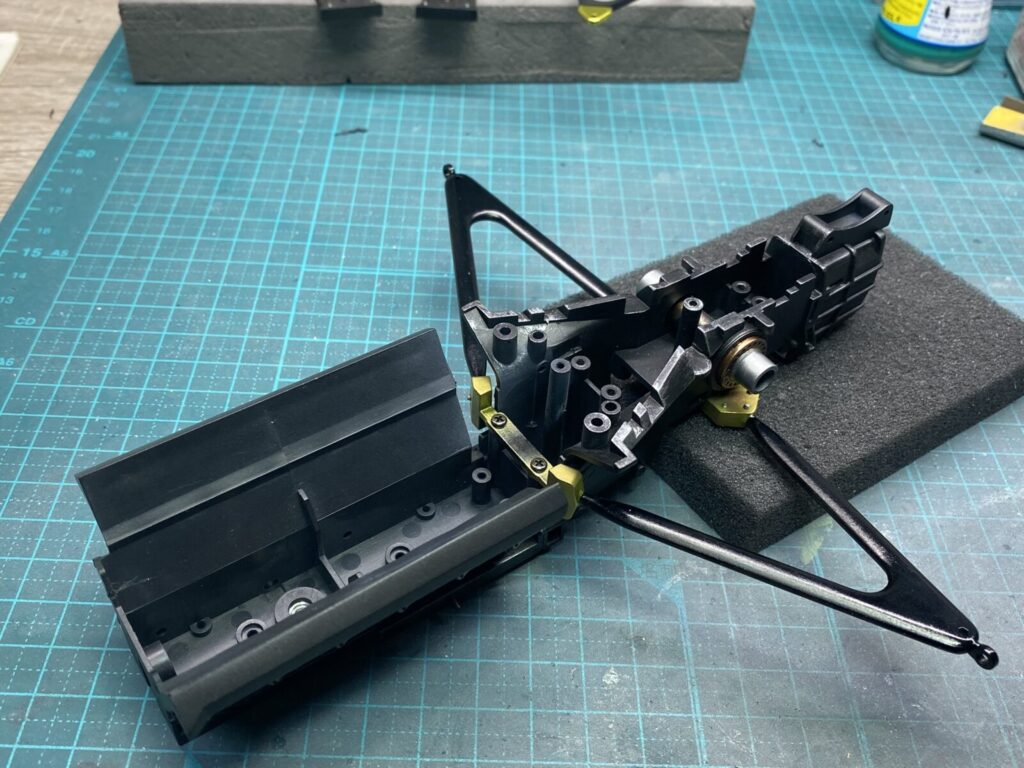
エンジンとギアボックスのベース色が乾燥したら金属感を出す為にウエザリングを施します。その後、リアサスペンションのロアウィッシュボーンを取り付けて行きます。
Once the base color on the engine and gearbox has fully dried, weathering is applied to enhance the metallic appearance of the components.
With that completed, installation of the rear suspension lower wishbones can begin.
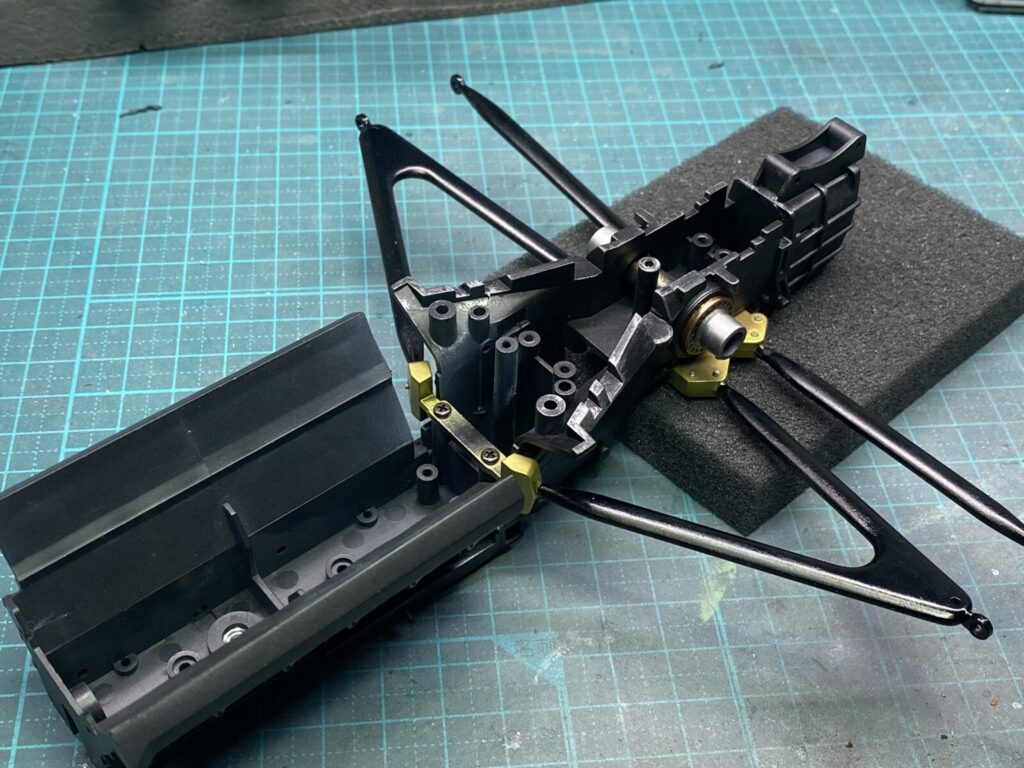
続いて、ロアウィッシュボーンの後側アームを取り付けていきます。
サスペンションジオメトリーに影響する部分でもあるため、位置関係や角度を確認しながら慎重に組み付けを進めます。
Next, the rear leg of the lower wishbone is installed.
As this area plays an important role in the suspension geometry, careful attention is paid to the alignment and angles during assembly.

リアエンドのパーツは塗装後に表面を丁寧に磨き上げ、フェラーリロゴを浮かび上がらせていきます。
塗装だけでは表現できない金属感を加えることで、実車に近い質感を目指します。
The rear-end component was painted and then carefully polished to reveal the Ferrari logo beneath the finish.
This technique helps reproduce the metallic appearance of the real part, adding a level of realism that cannot be achieved through paint alone.
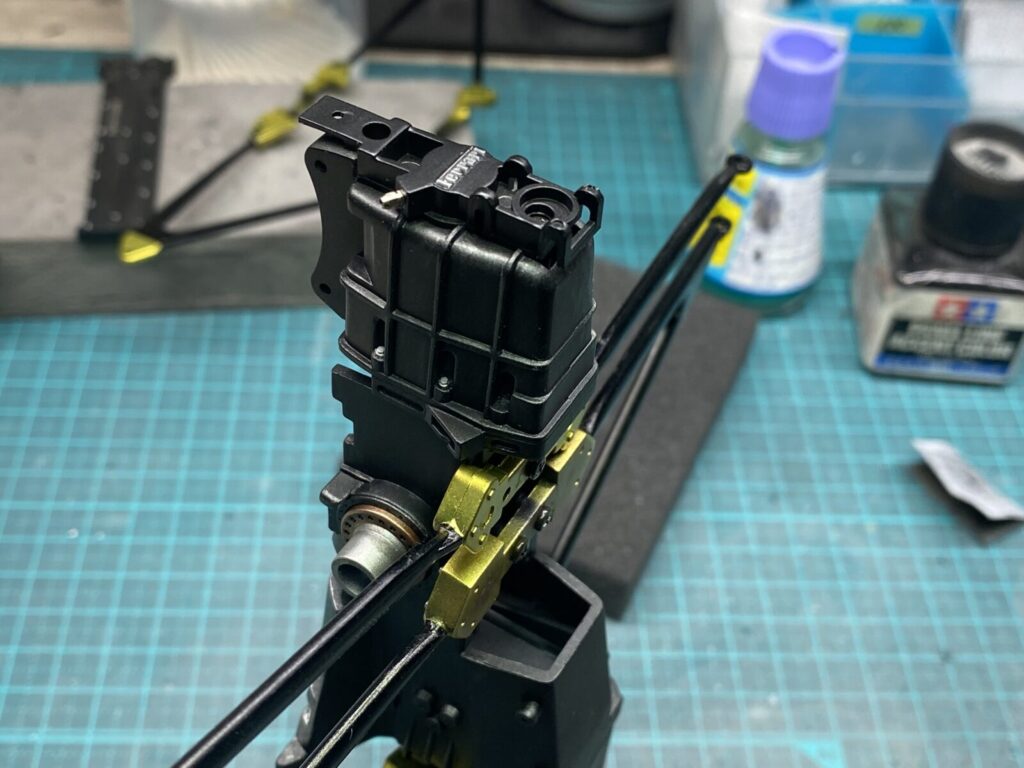
塗装と磨き出しが完了したら、リアエンドのパーツを取り付けます。
さらに各部にボルト類を追加し、ディテールを引き締めながら実感的な仕上がりを目指します。
Once the painting and polishing work had been completed, the rear-end component was installed.
Additional bolts and fasteners were then fitted throughout the assembly, enhancing the detail and contributing to a more realistic appearance.