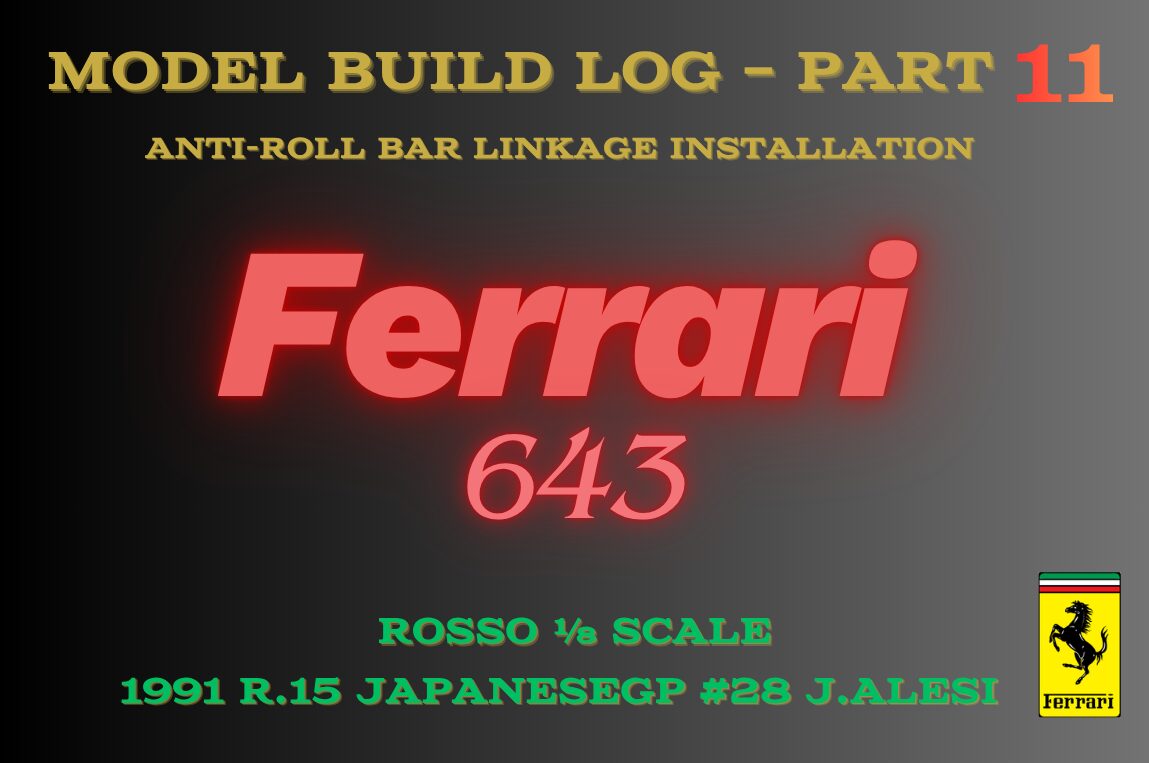
まずはダクトの開口作業を行っていきます。
最初の工程として、上部に位置するダクトから順に開口加工を進めていくことにしました。
This time, I will be working on opening up the ducts.
As the first step, I decided to start by opening the upper duct and proceed with the modification from there.
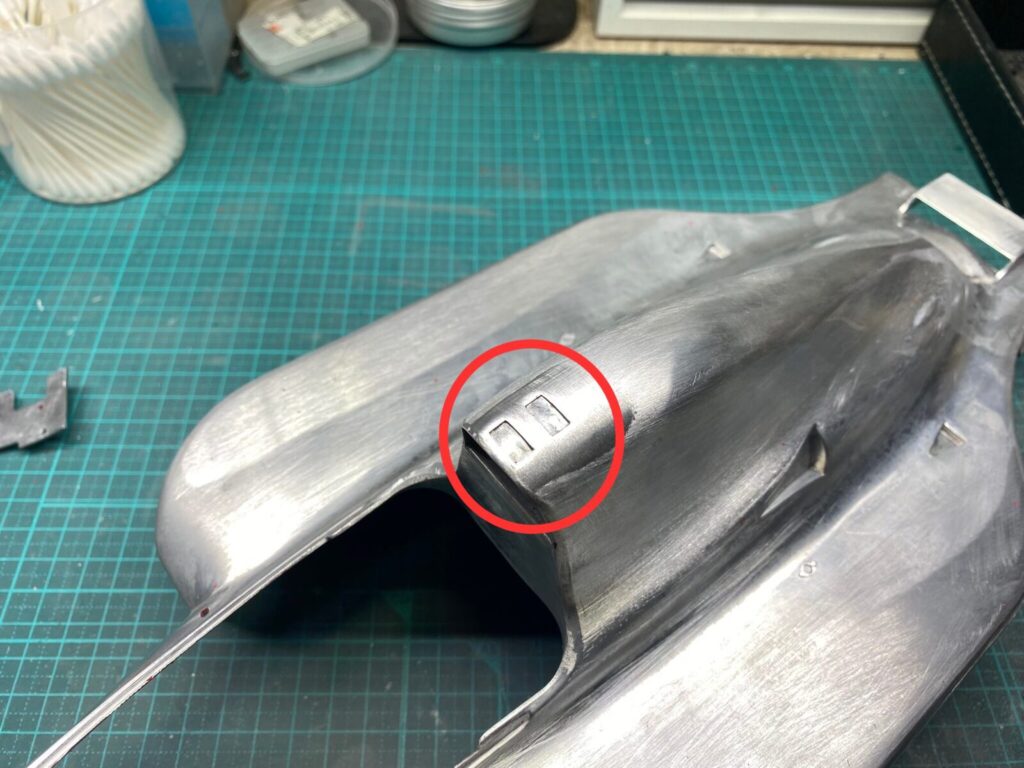
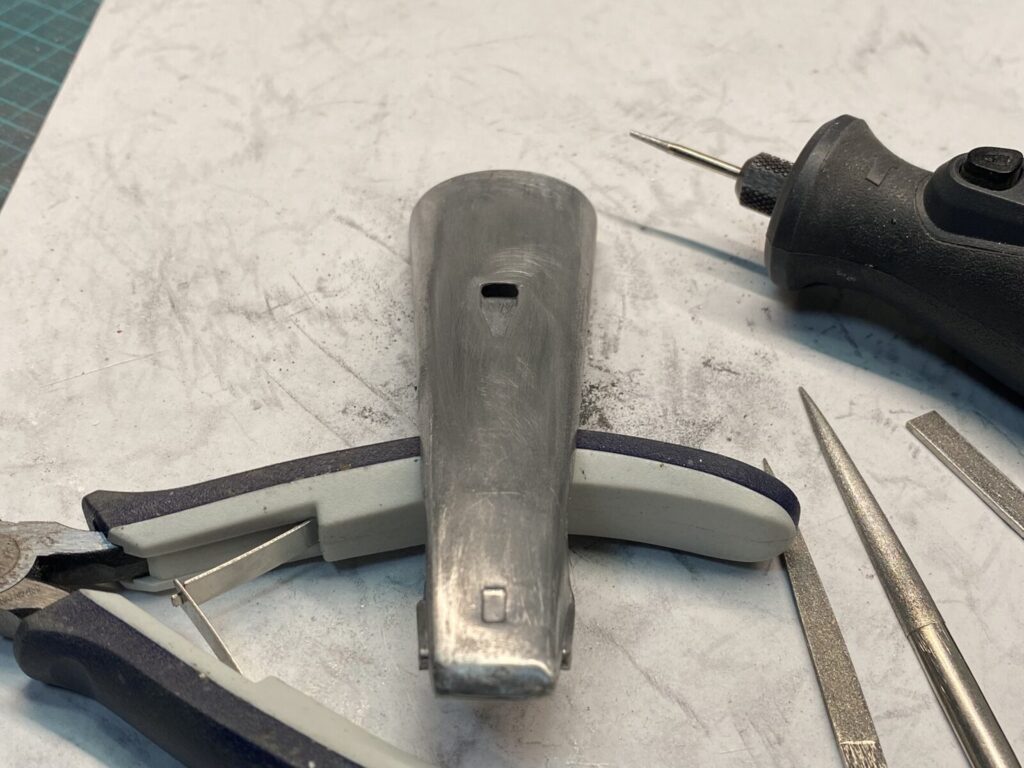
素材はアルミ製で、強度を確保するためにしっかりとした厚みが持たされています。そのため、以下の手順で開口作業を進めていくことにしました。
まず、塞がれているダクト部分に電動ドリルを使用し、複数の下穴を開けていきます。
The part is made of aluminum, and it has a fairly thick structure to maintain strength. Therefore, I decided to proceed with the opening work using the following steps.
First, I will drill several pilot holes into the blocked duct area using a power drill.
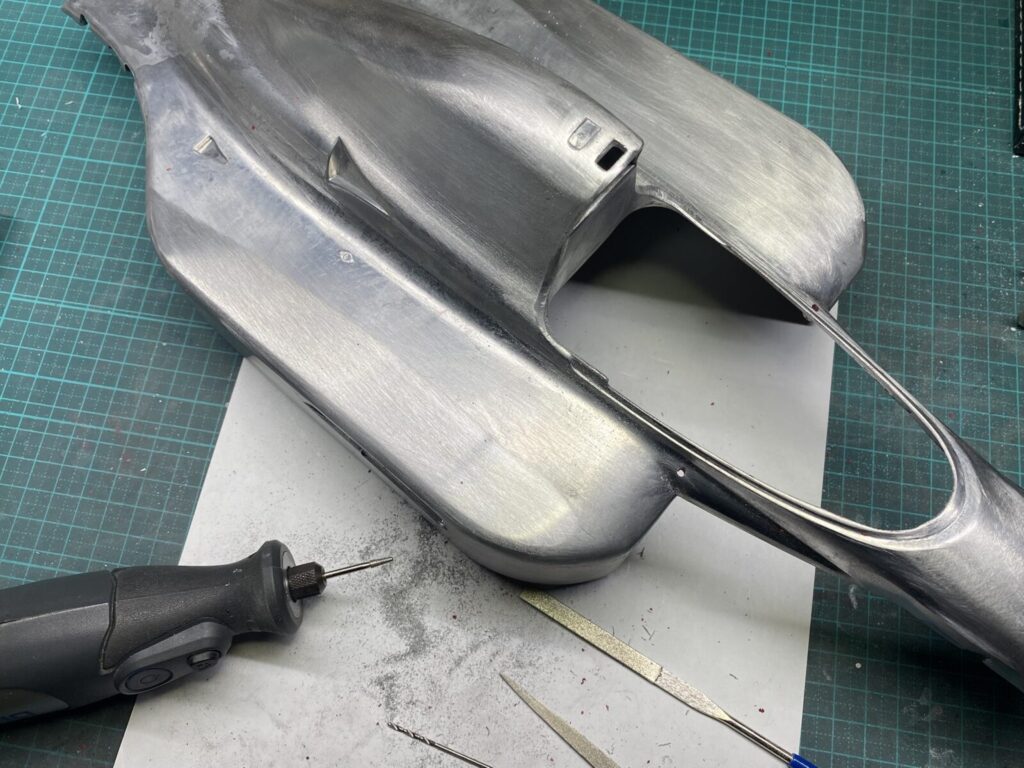
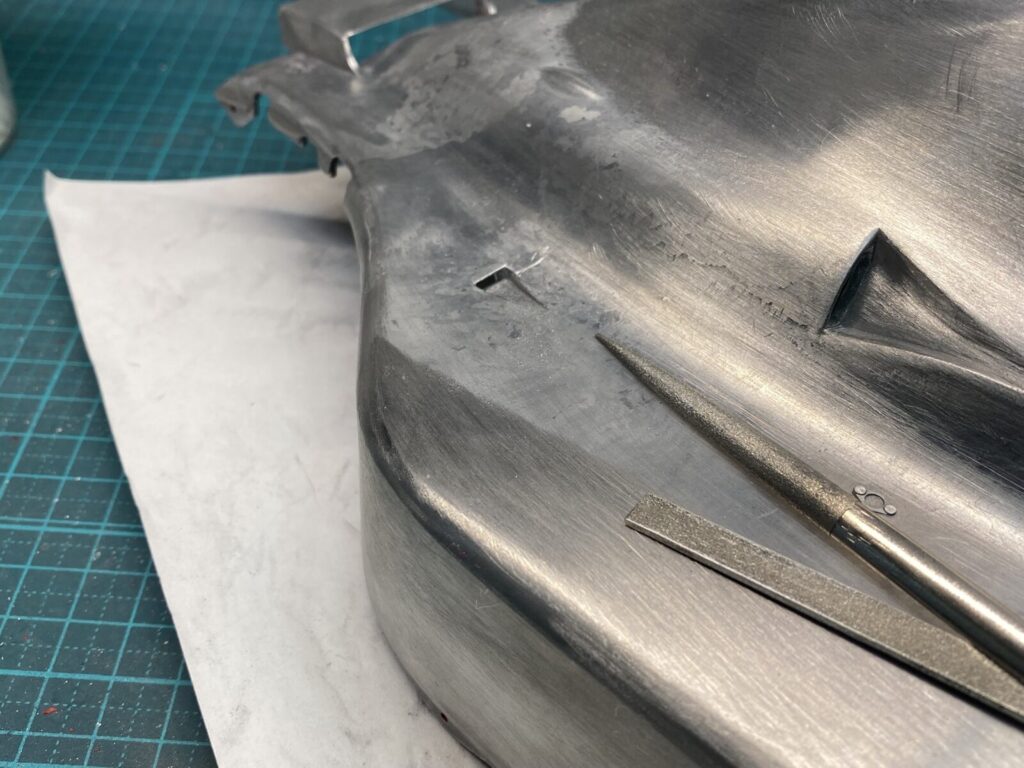
その下穴をガイドとして利用し、リューターでダクトのおおよその形状まで一気に削り出していきます。
その後、数種類のヤスリを使い分けながら開口部の形状を丁寧に整えていきます。
Using those pilot holes as a guide, I roughly shape the duct opening with a rotary tool. After that, I refine the opening carefully using several types of files.

上部のダクトに比べ、サイドのダクトは構造的に工具が入りにくく、開口作業はやや難易度が高くなりそうです。
そのため、下穴を開ける際の角度や位置に十分注意しながら、慎重に作業を進めていきます。
Compared to the upper duct, the side ducts are more difficult to work on due to limited tool access, making the opening process slightly more challenging.
Therefore, I will proceed carefully, paying close attention to the drilling angle and position when making the pilot holes.

作業工程は、先ほどの上部ダクトと同様の手順で進めていきます。
The working process will be carried out in the same way as with the upper duct.
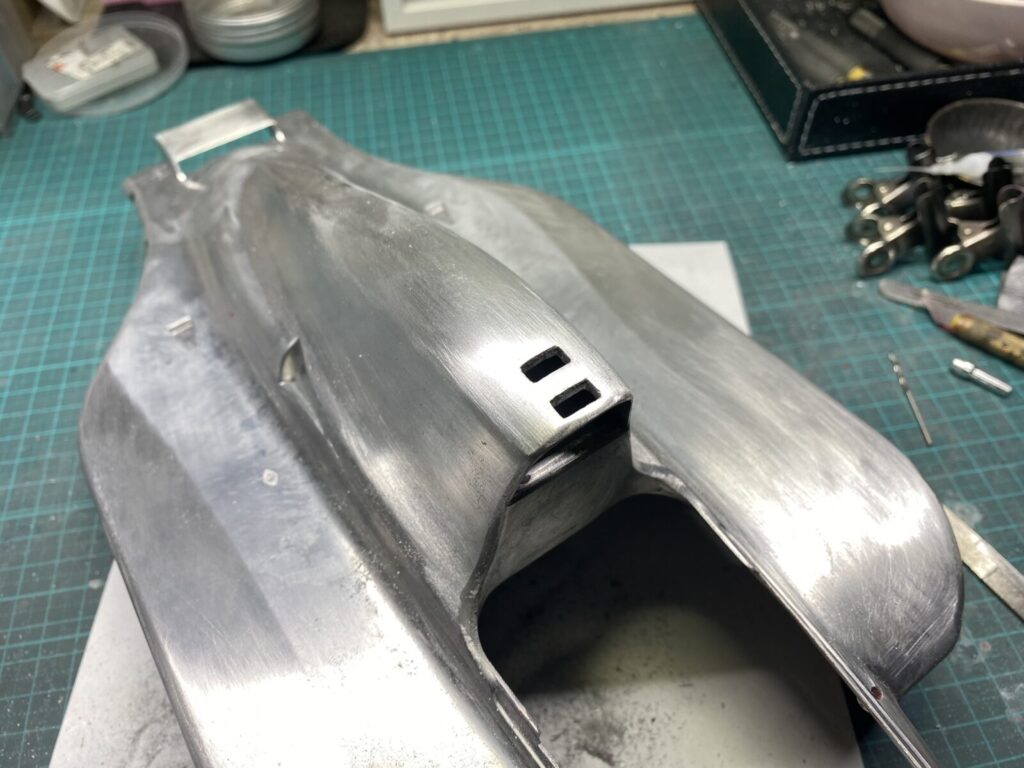
後方のダクトも無事に開口することができました。
The rear duct was also successfully opened.
ノーズ部分の開口も行い、これで全ての開口作業が完了しました。
今後の製作の中でもさまざまな課題が出てくると思いますが、製作をスタートする前に最も難関になると考えていた「塗装の剥離」と「ダクトの加工」を、ひとまず無事に乗り越えることができました。
The nose section has also been opened, and all the opening work is now complete.
There will likely be various challenges as the build progresses, but I was able to successfully overcome what I expected to be the most difficult steps at the start of the project: “paint stripping” and “duct modification.”