今回はリアウイング製作の前半です。リアウイングについても、製作工程を変更して進めていきます。
組立説明書では先に本体へ、ウイングステーを取り付け、その後にウイング本体を組み立てる手順になっています。しかしこの方法では、水平や垂直といったバランスを取りにくいため、実車同様にウイングとステーを先に一体化させてから本体へ取り付けることにしました。
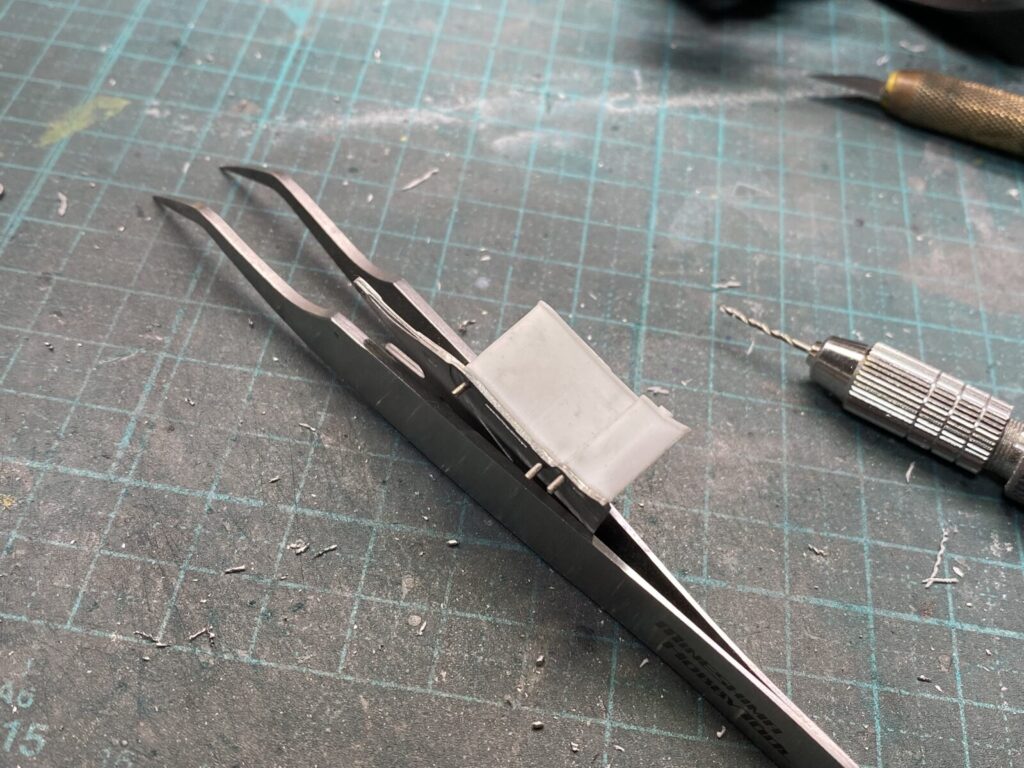
まずは、ウイングステーとウイングの接合部を金属棒で補強しておきます。
This is the first part of the rear wing assembly.
The build sequence was modified from the kit instructions
to improve alignment and overall accuracy.
The instructions call for mounting the wing supports
to the body first, then assembling the wing itself.
Instead, the wing and supports were assembled as a unit before being attached to the model.
First, the joints between the wing supports and wing elements were reinforced with metal rods.
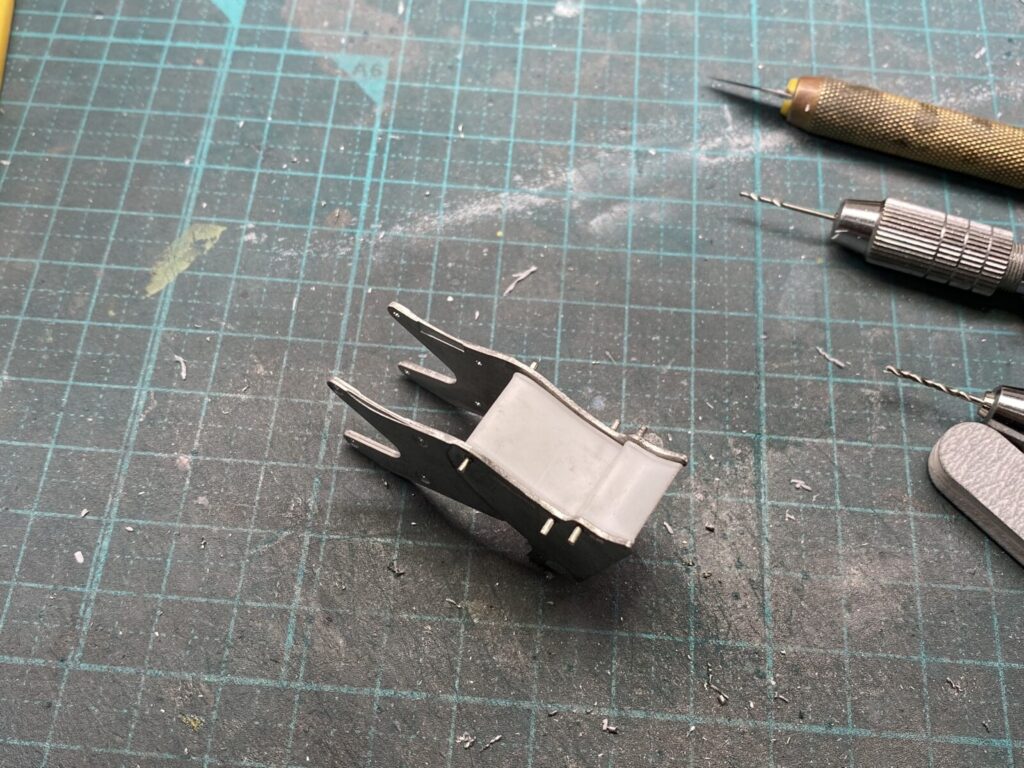
ウイングステーの仮組みを行います。
I will dry-fit the wing stays.
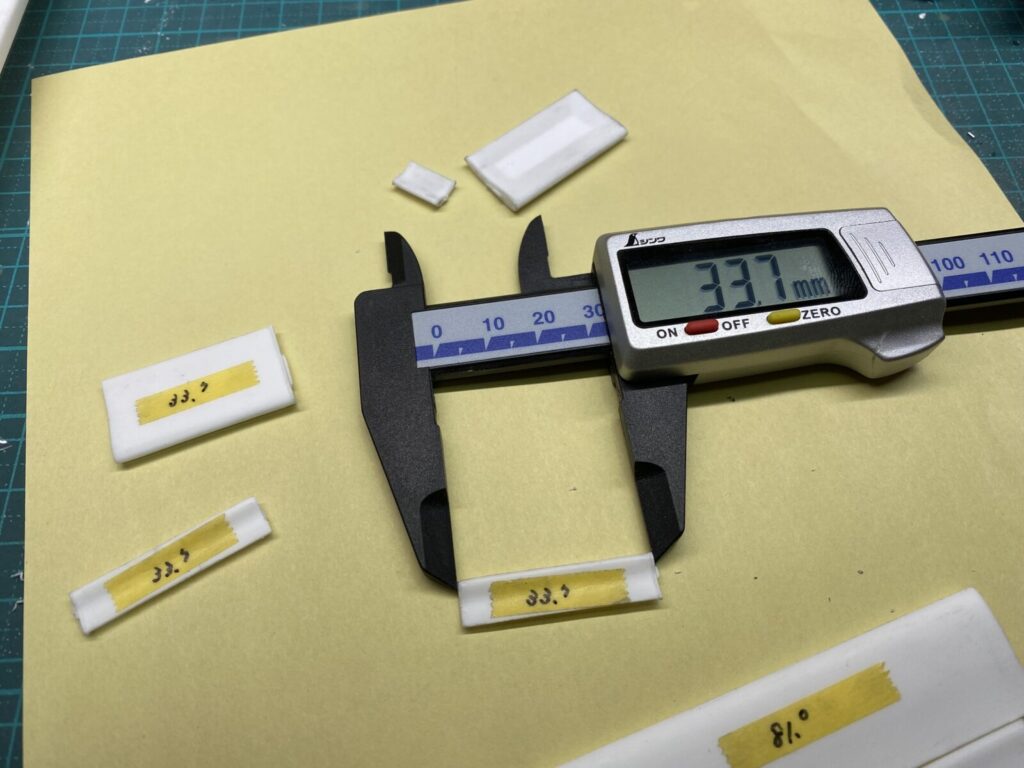
ノギスを使用して、各ウイングの長さを正確に調整します。
Using calipers, I will precisely adjust the length of each wing element.
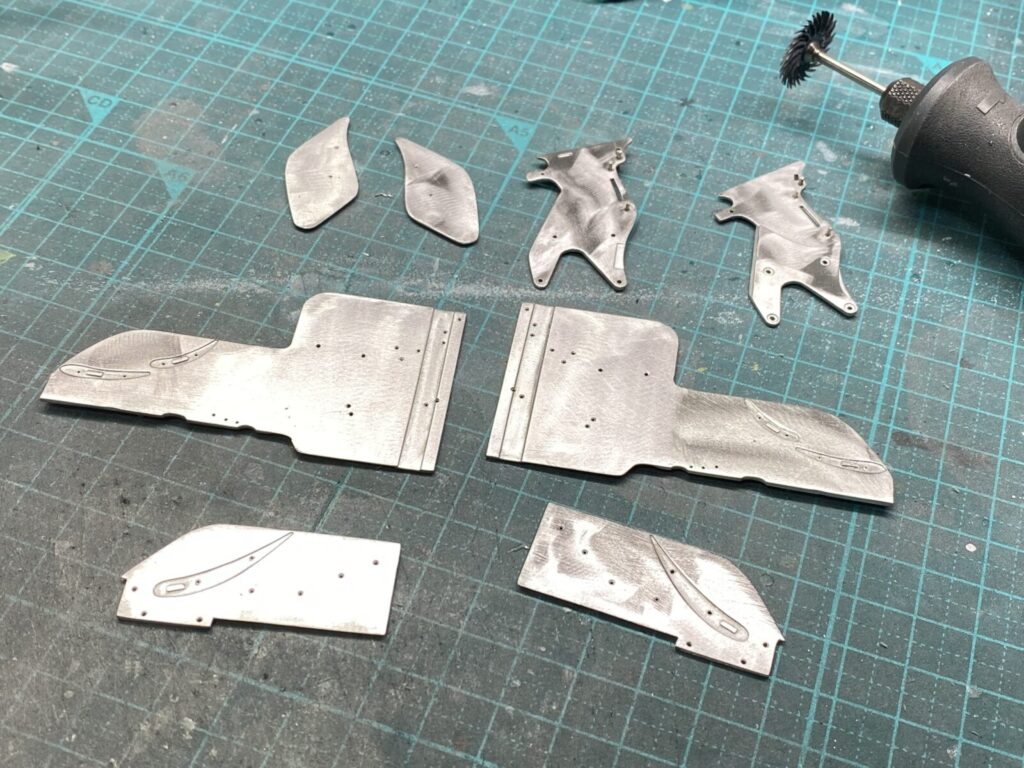
メタルパーツの翼端板などを磨き上げ、下地塗装まで済ませておきます。
Polish the metal parts, including the endplates, and complete the primer coat.
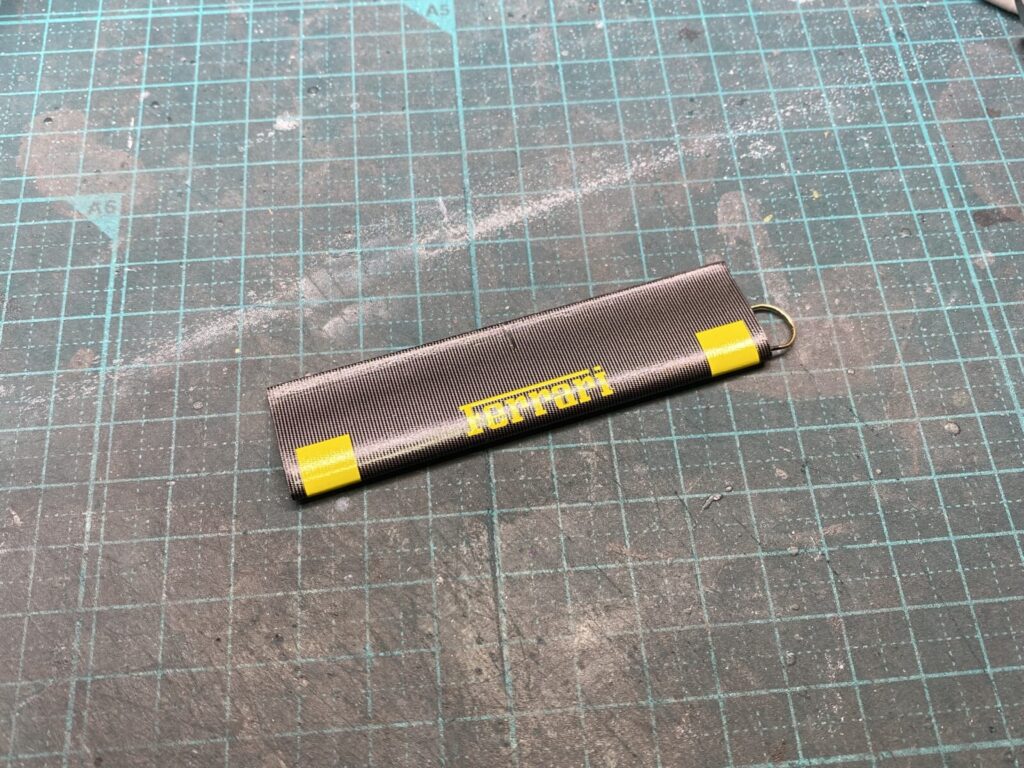
下地の塗装が乾いたらカーボンデカールやロゴのデカールを貼っていきます。
Once the primer coat has dried, apply the carbon decals and logo decals.
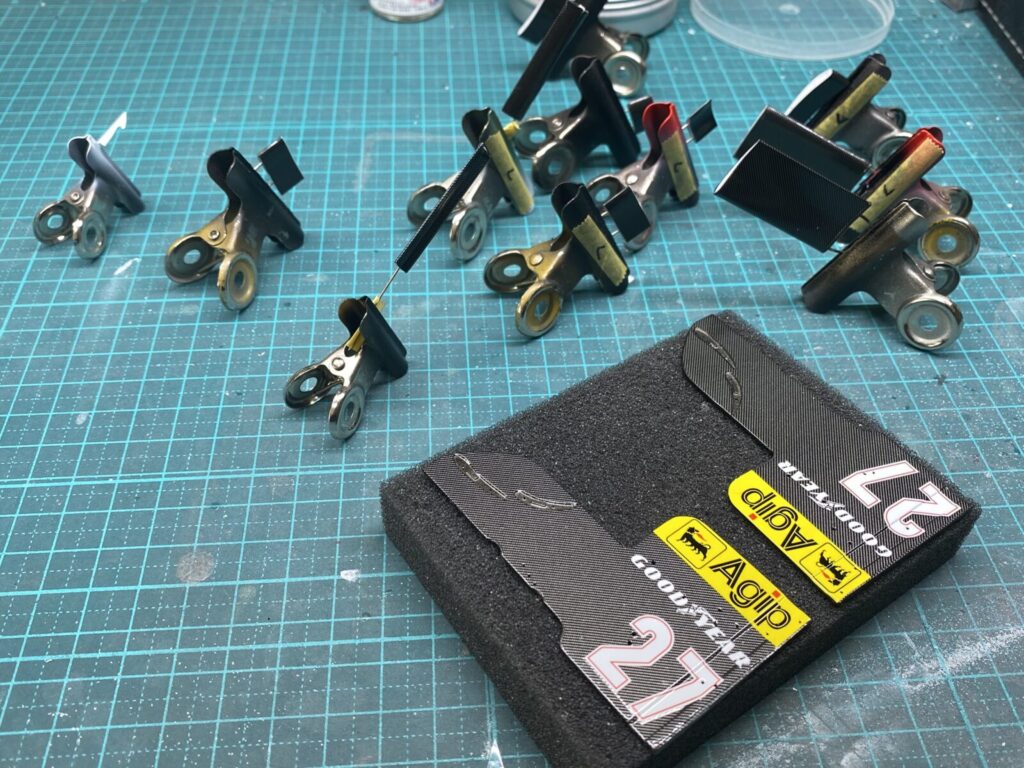
すべてのデカールを貼り終えたら、数日間しっかり乾燥させてからクリアーを吹きます。これで、ウイングパーツの大まかな組み立て準備が整いました。
Once all decals have been applied, allow them to dry thoroughly for several days before spraying a clear coat. With this, the main wing parts are ready for assembly.