クリアー塗装と磨き出しの工程です。
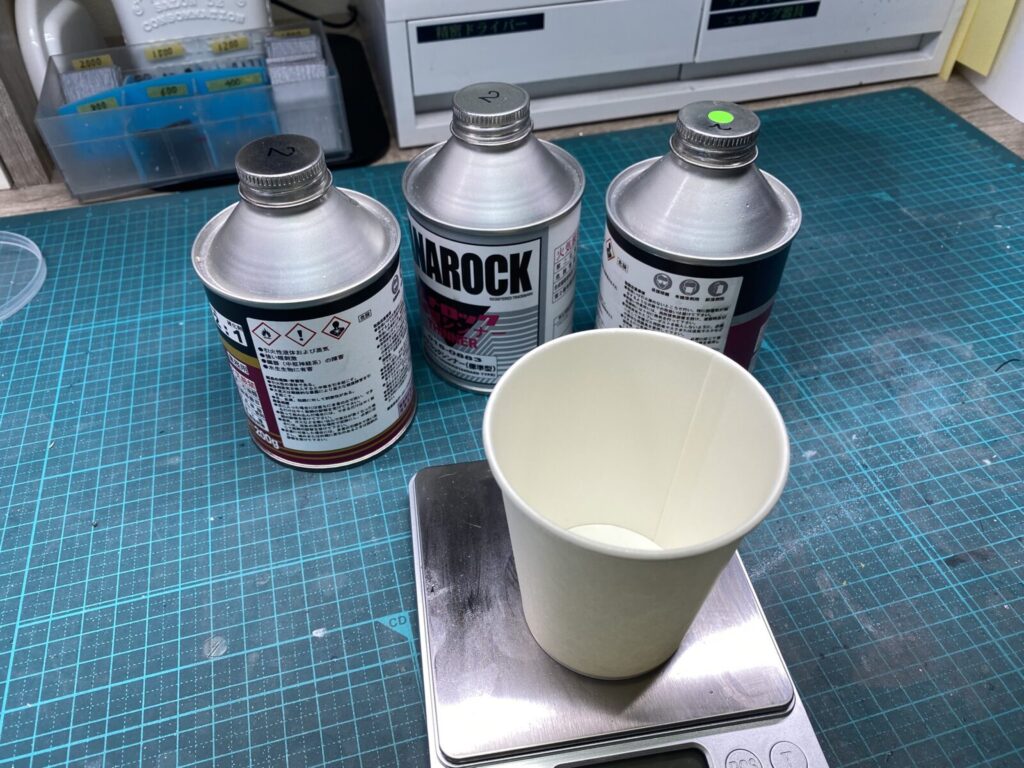
まずはウレタンクリアーを正確な配合で調合します。
This is the clear coating and polishing stage.
First, the urethane clear is carefully mixed to the correct ratio.
ウレタンクリアーを、力の強いコンプレッサーと大口径のエアブラシを使用して吹き付けます。
その後、ドライブースに入れてしっかり乾燥させます。
The urethane clear is sprayed using a powerful compressor and a large-diameter airbrush.
After that, the parts are placed in a drying booth and allowed to dry thoroughly.
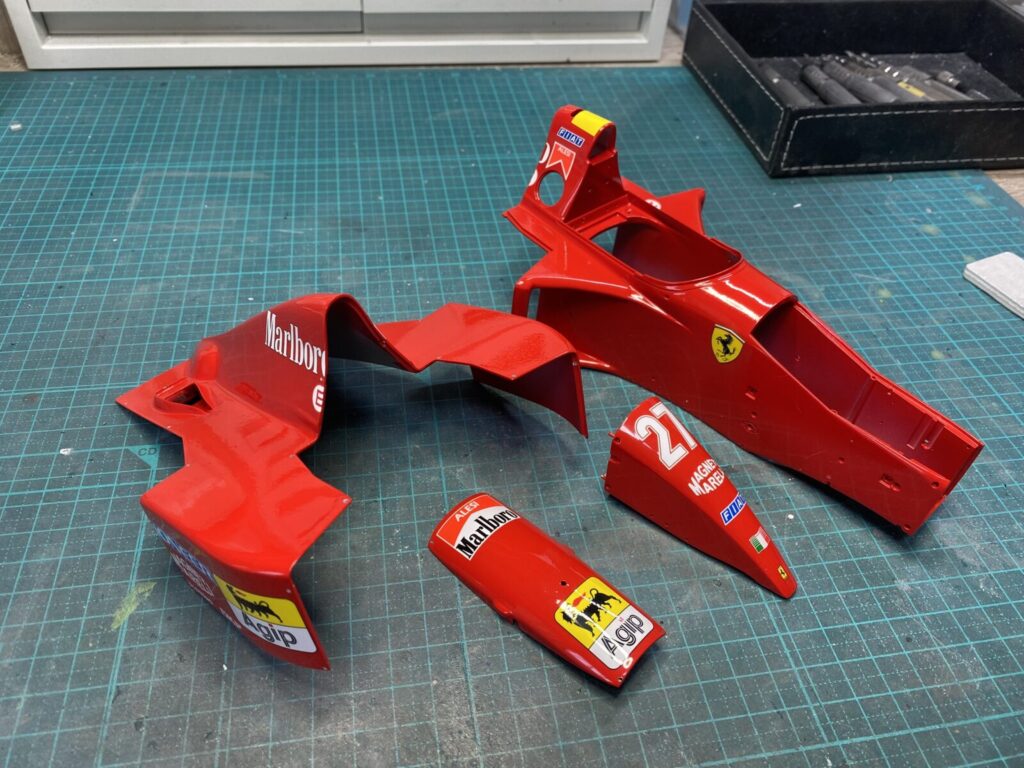
ウレタンクリアーが完全に乾燥したら、表面を丁寧に研ぎ出します。
Once the urethane clear coat has fully cured, the surface is carefully sanded.
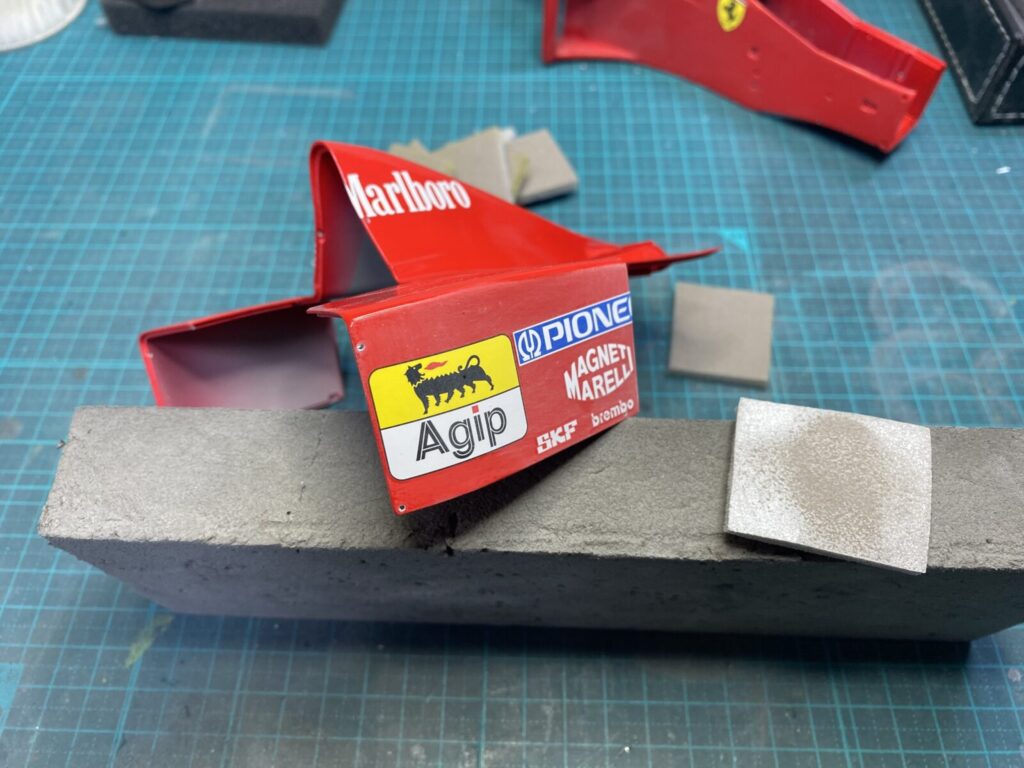
デカールの段差も完全に消しておきます。
The step around the decals is also completely removed.
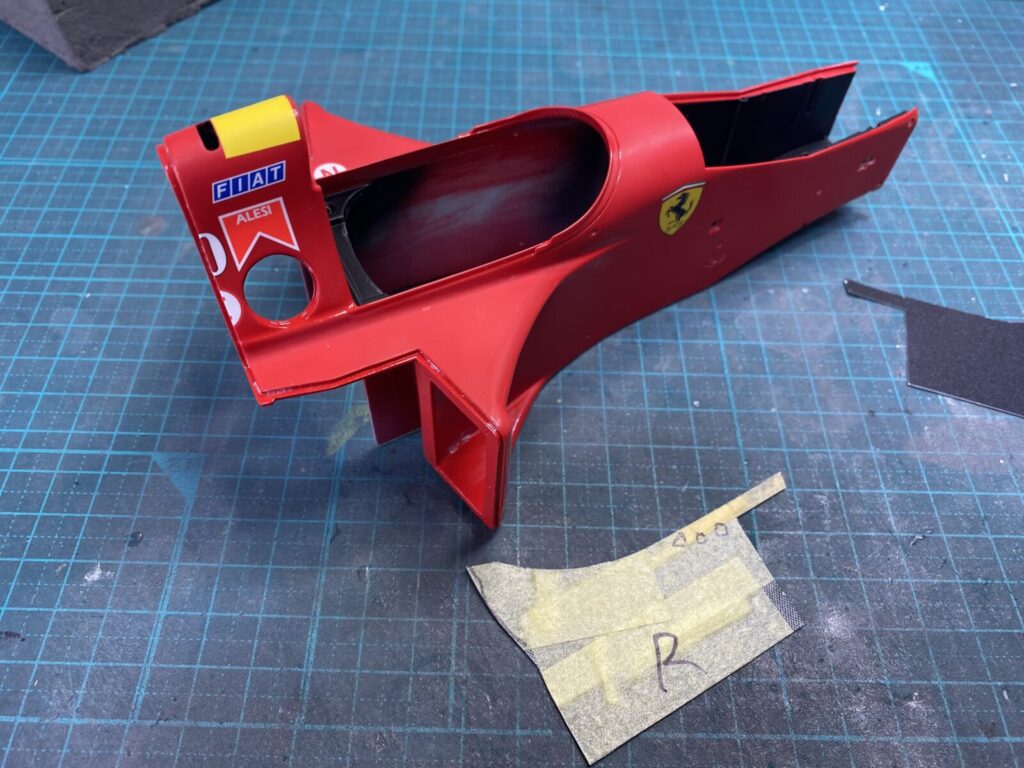
コックピット内部はカーボンデカールで仕上げるため、まずはデカール用の型紙を作成します。
The cockpit interior will be finished with carbon decals.
First, templates are made for the decals.
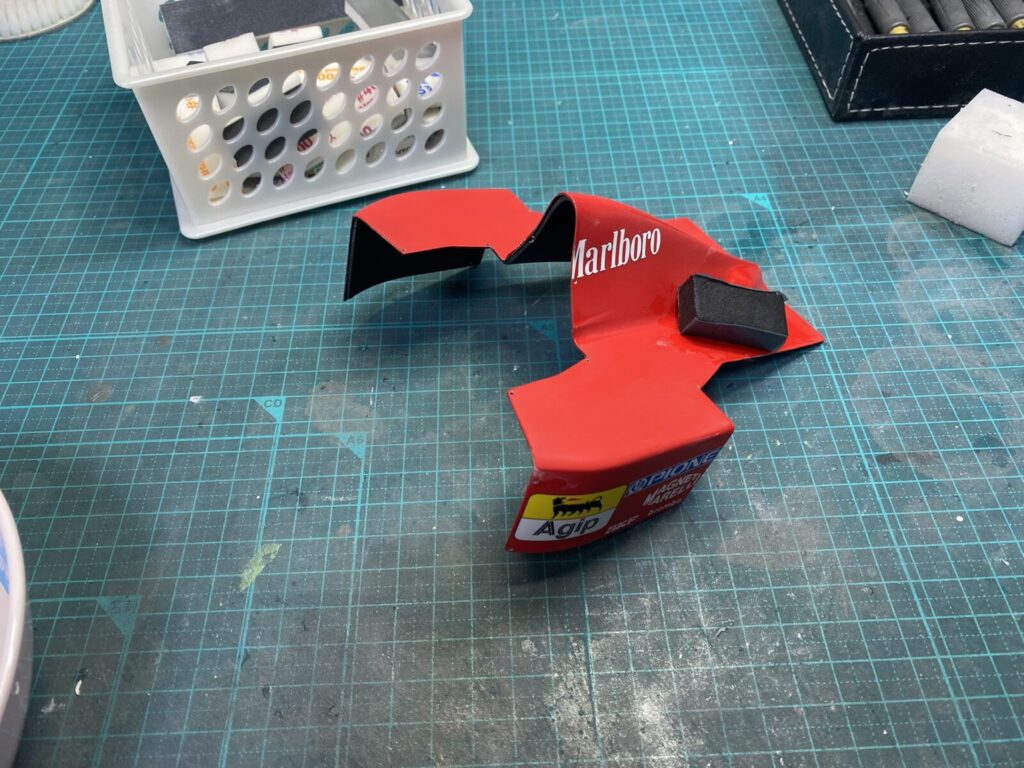
カーボンデカールを切り出しこの時点でコックピット内部に貼ります。カーボンデカールの乾燥を待ち2回目のウレタンクリアーを全体に吹きます。
The carbon decals are cut to shape and applied to the cockpit interior at this stage.
After allowing the decals to dry completely, a second coat of urethane clear is sprayed over the entire body.
数種類のやすりを使い表面を整えます。
The surface is refined using several grades of sandpaper.
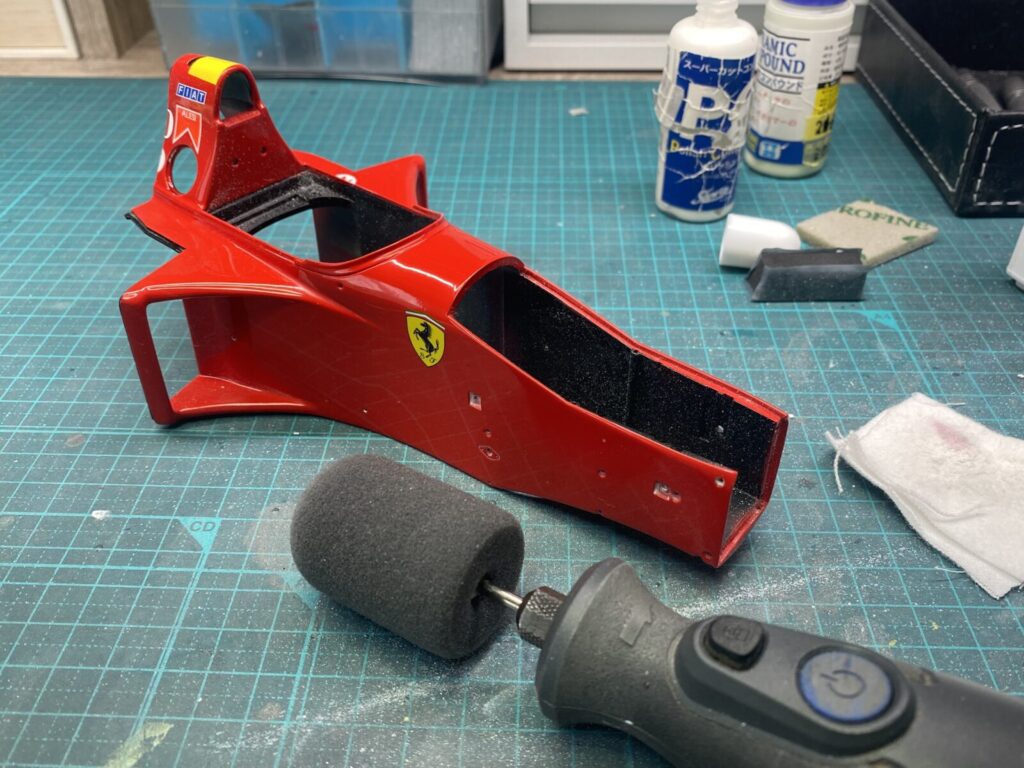
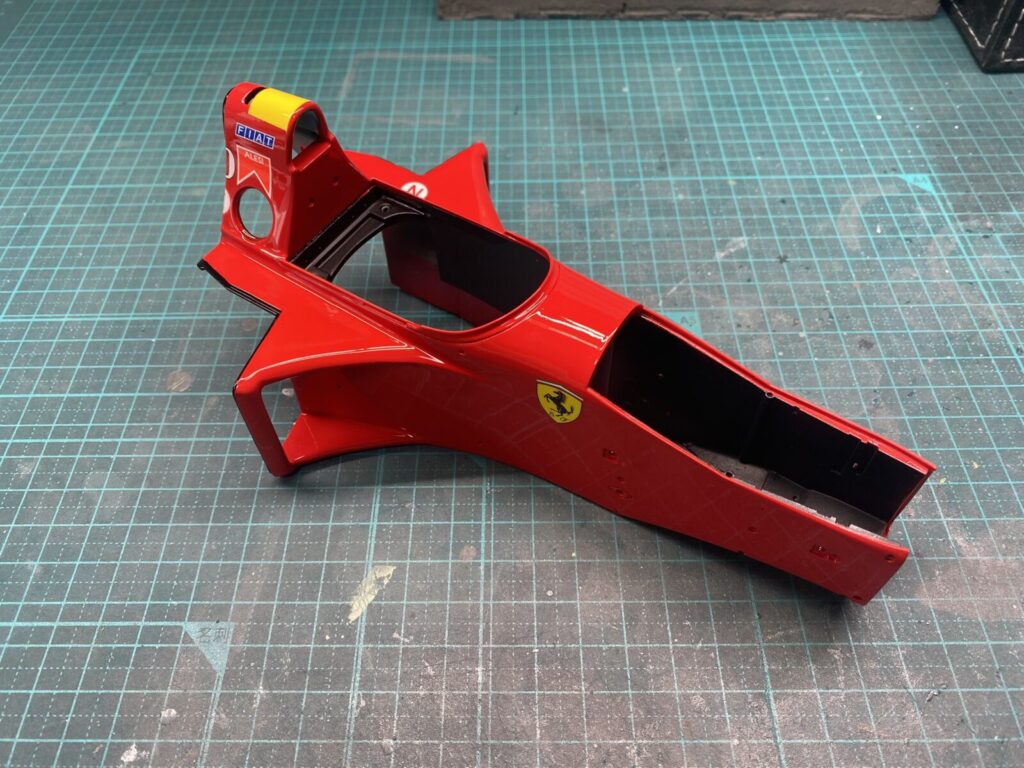
次に磨き出しの工程に移ります。
Next, the polishing process begins.
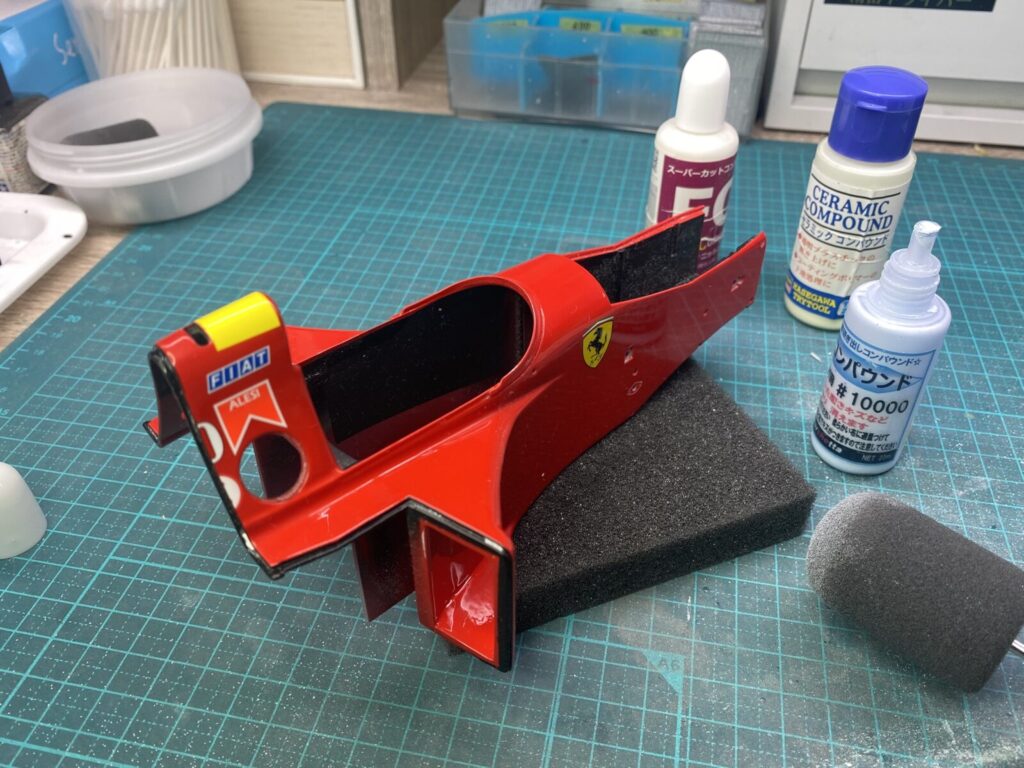
数種類のコンパウンドを使い分けて磨き上げます。
The surface is polished using several types of compound.
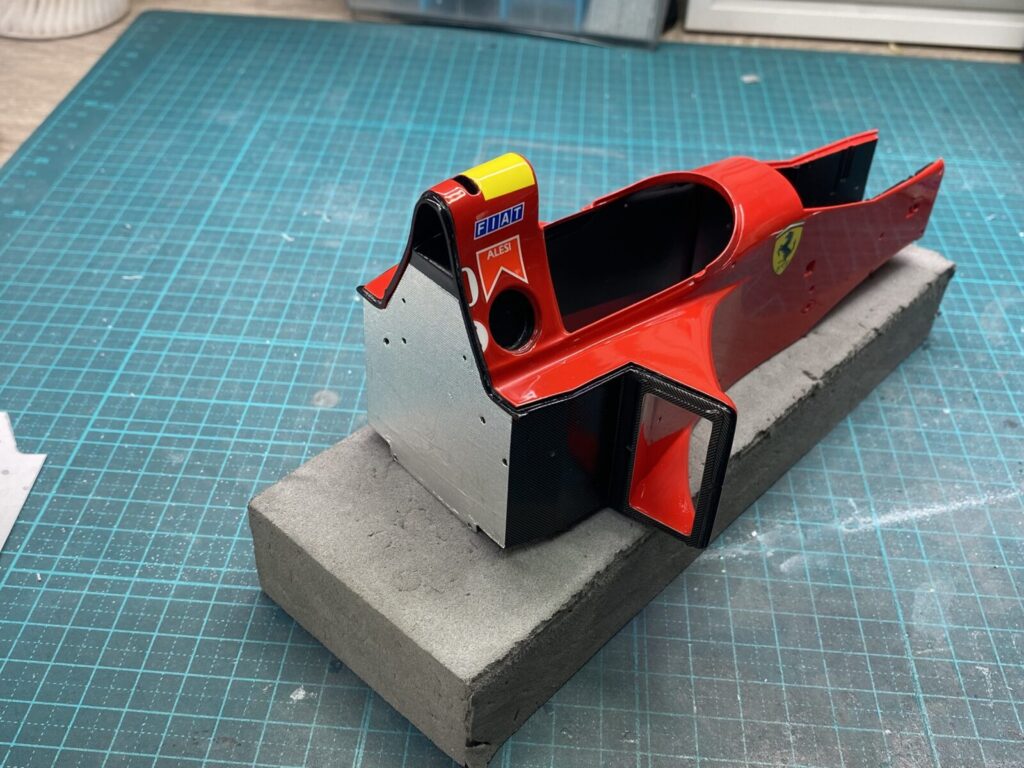
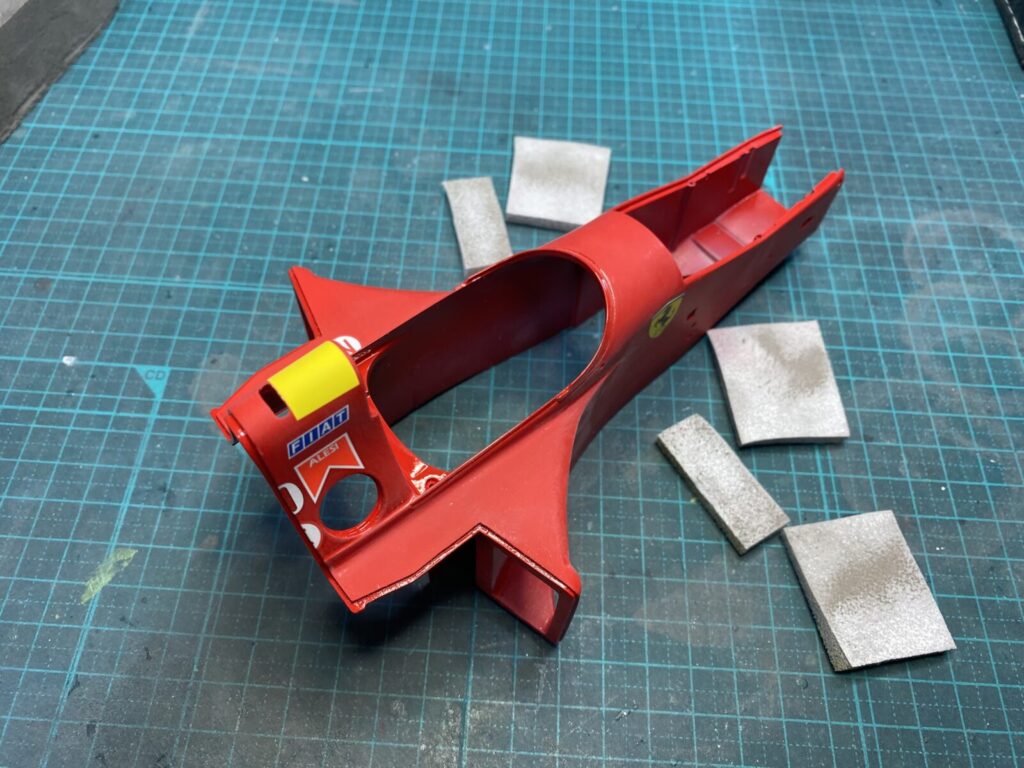
モノコック表面の磨き出しが終わったら、コックピット内部を半艶仕上げにします。
さらにモノコック後方部は、カーボンデカールとアルミシートで仕上げます。
After polishing the surface of the monocoque, the cockpit interior is finished in a semi-gloss.
The rear section of the monocoque is then finished with carbon decals and aluminum sheet.