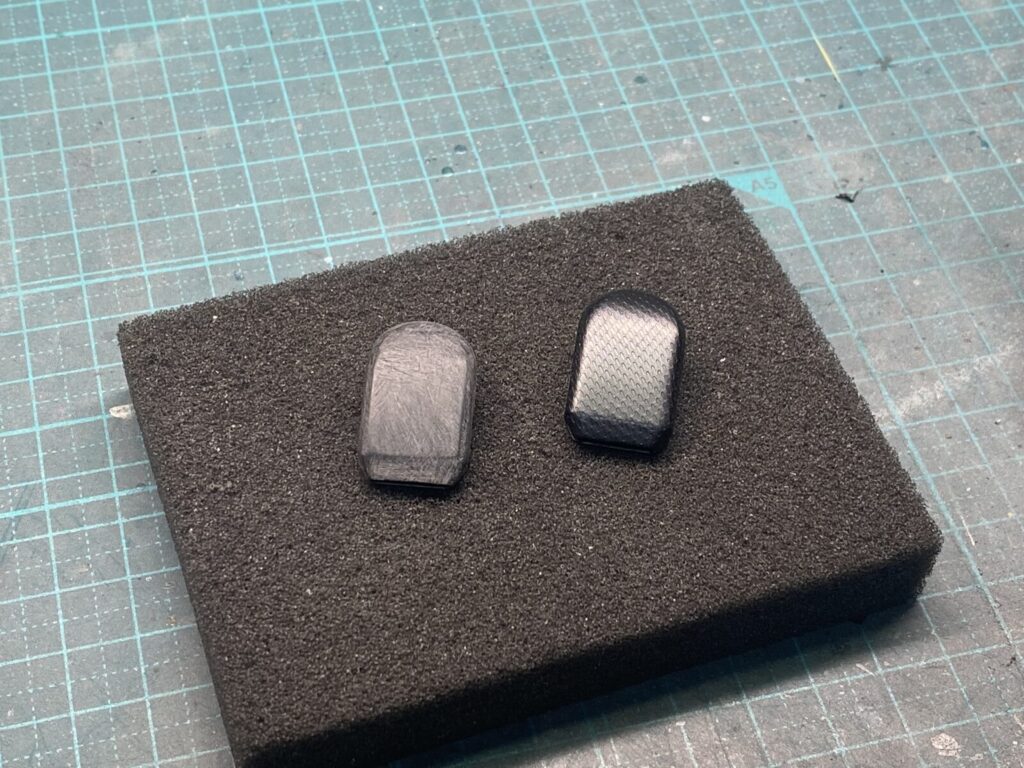
ブレーキダクトに施されているモールドをすべて除去し、表面を整えた後、カーボンデカールを貼っていきます。
All of the molded texture on the brake ducts is carefully removed and the surface is smoothed before applying the carbon fiber decals.
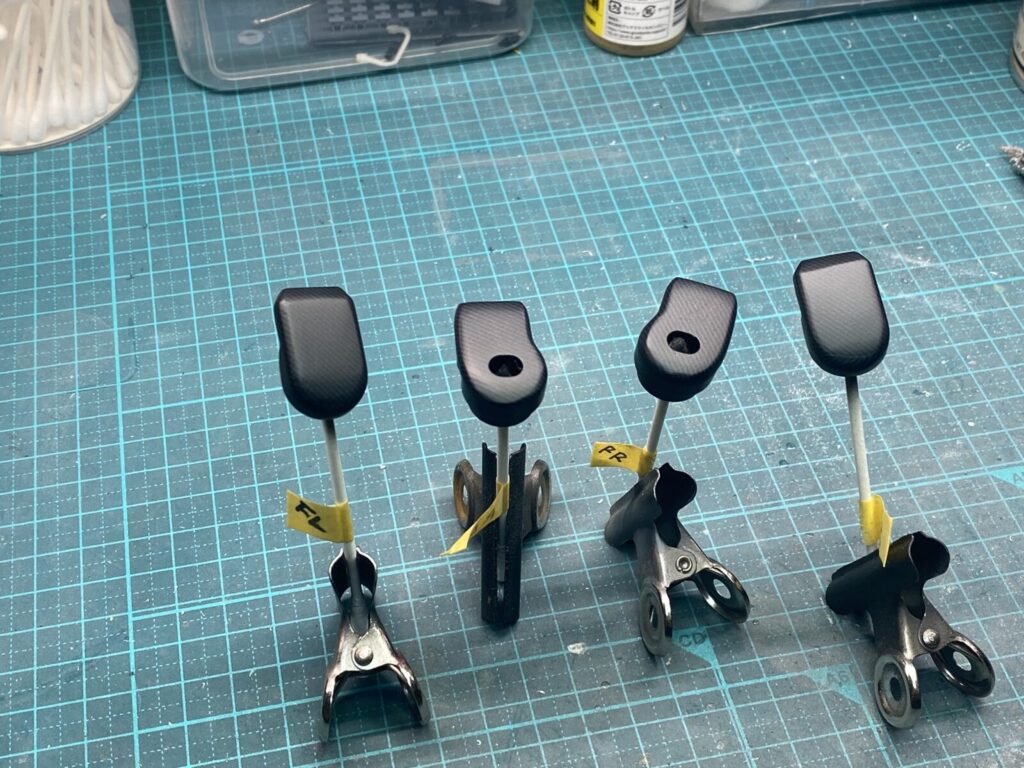
カーボンデカールが完全に乾燥したら、クリアーを吹き付けて表面を整えます。
Once the carbon fiber decals have fully dried, a clear coat is applied to protect and smooth the surface.
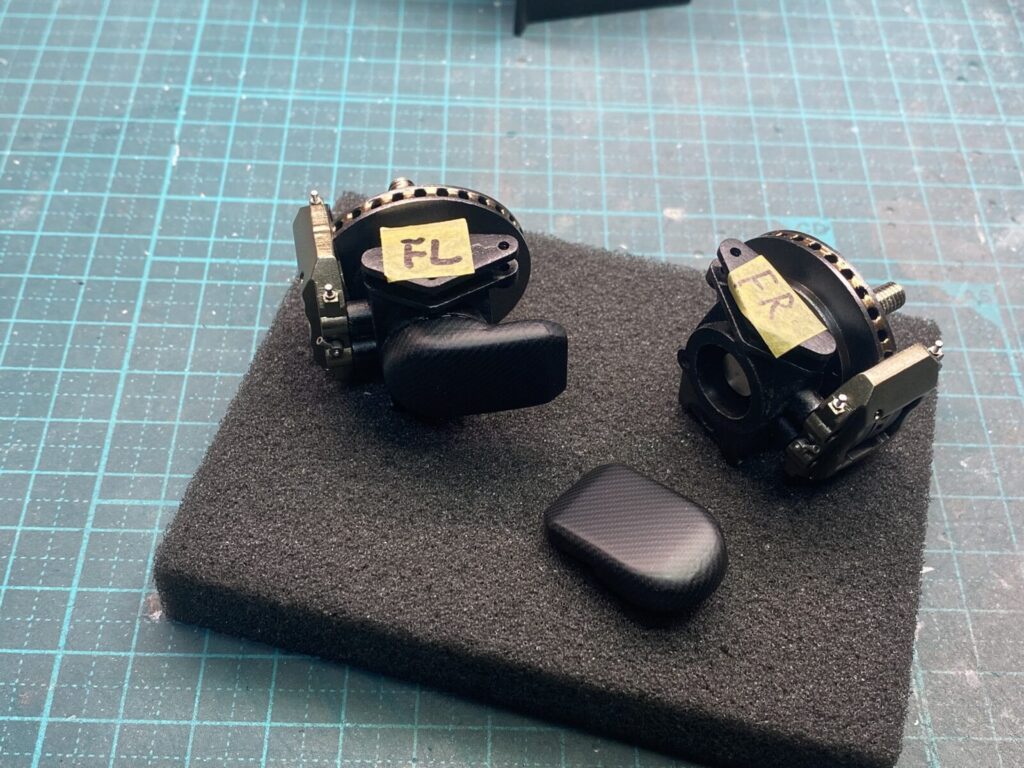
製作したブレーキダクトを取り付けます。
The completed brake ducts are now installed.
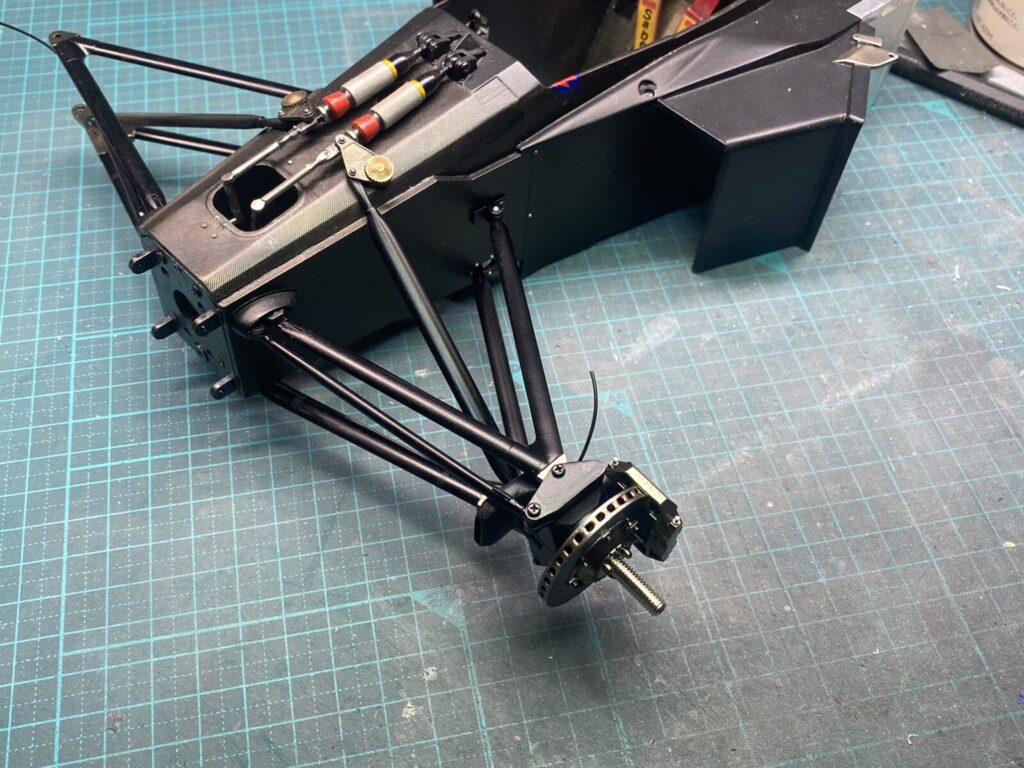
続いて、製作したアップライトを本体に取り付けていきます。
Next, the completed uprights are installed onto the main assembly.
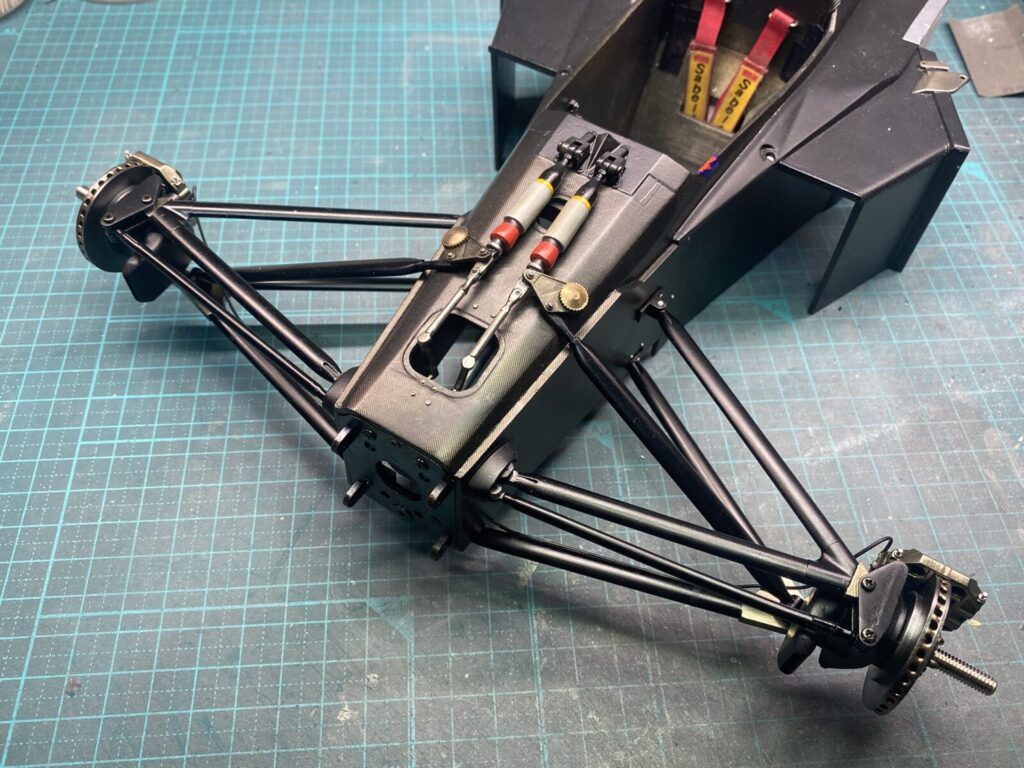
最後にブレーキホースを取り付け、フロントの足回りの製作が完了しました。
Finally, the brake hoses are installed, completing the construction of the front suspension.
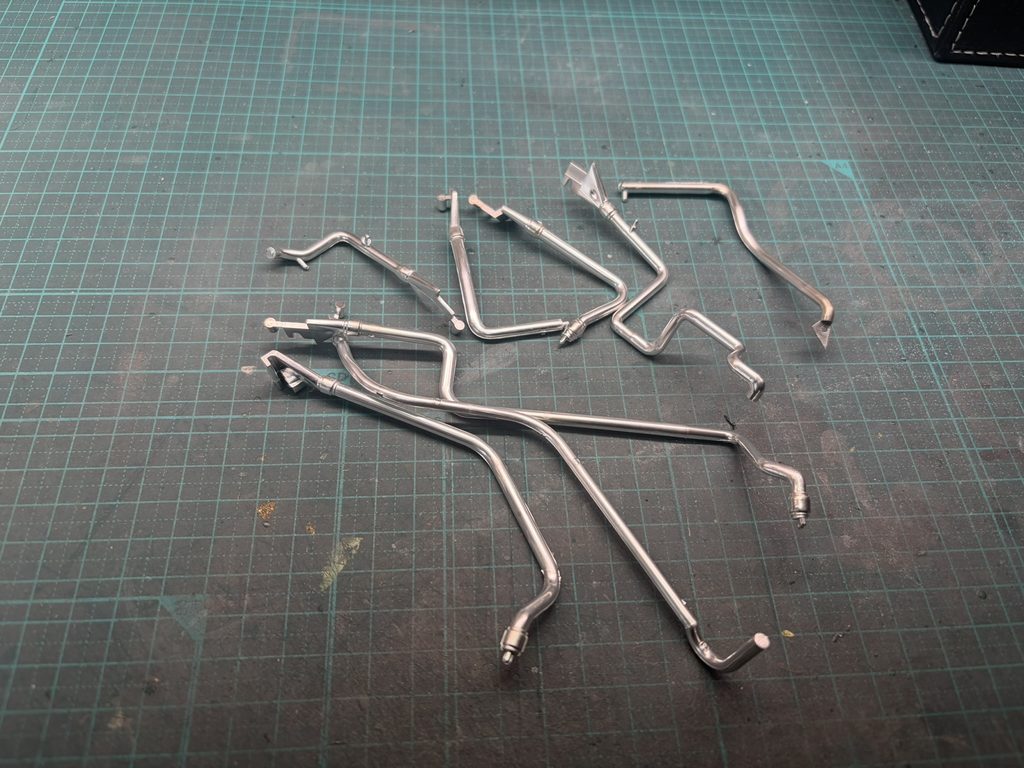
次に、冷却系配管の製作に移ります。
配管にもメッキ処理が施されているため、まずはメッキを剥離していきます。
Next, work begins on the cooling system pipes.
The pipes are also chrome-plated, so the first step is to strip away the chrome plating.
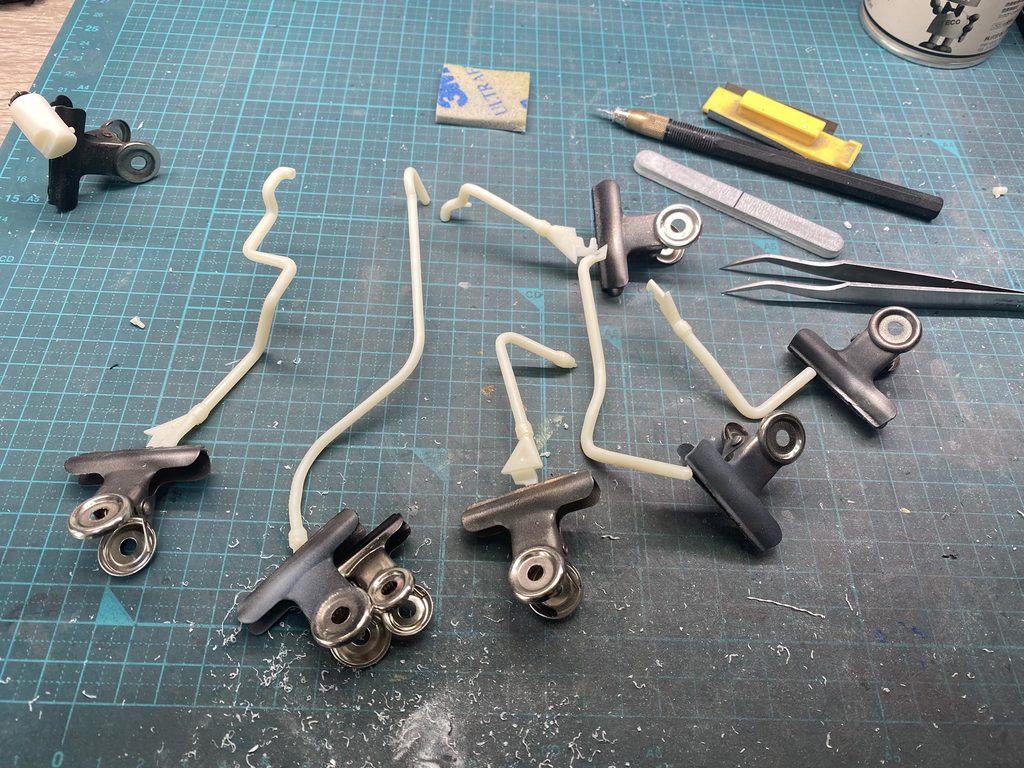
メッキを剥離し、各部の形状を整えてから再塗装を行います。
また、キットでは省略されているセンサーケーブルの接続部分も加工して追加しておきます。
The chrome plating is stripped away, the parts are carefully reshaped, and then repainted.
The sensor cable connection points, which are omitted from the kit, are also fabricated and added to improve the level of detail.
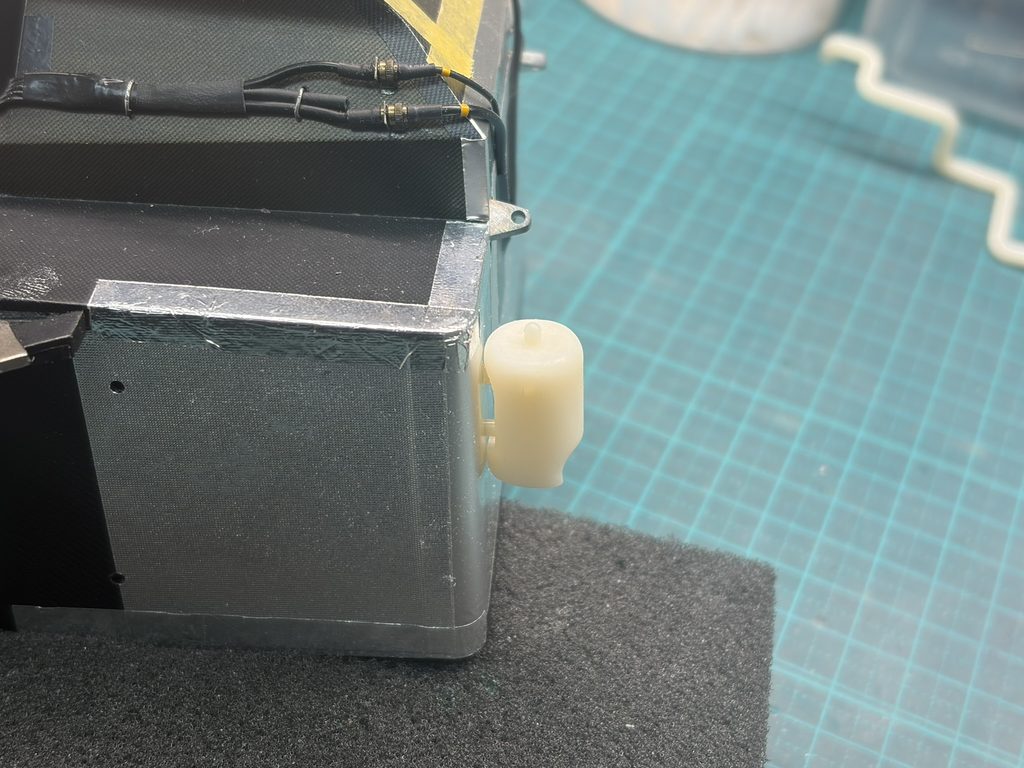
オイルリザーバータンクも形状に問題があるため、実車に近い形状になるよう改修を施して製作していきます。
The shape of the oil reservoir tank also requires correction, so it will be modified and rebuilt to more accurately replicate the real car.
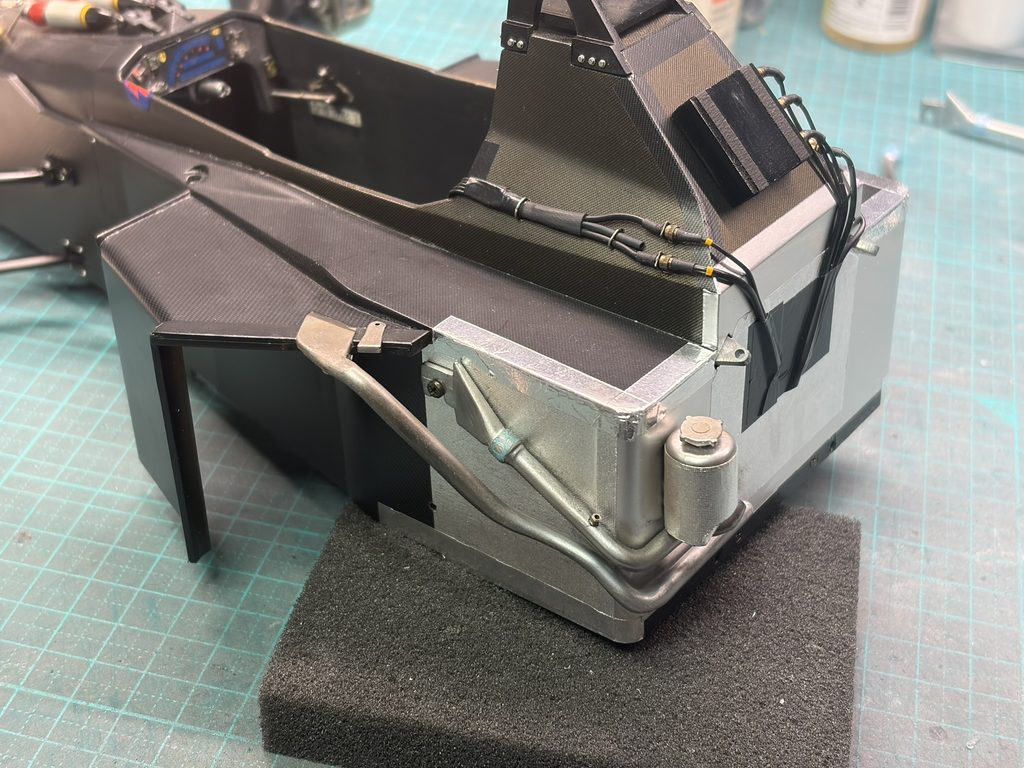
製作したオイルリザーバータンクを取り付けます。
続いて、ラジエーターの冷却系配管を取り付けていきます。一部は実車の構造に合わせて取り付け方法を変更し、より自然な配管レイアウトになるよう調整します。
The completed oil reservoir tank is installed.
Next, the radiator cooling system pipes are fitted. Some of the mounting methods are modified to more closely match the actual car, with the routing adjusted to achieve a more accurate layout.