今回はリアウイング製作の後半です。
まずは角度などに注意しながらウイングステーを組み立てます。
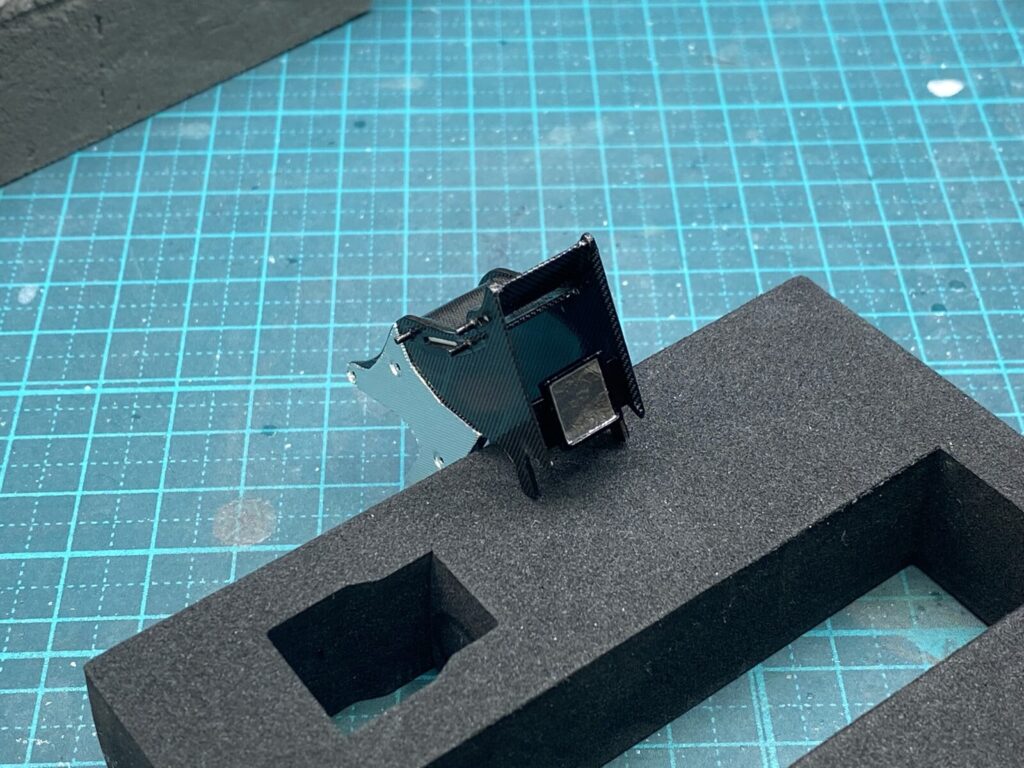
This is the second part of the rear wing assembly.
First, the wing supports were assembled with careful attention to their alignment and angle.
テールランプの内部にアルミシールを貼っておきます。
Apply aluminum foil inside the tail light housing.
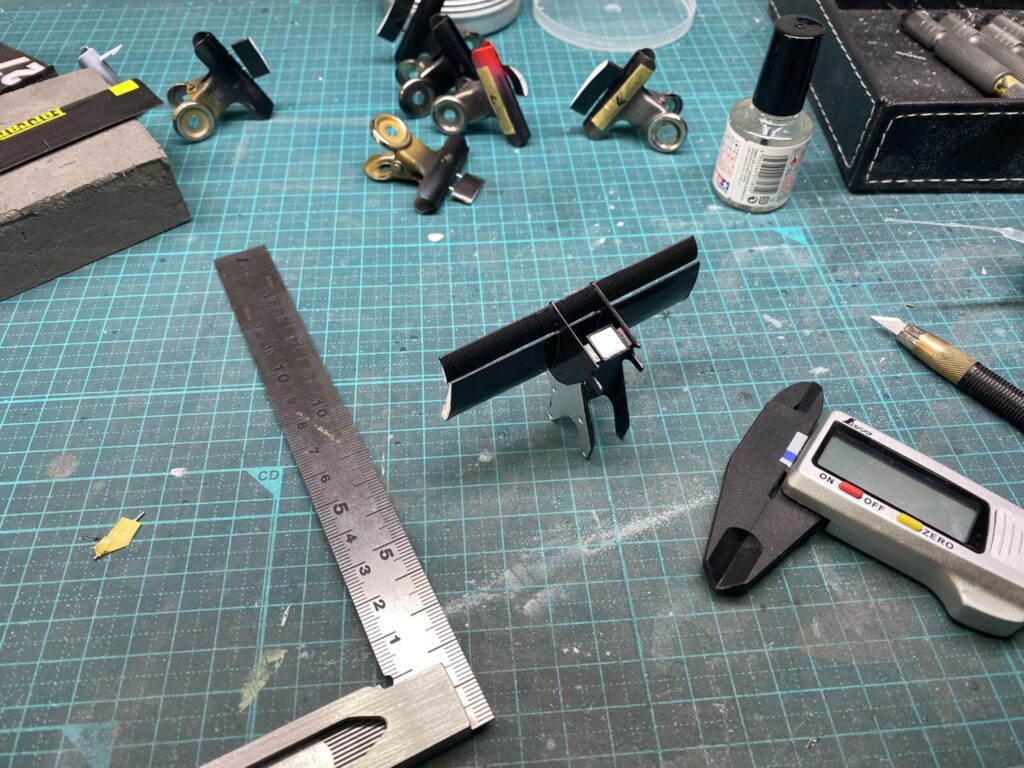
次に各ウイングの取り付けです。ウイングが水平になる様に細心の注意を払い組み立てて行きます。
Next, install each wing element. Assemble them with great care to ensure the wings are perfectly level.
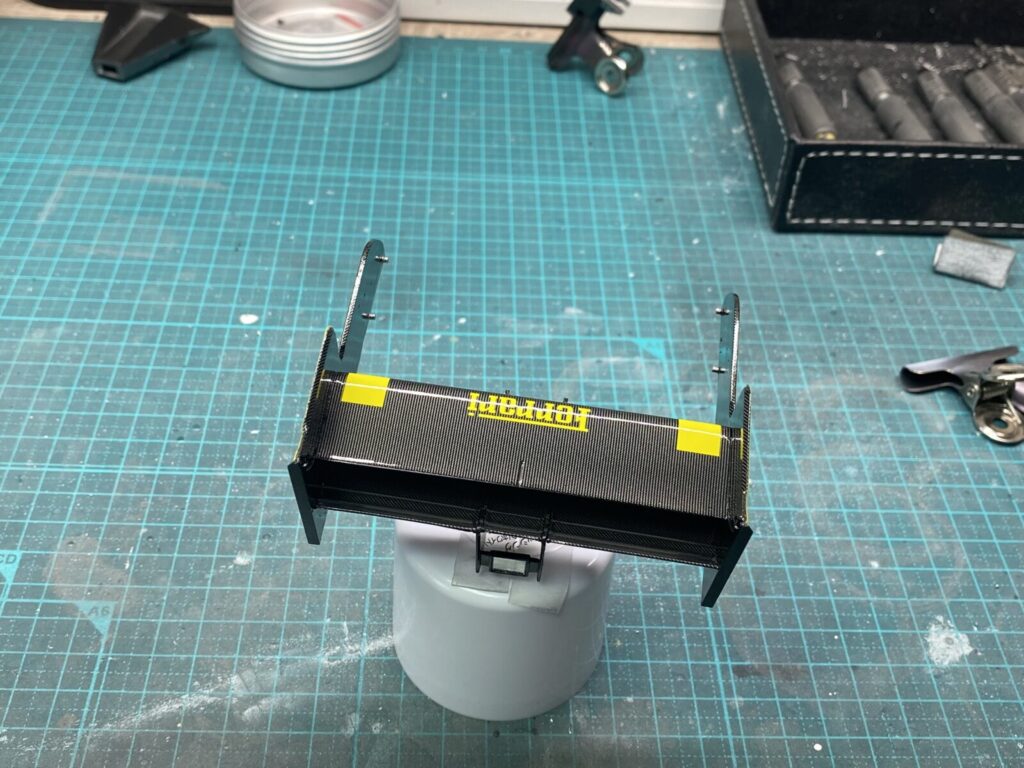
垂直になる様に翼端板も組み立てて行きます。
Then assemble the endplates, making sure they are perfectly vertical.
リベットを追加し、さらに省略されているテールランプの配線なども追加しリアのメインウイングが完成しました。
Add rivets, and also reproduce omitted details such as the tail light wiring. With this, the main rear wing is complete.
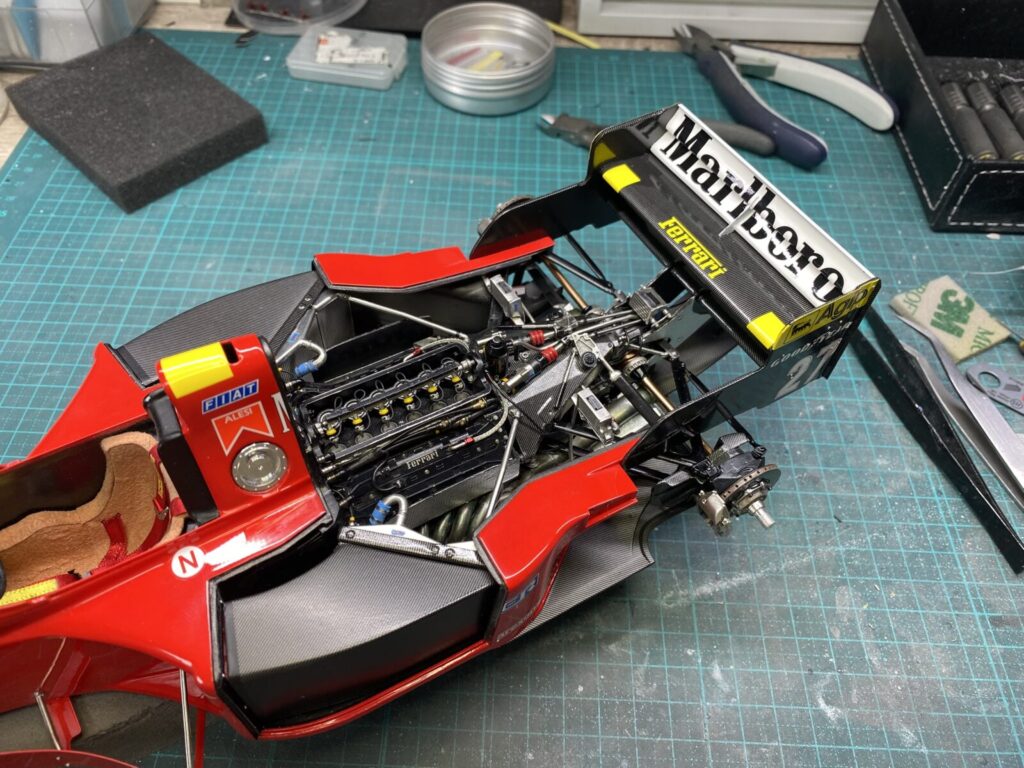
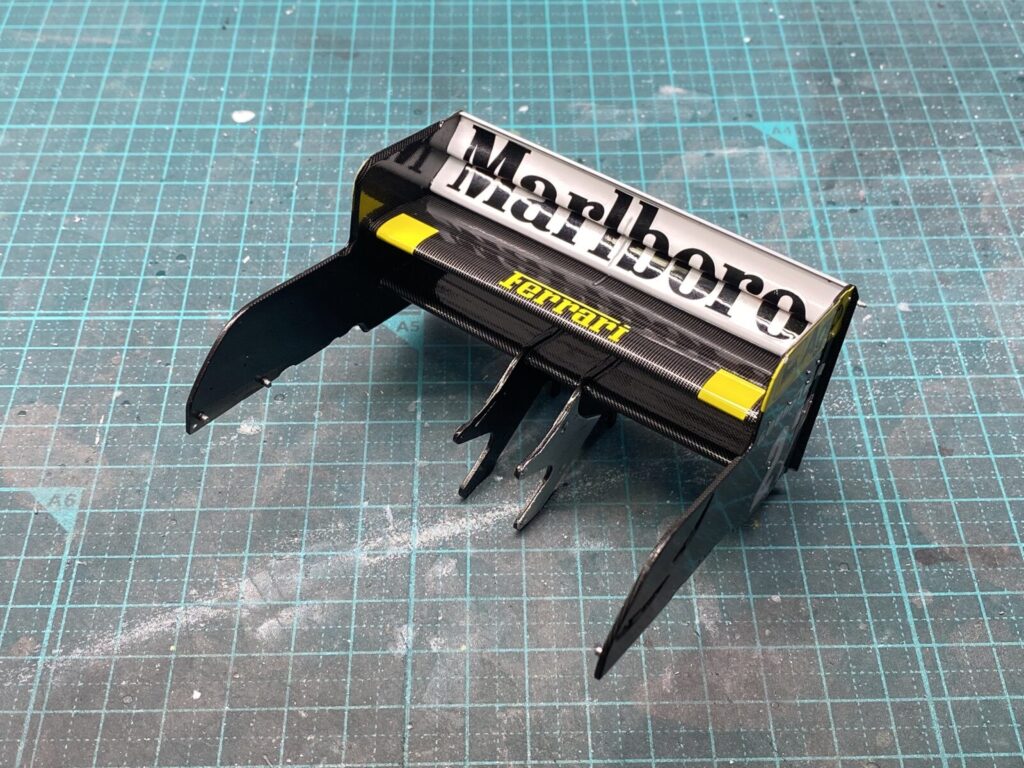
完成したリアウイングを本体に取り付けて行きます。リアウイングはリアサイドのパネルにも固定されるため、ウイングを正確に製作しておかないときれいに収まらなくなりますが、問題なく取り付ける事ができました。
The completed rear wing was then installed on the model.
Since the rear wing is also attached to the rear side panels, it must be assembled accurately to ensure a proper fit, but fortunately everything fitted without any issues.
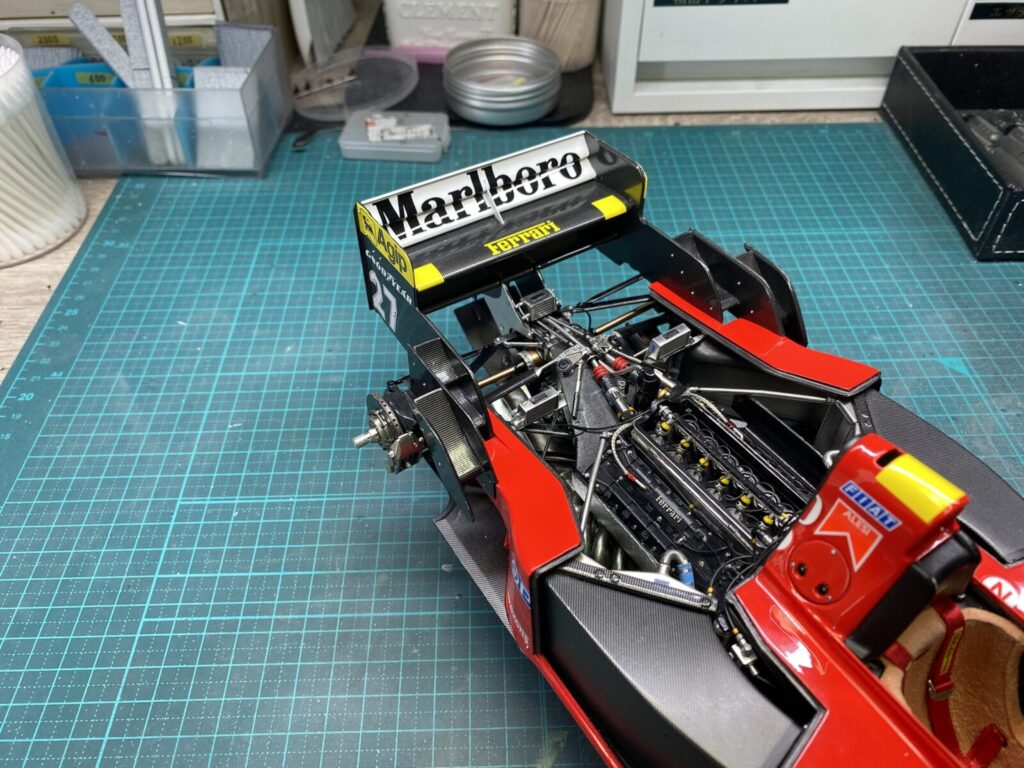
ウイングを取り付けた後、最後に両サイドのフィンを装着し、テールランプの配線を接続してリアウイングの取り付け作業は完了です。
After installing the wing, attach the fins on both sides, then connect the tail light wiring to complete the rear wing installation.