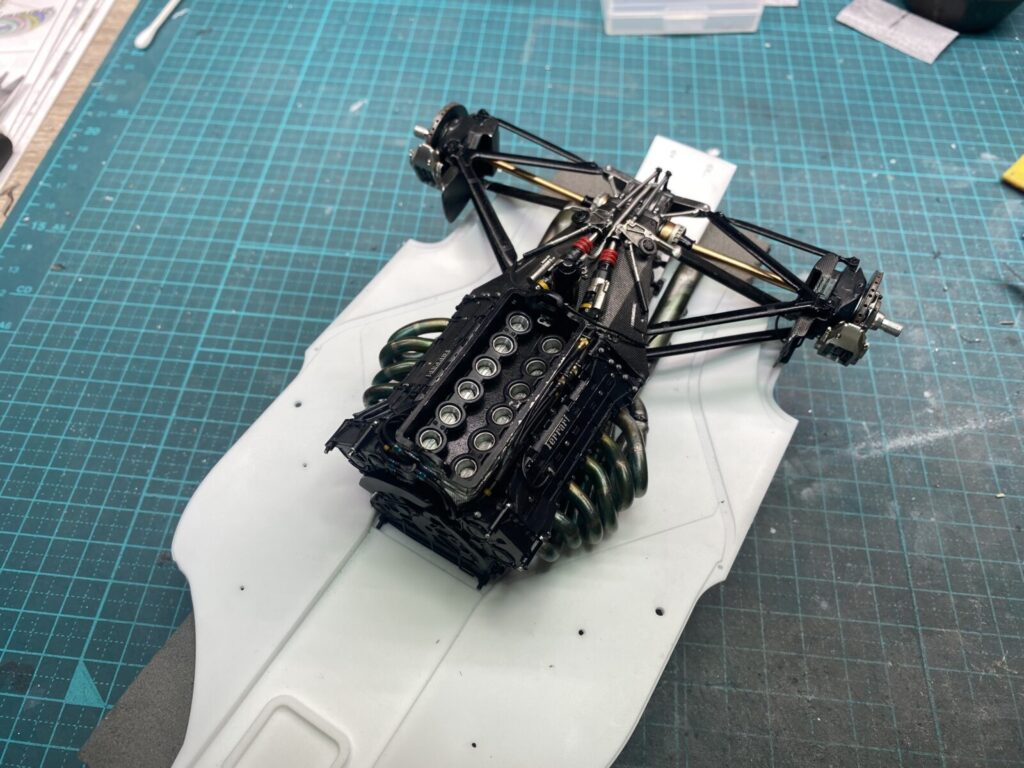
エンジンとリアアッセンブリーを固定し、アンダートレイとの位置合わせを確認します。
The engine and rear assembly are fixed in place, and alignment with the undertray is checked.
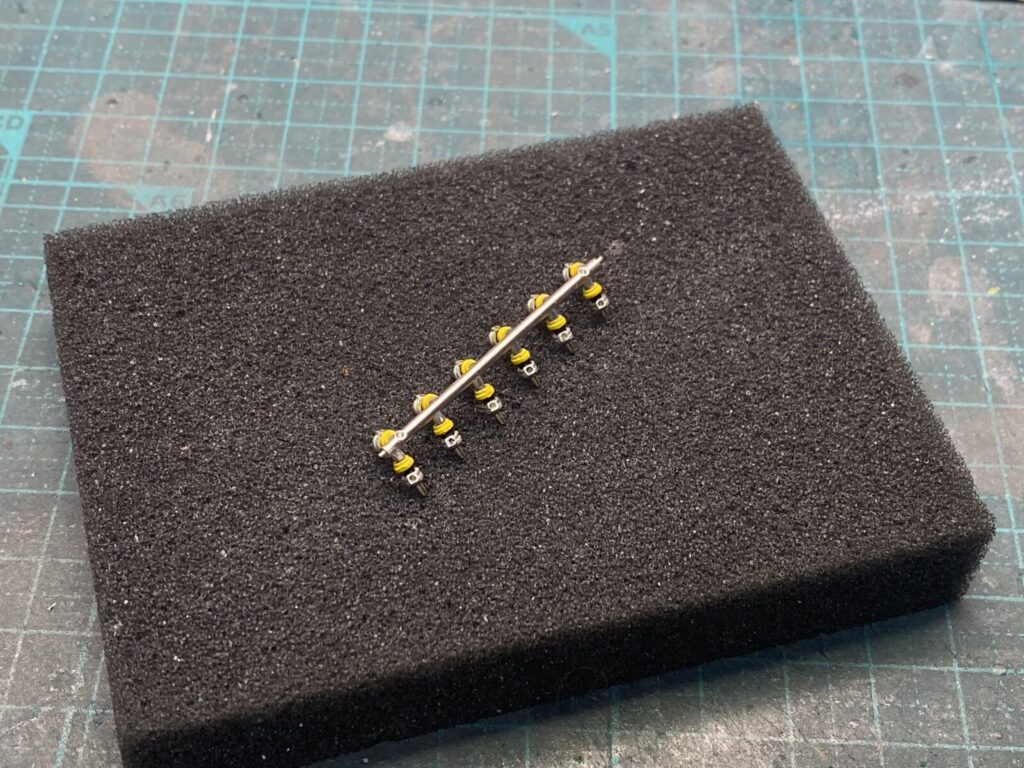
すでにインジェクターは自作していましたが、納得がいかなかったため作り直すことにしました。
The injectors had already been scratch-built, but I wasn’t satisfied with them, so they were remade.
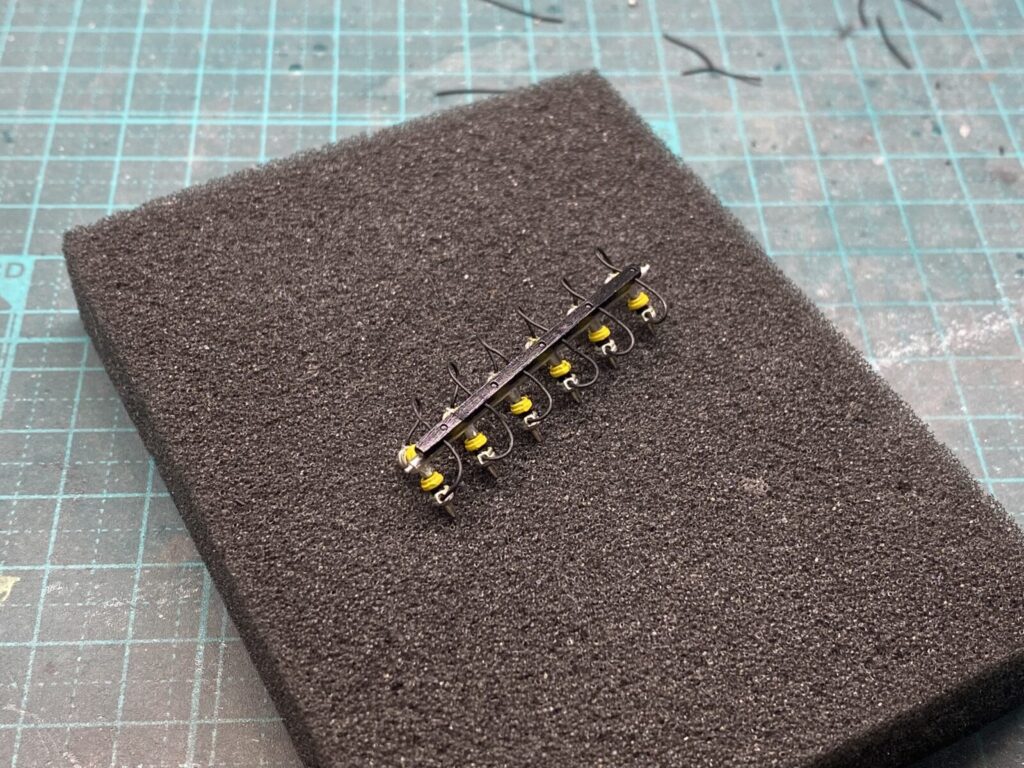
配線も施しエアボックス内部に取り付けます。
TWiring is also added, and the parts are installed inside the airbox.
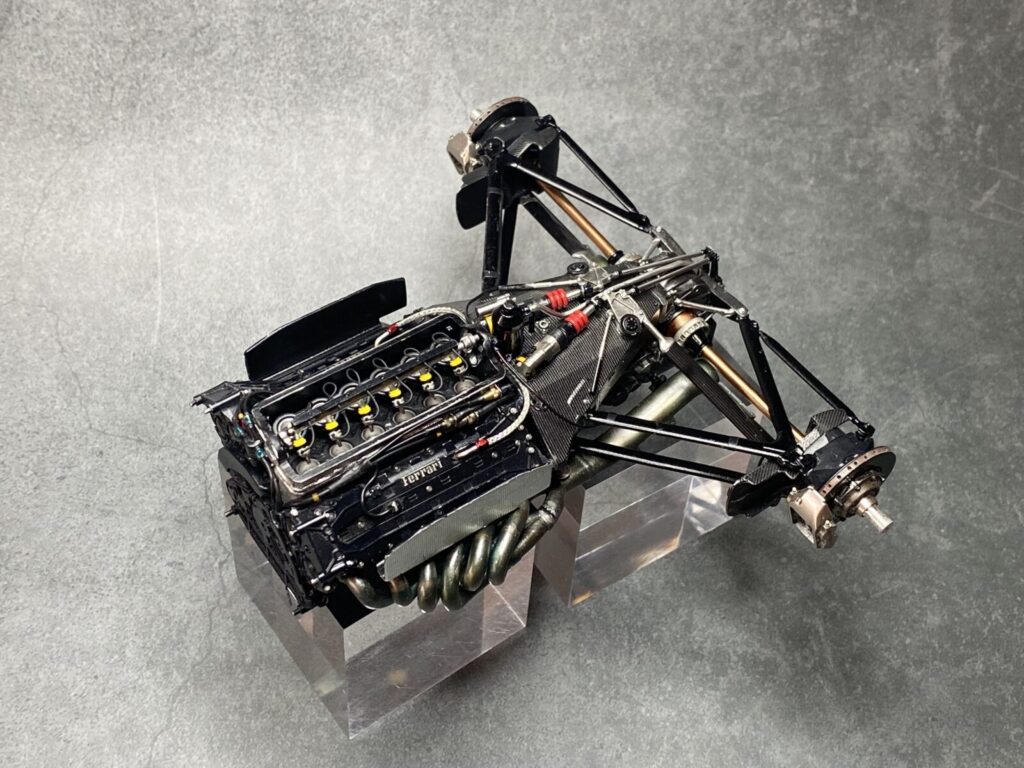
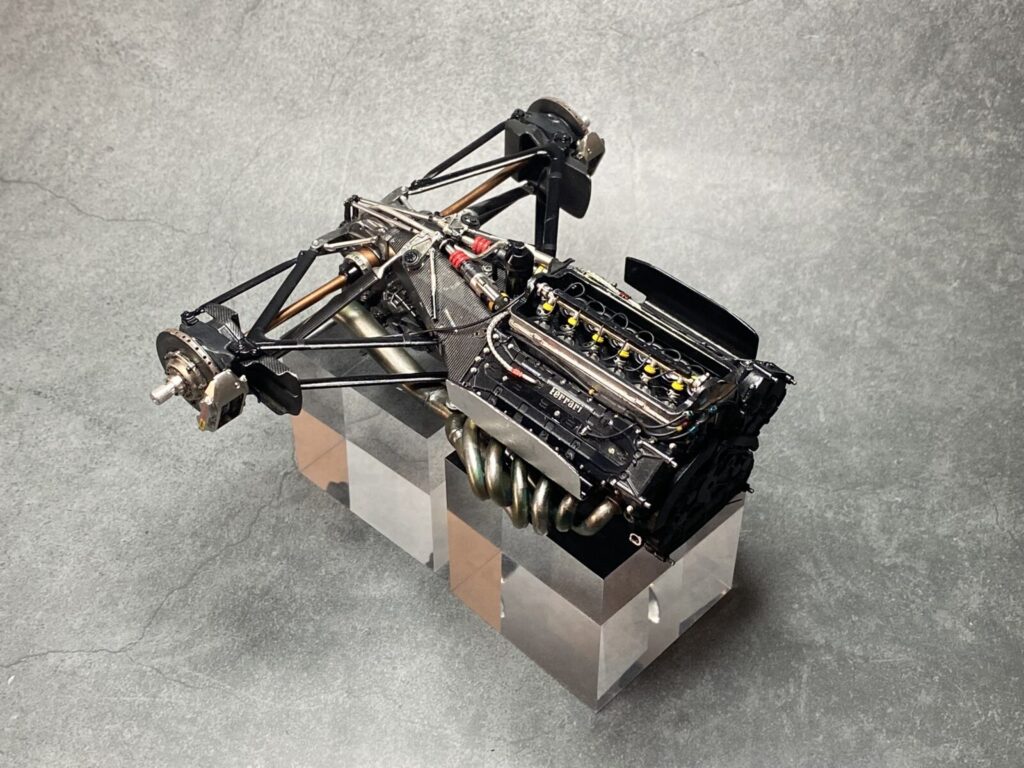
エンジン周辺完成画像1
Engine Area Completed – Photo 1
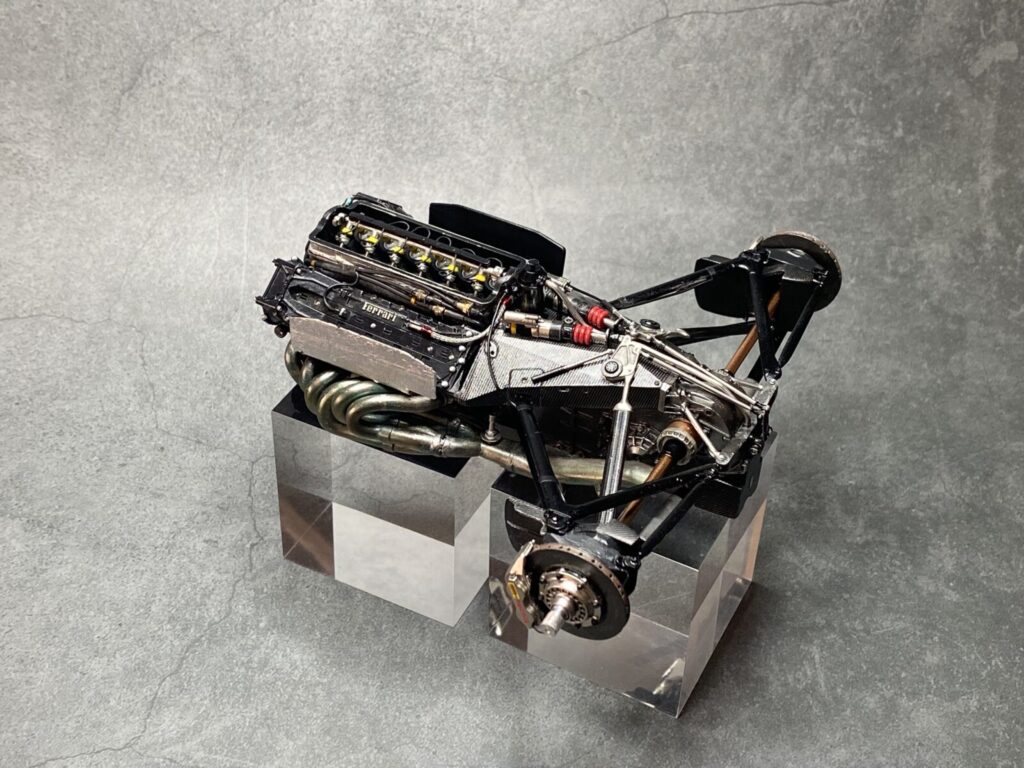
エンジン周辺完成画像2
Engine Area Completed – Photo 2

エンジン周辺完成画像3
Engine Area Completed – Photo 3
エンジン周辺完成画像4
Engine Area Completed – Photo 4
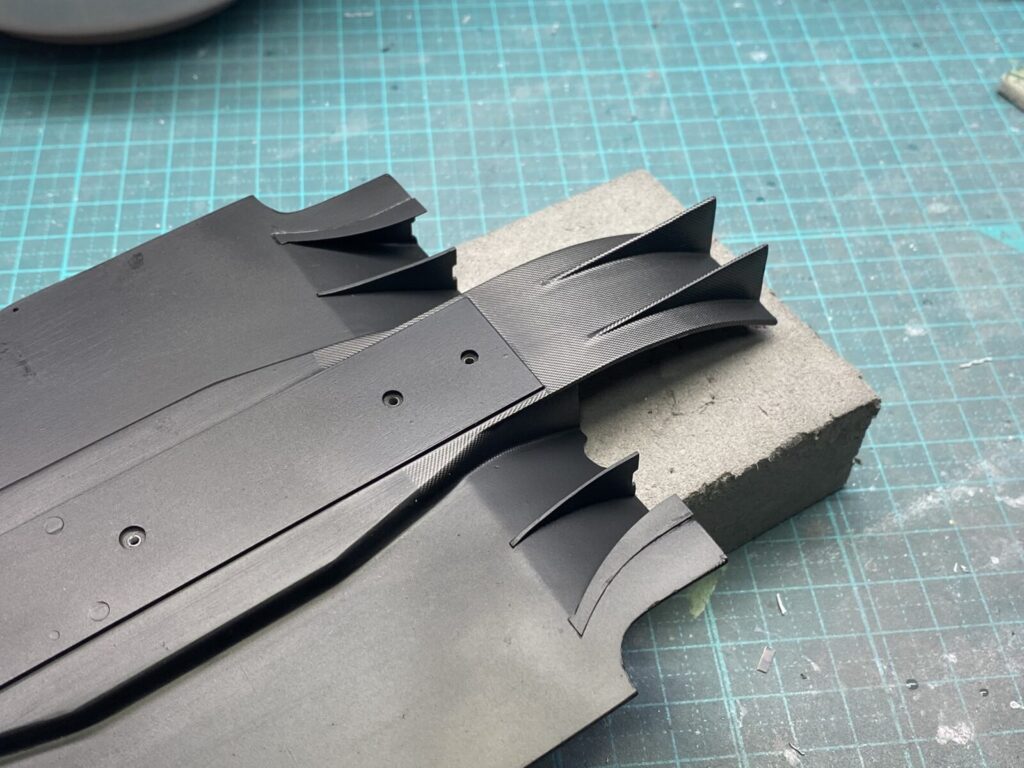
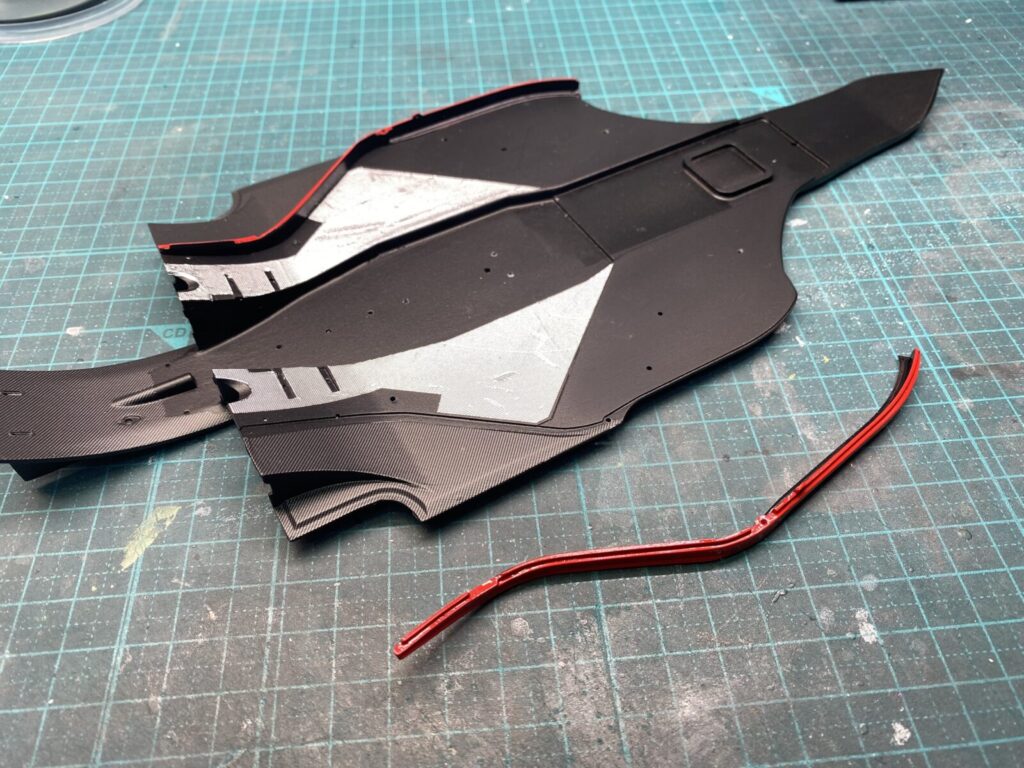
アンダートレイの下面にカーボンデカールを貼ります。
Carbon decals are applied to the underside of the undertray.
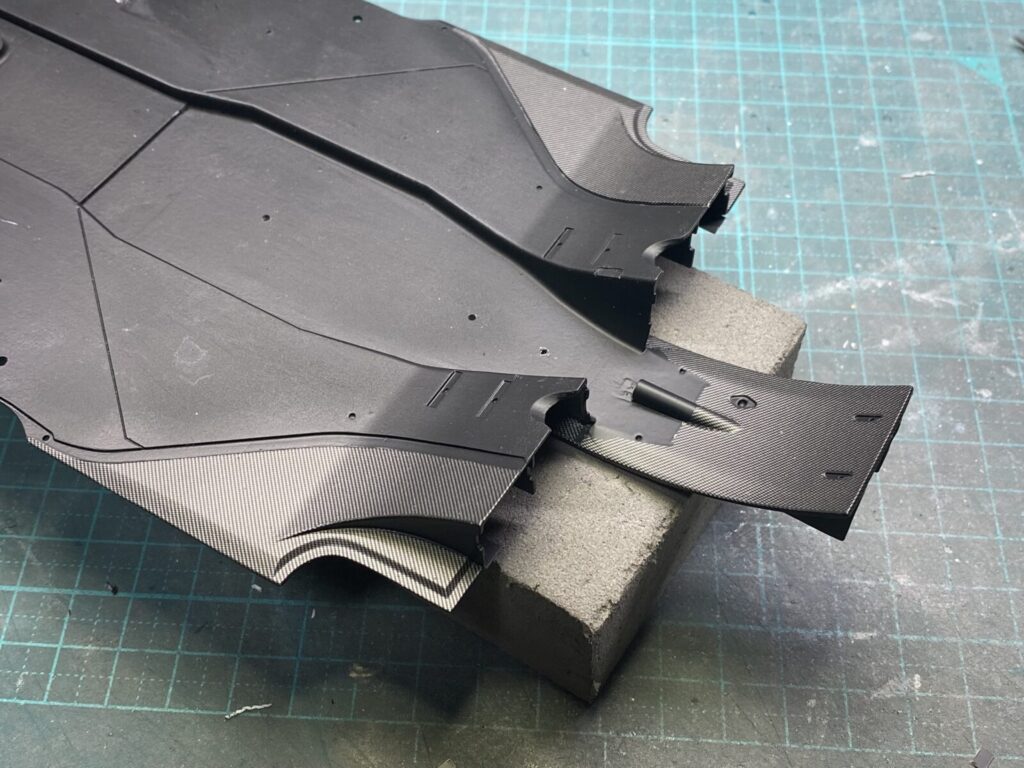
アンダートレイの上面もカーボンデカールを貼ります。デカールが乾燥したら半艶のクリアーを吹きます。
Carbon decals are also applied to the top surface of the undertray.
Once the decals have dried, a semi-gloss clear coat is sprayed.
耐熱シートを貼り、アンダートレイが完成です。
Heat-resistant sheet is applied, completing the undertray.