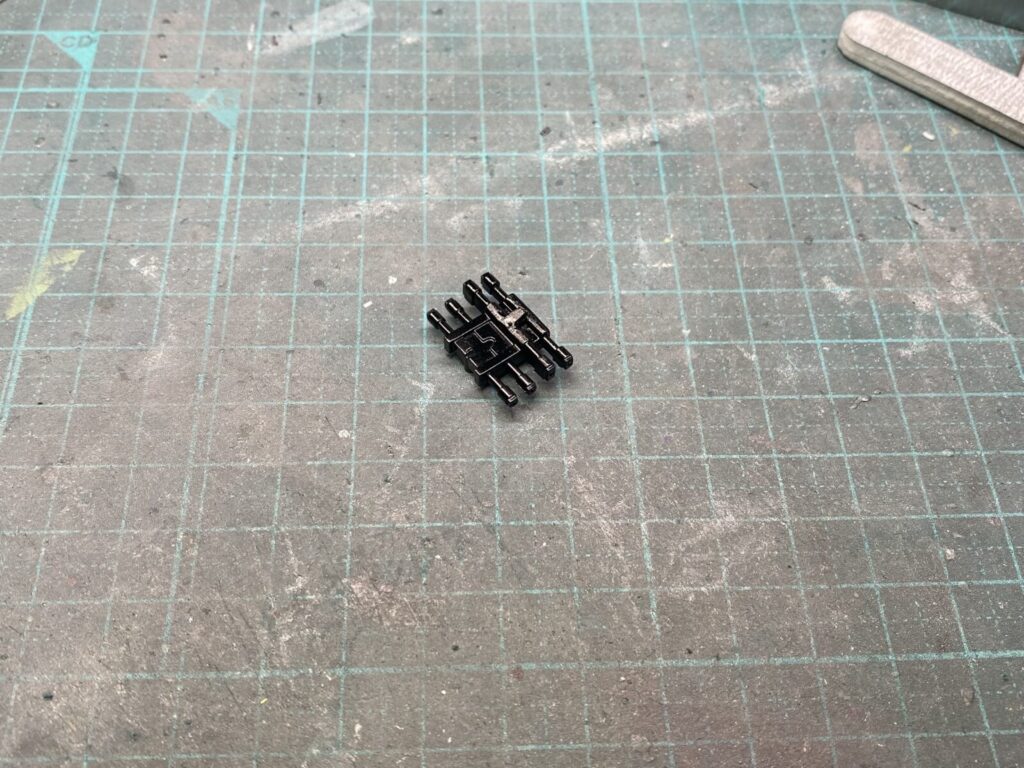
まずは、トランスミッションのギアボックスを制御するソレノイドスイッチを製作します。
キットでは配線類も含めて細部が大幅に省略されており、画像のパーツをそのまま取り付けるだけの構成となっています。そこで各部を改修しながら、実車のレイアウトやディテールをできる限り再現していきます。
he first task is to build the solenoid switch that controls the gearbox transmission system.
In the kit, much of the detail—including the wiring—is omitted, leaving only a simplified part to be installed as shown in the photo. To improve accuracy, I will rework the assembly and add the missing details, bringing it as close as possible to the layout and appearance of the real car.
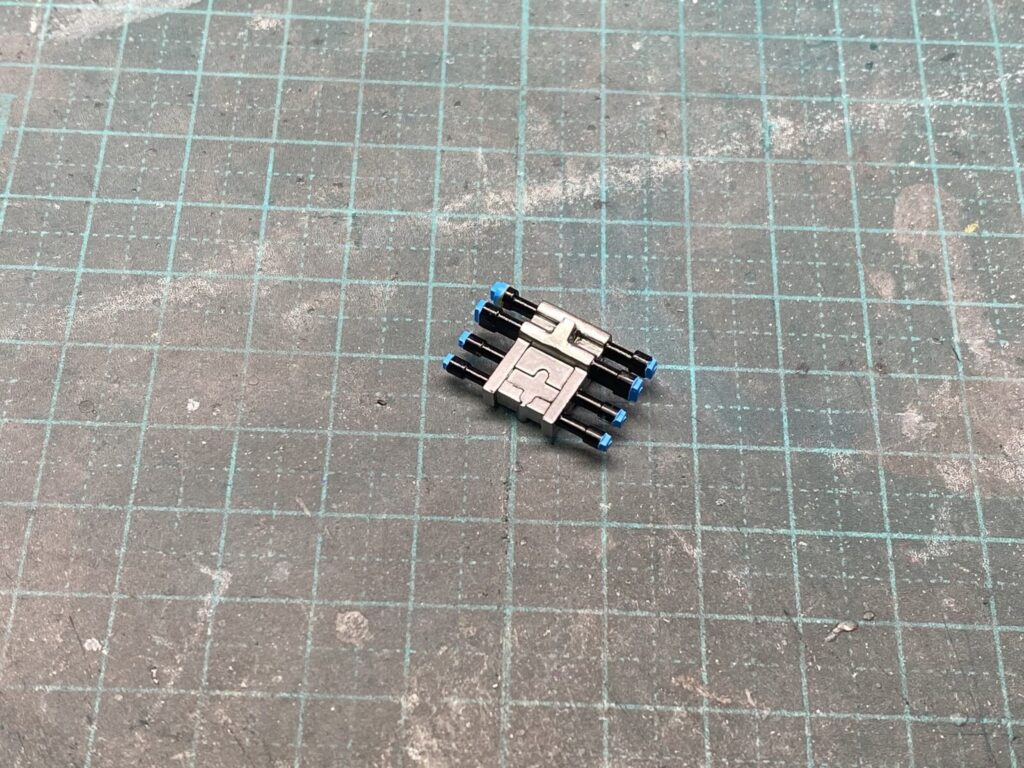
パーティングラインの除去など基本的な下地処理を行った後、各部を塗り分けて仕上げていきます。
After removing the mold seams and completing the basic surface preparation, the individual components are painted in their respective colors.
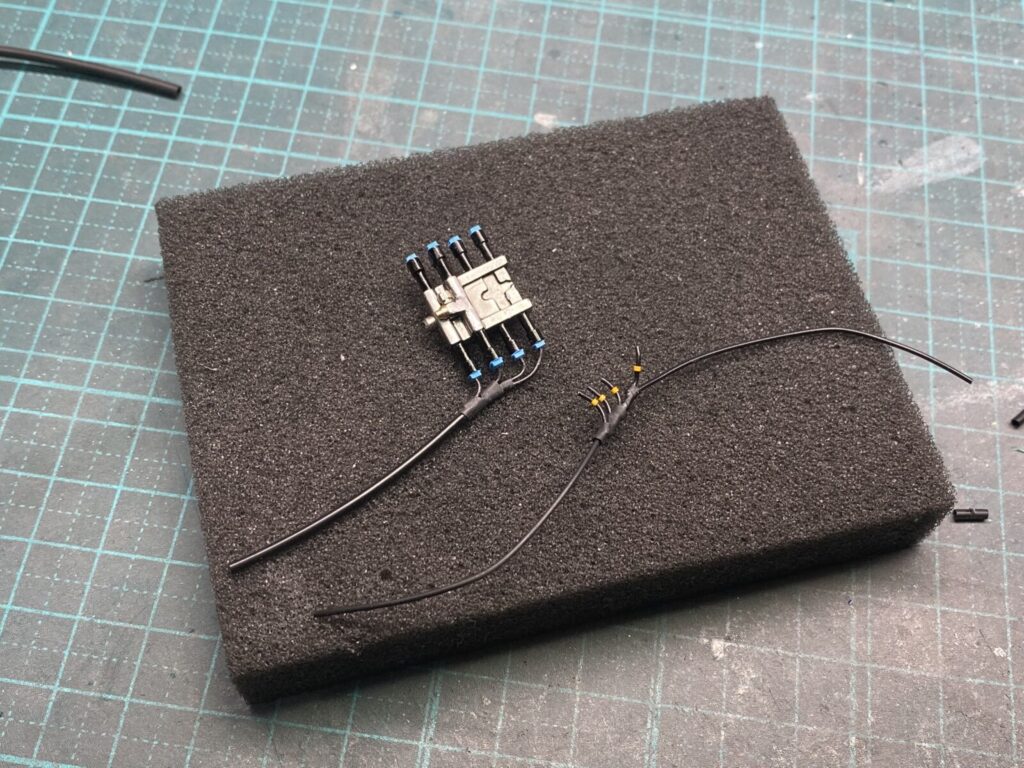
省略されている配線を追加し、実車のレイアウトを参考にしながら接続していきます。
The missing wiring is then added and connected, following the layout of the real car as closely as possible.
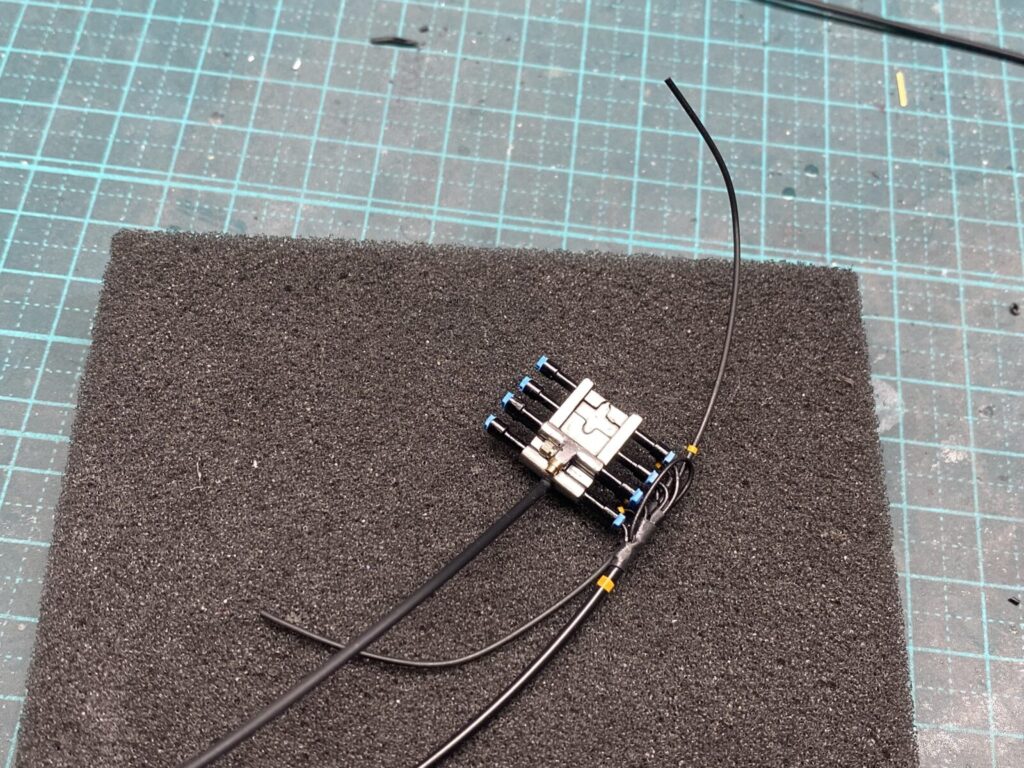
熱収縮チューブを使用して配線を束ねながら、さらに不足している配線を追加していきます。
配線の取り回しにも注意し、実車らしい密度感が感じられるよう仕上げていきます。
Additional wiring is added while using heat-shrink tubing to bundle and organize the cables.
Care is also taken with the routing of the wires to recreate the busy and functional appearance seen on the real car.
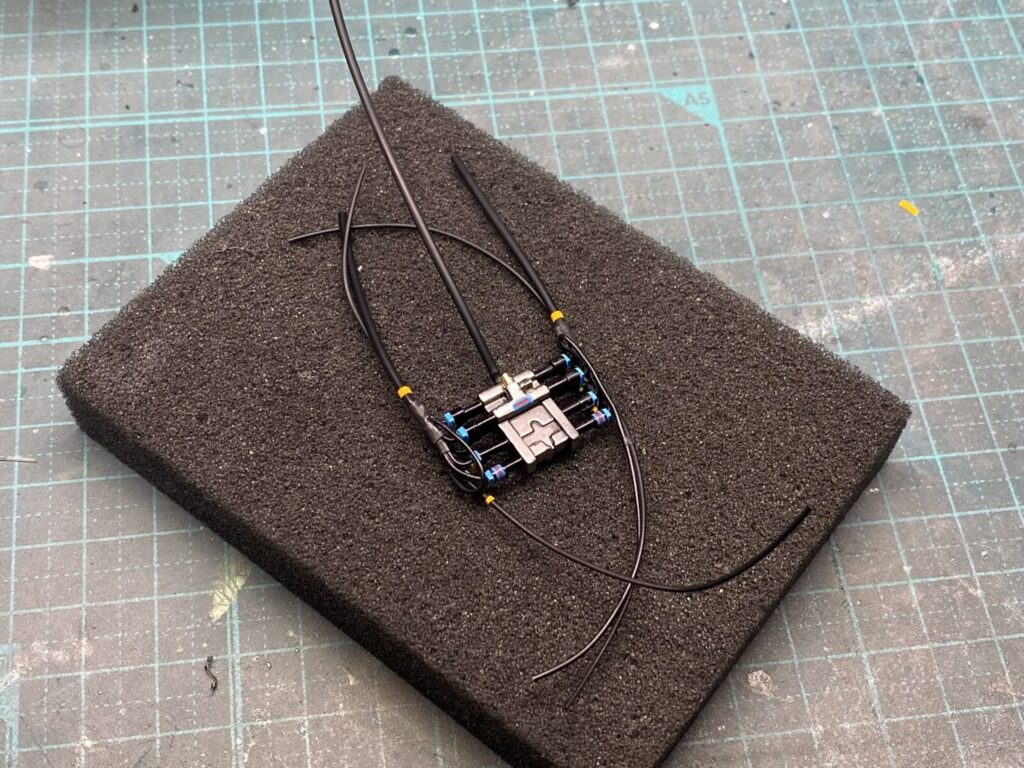
反対側も同様の手順で製作を進めます。
左右で仕上がりに差が出ないよう、配線の取り回しや各部の位置関係を確認しながら作業を行いました。
The opposite side is built in the same manner.
Care is taken to ensure both sides match in appearance, with particular attention paid to wire routing and the positioning of each component.
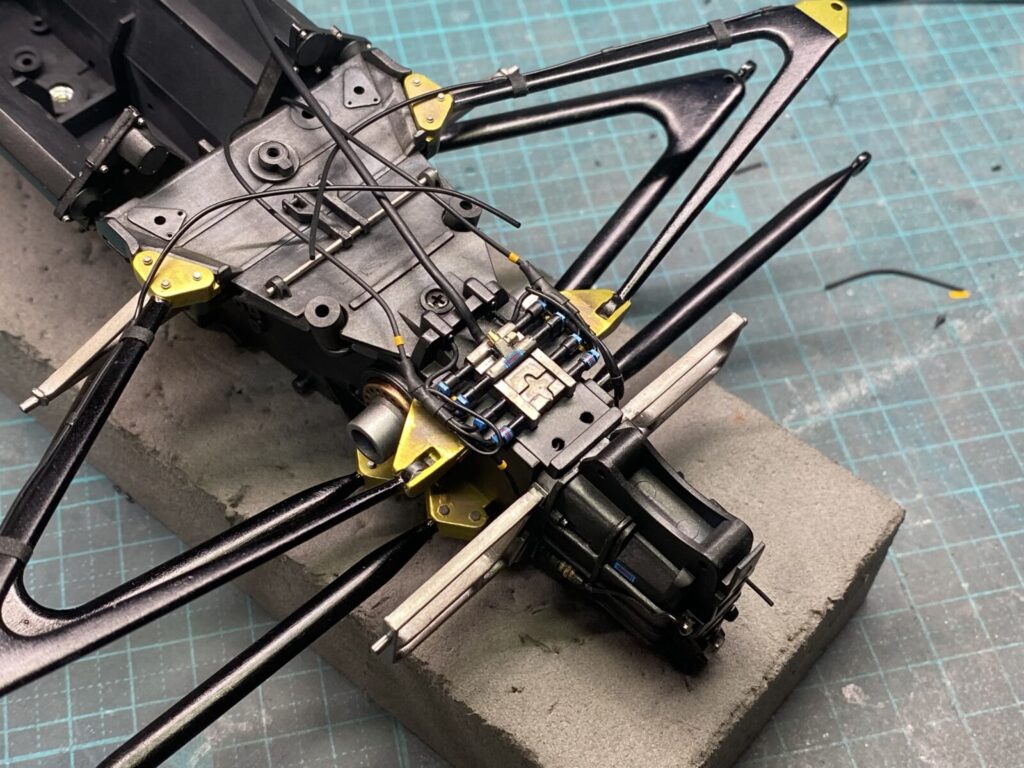
完成したソレノイドスイッチをギアボックス上部に取り付けます。
The completed solenoid switch assemblies are then installed on top of the gearbox.
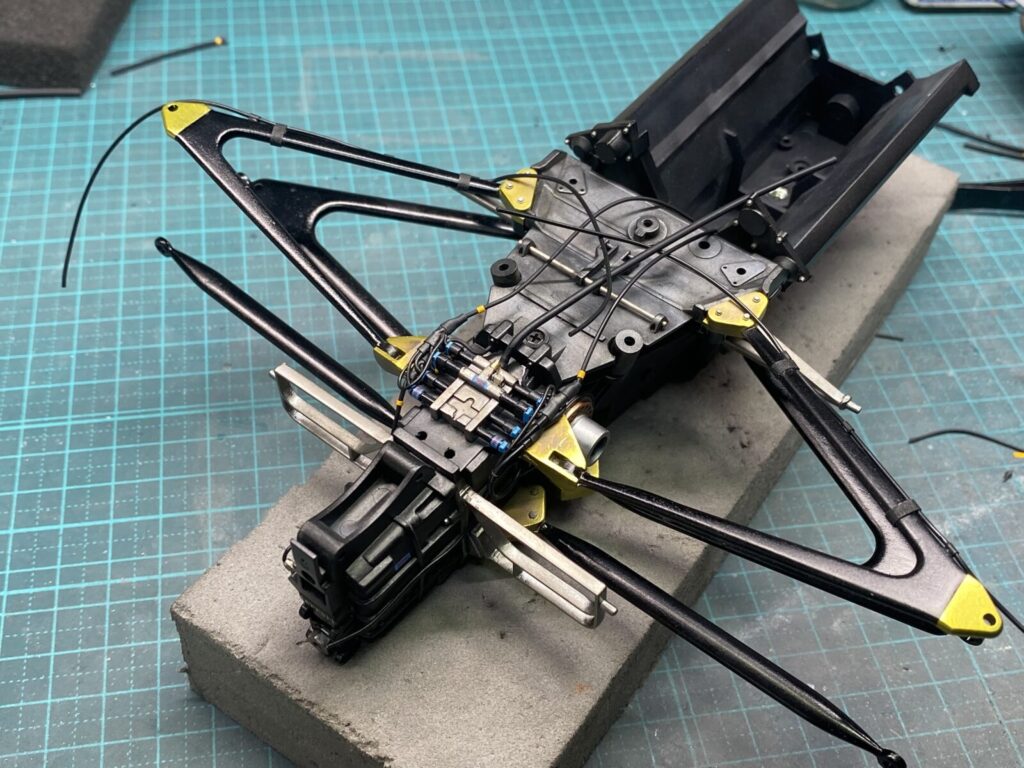
配線は後の工程でさらに追加していく予定ですが、この段階でも実車らしい密度感のある仕上がりになったと思います。
Additional wiring will be added in later stages, but even at this point the assembly has started to capture the busy, densely packed appearance of the real car.