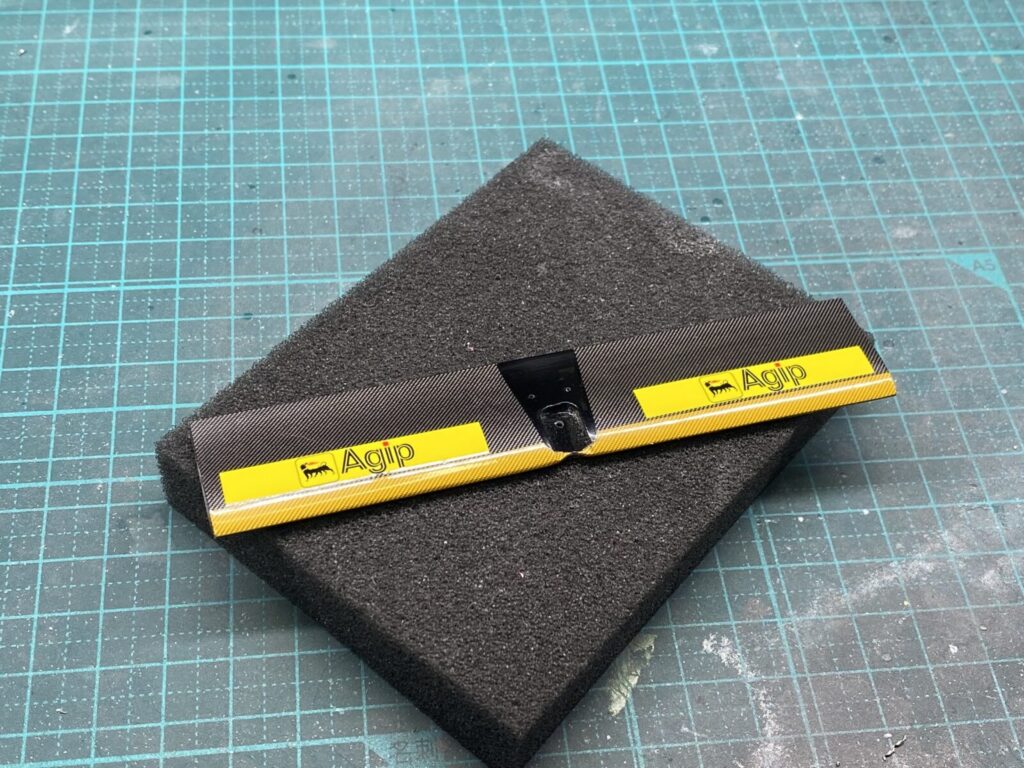
今回はフロントウイングの製作です。
フロントウイングもリアウイング同様にカーボンデカールとスポンサーデカールを貼り乾燥後にクリアーで仕上げます。
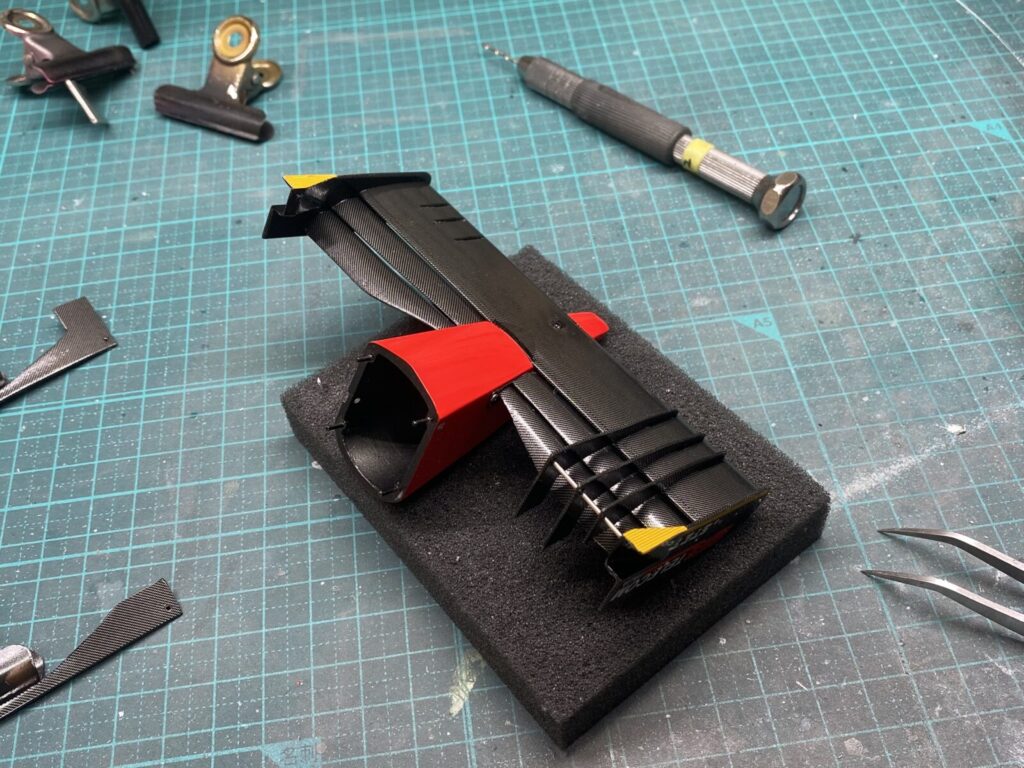
This time, I’ll be working on the front wing.
As with the rear wing, carbon decals and sponsor decals are applied, then after drying, everything is finished with a clear coat.
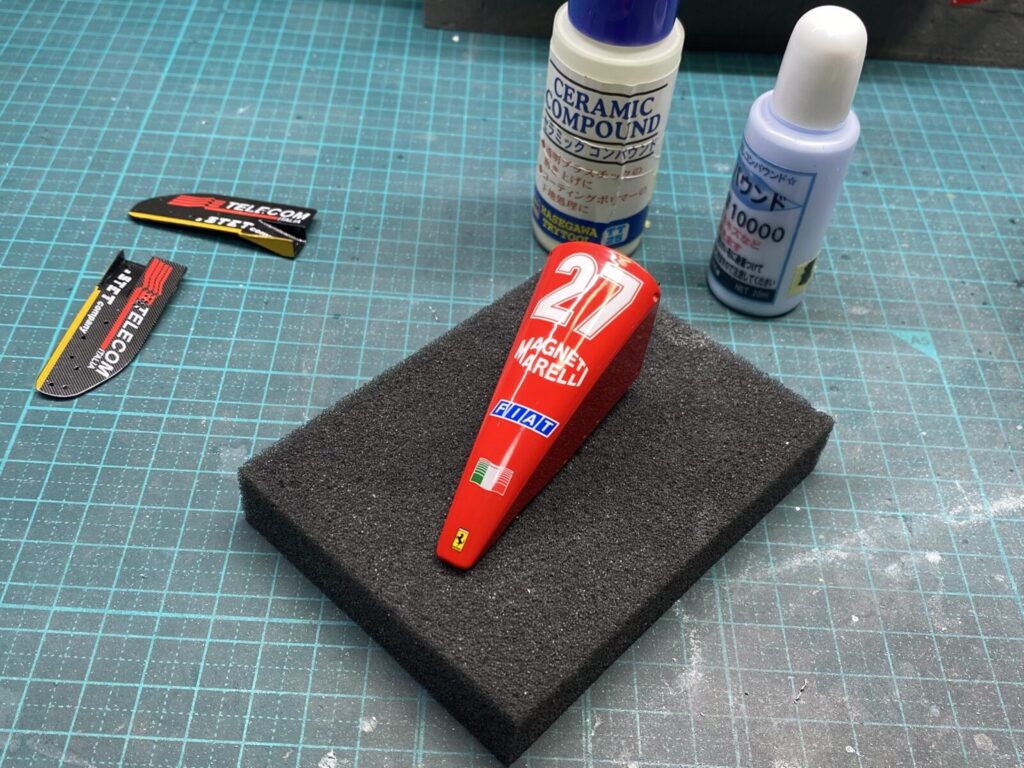
続いてモノコックなどと同様にフロントノーズも磨き出しまで行います。
Next, as with the monocoque and other parts, the front nose will also be polished out to a high-gloss finish.
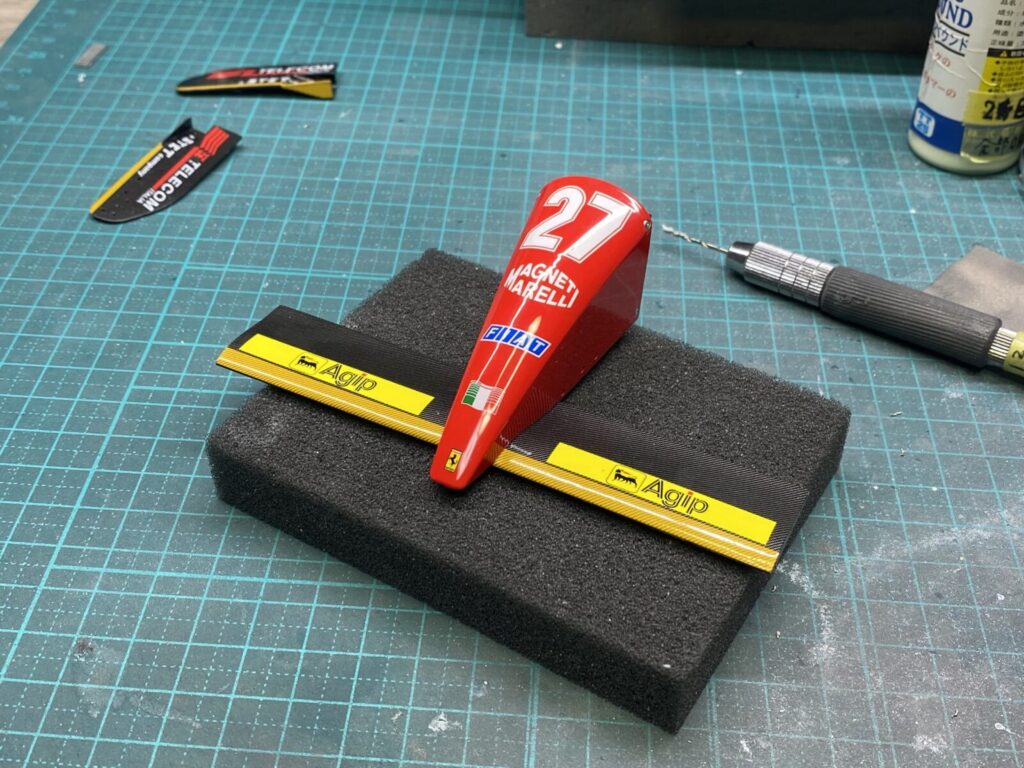
磨き出したノーズにフロントウイングを固定します。
The front wing is then fixed to the polished nose.
水平や垂直などの角度に注意しながら、位置関係を確認して組み立てていきます。
Assemble it carefully, checking alignment to keep everything level and square.
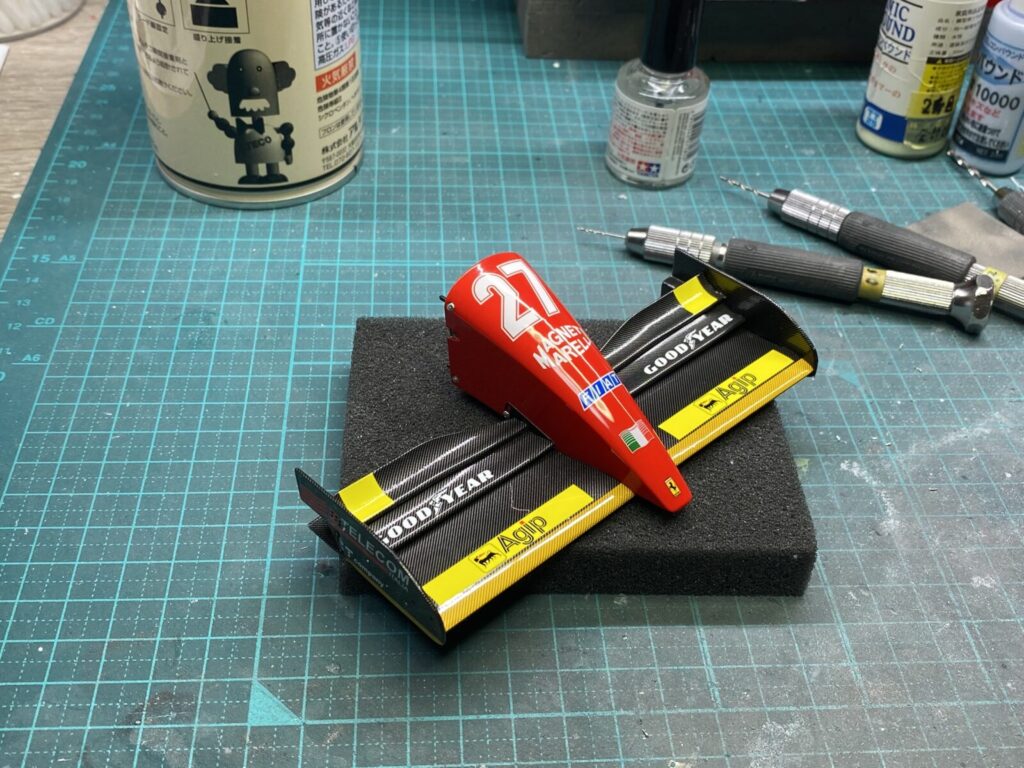
ウイングの底面のフィンも取り付け金属棒で固定します。
The fins on the underside of the wing are also fixed in place using metal rods.
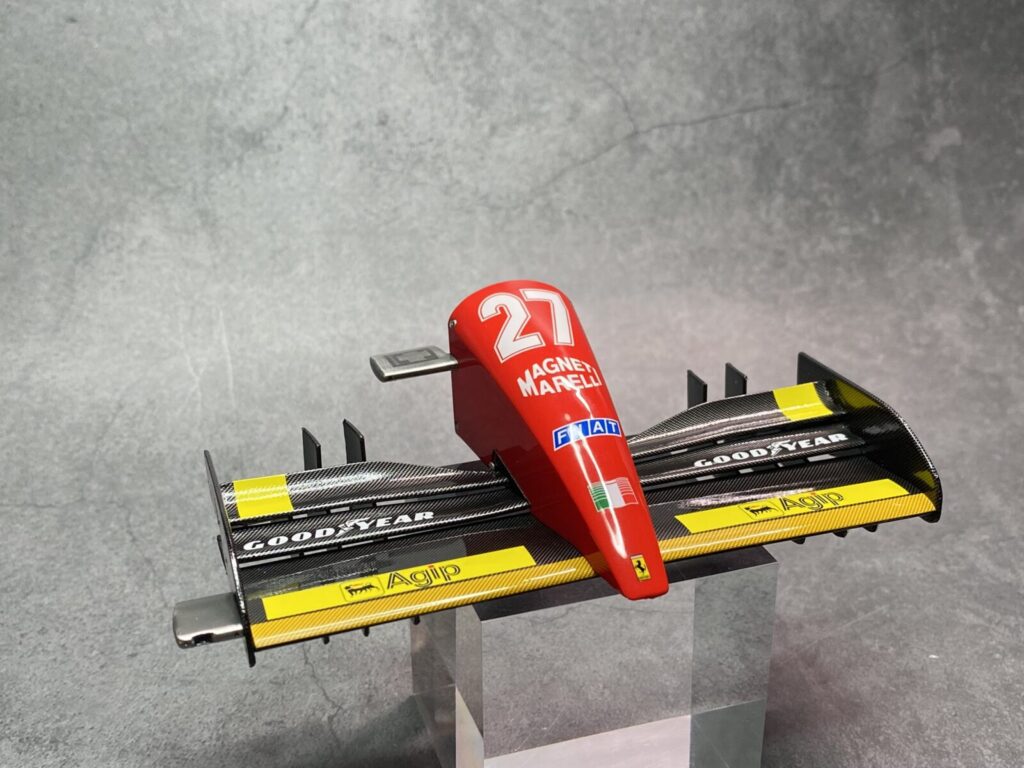
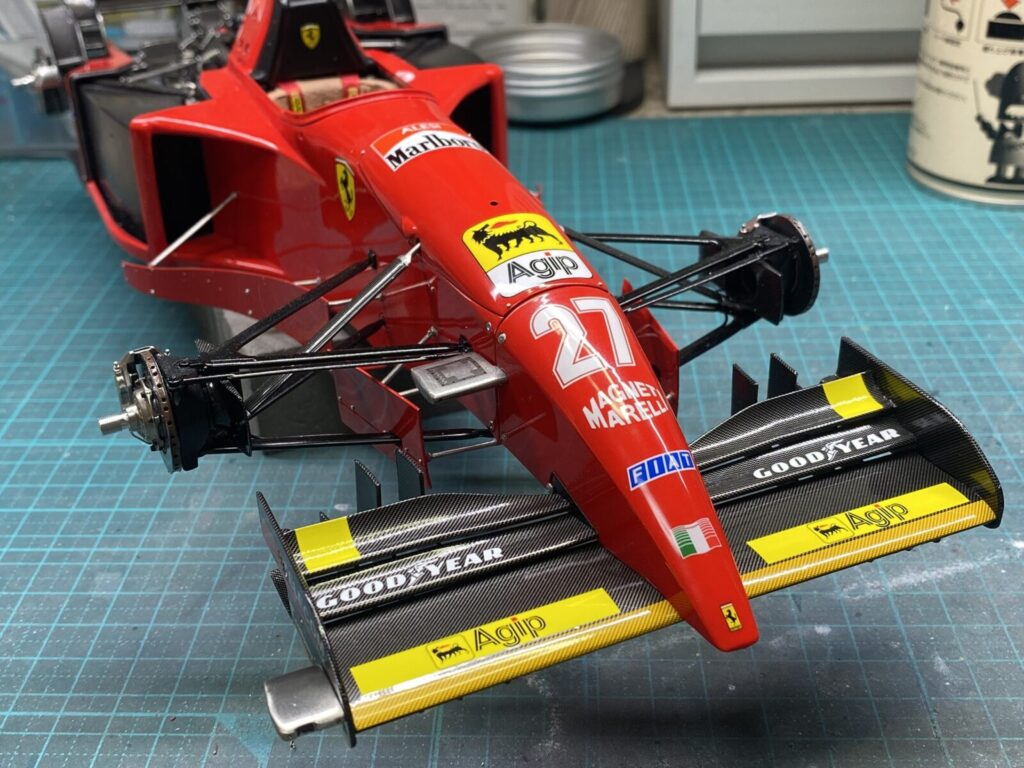
フロントウイングが完成しました。
完成画像1
The front wing is now complete.
Finished image 1
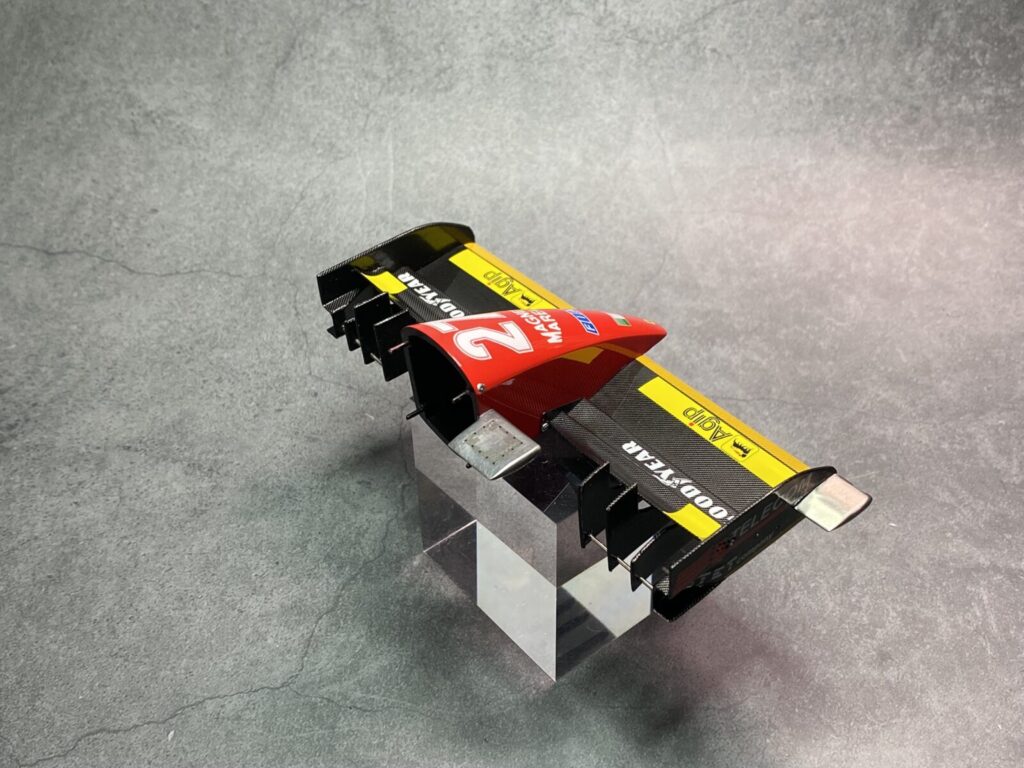
完成画像2
Finished image 2
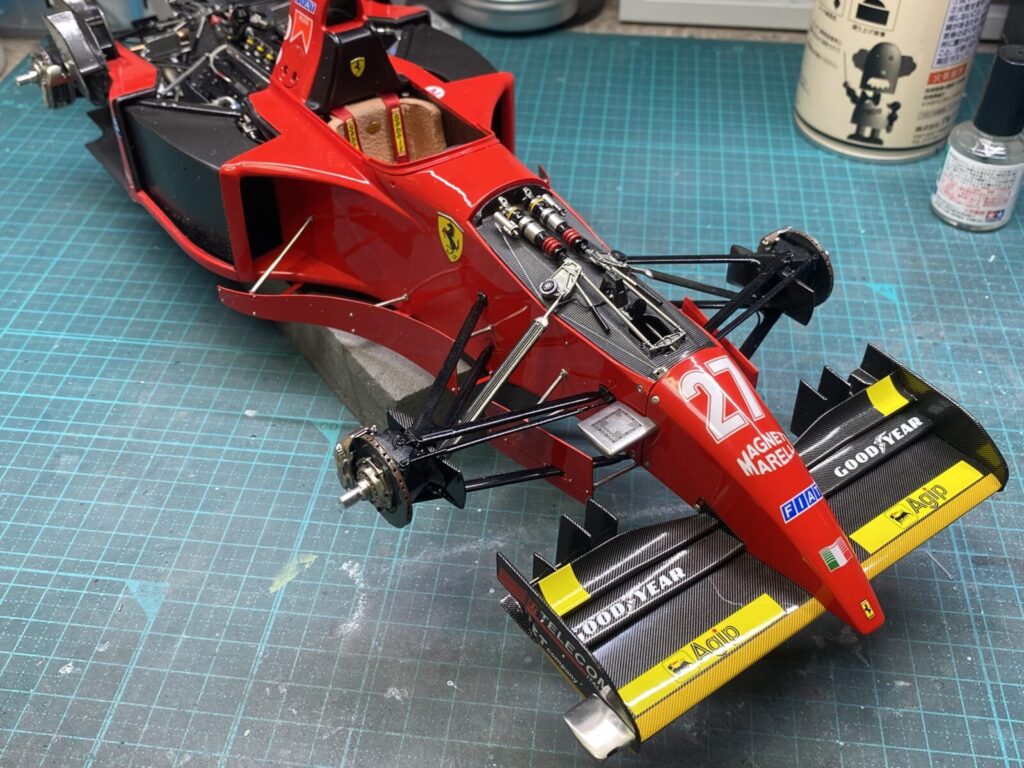
フロントウイングはそれなりの重量がありますが、本体に取り付けても脱落しないようにしつつ、必要に応じて取り外しも可能なように調整してあります。
The front wing also has a fair amount of weight, but it has been adjusted so that, once fitted to the main body, it will not come loose and can still be removed when needed.
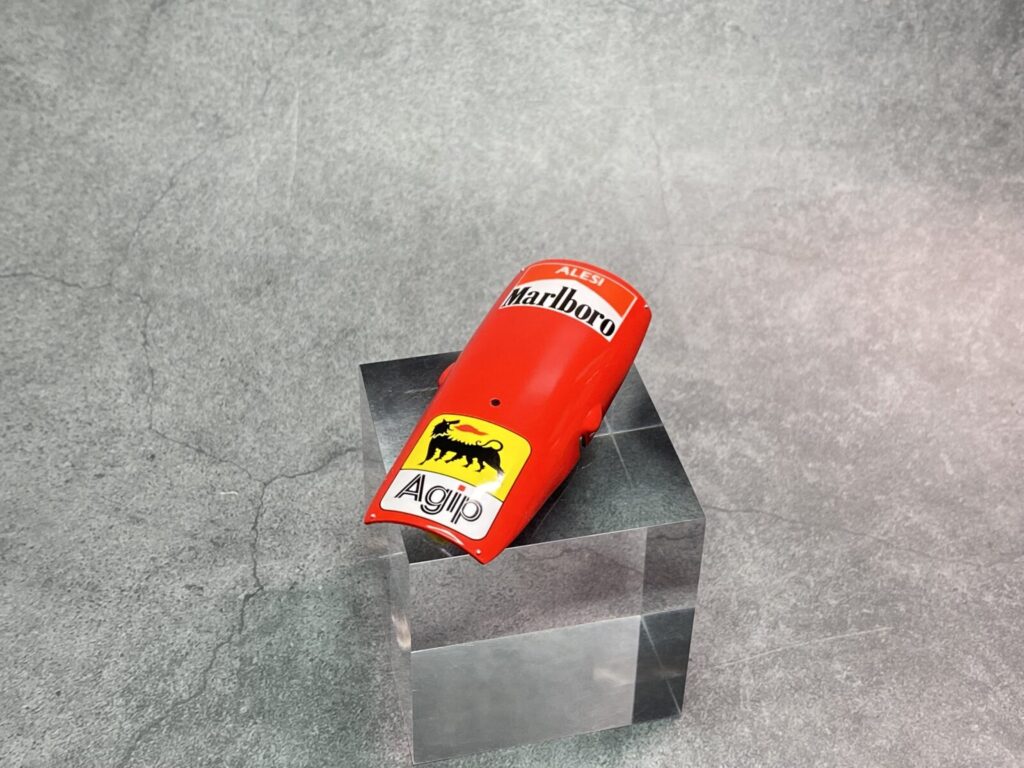
フロントのカバーカウルも同様に磨き出して完成させます。
The front cover cowl is also polished out in the same way to complete it.
フロントノーズとフロントカバーカウルを装着した状態です。きれいに収まりました。
This is the front nose and front cover cowl installed. The fit is clean and precise.