プライマーが完全に乾いたら実車のような質感になる様にサフで下地を作ります。下地が出来上がったら独自に調合した塗料で塗装します。
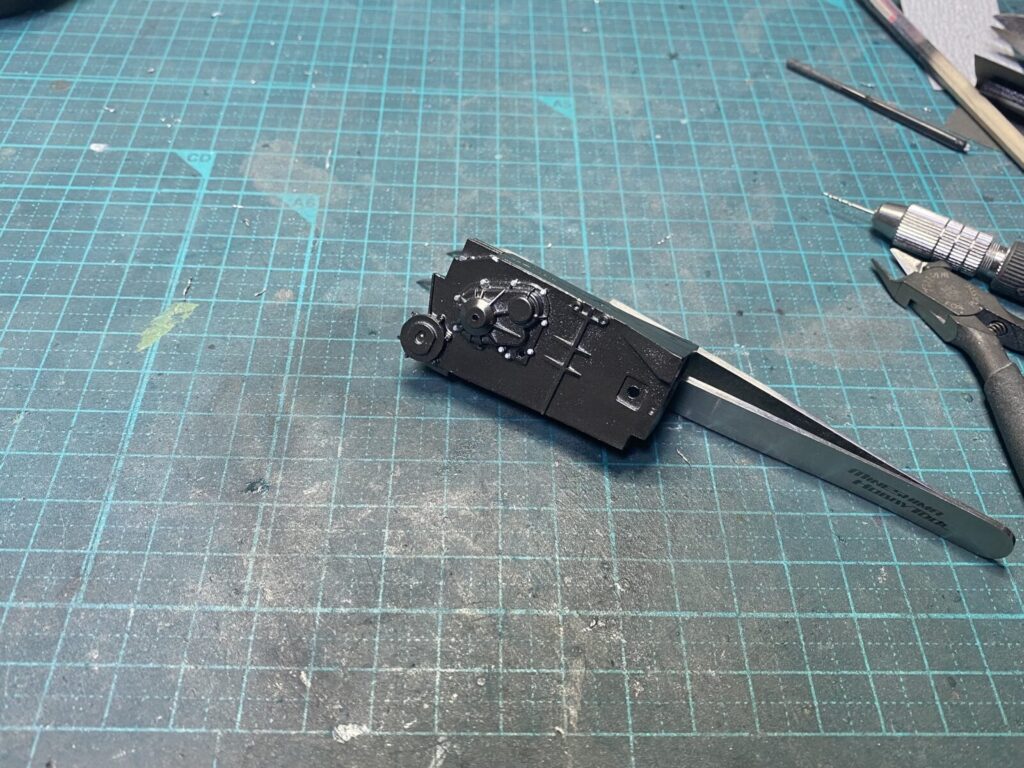
From this point, I will begin working on the rear section of the car.
Most of the components in this assembly are cast in white metal.
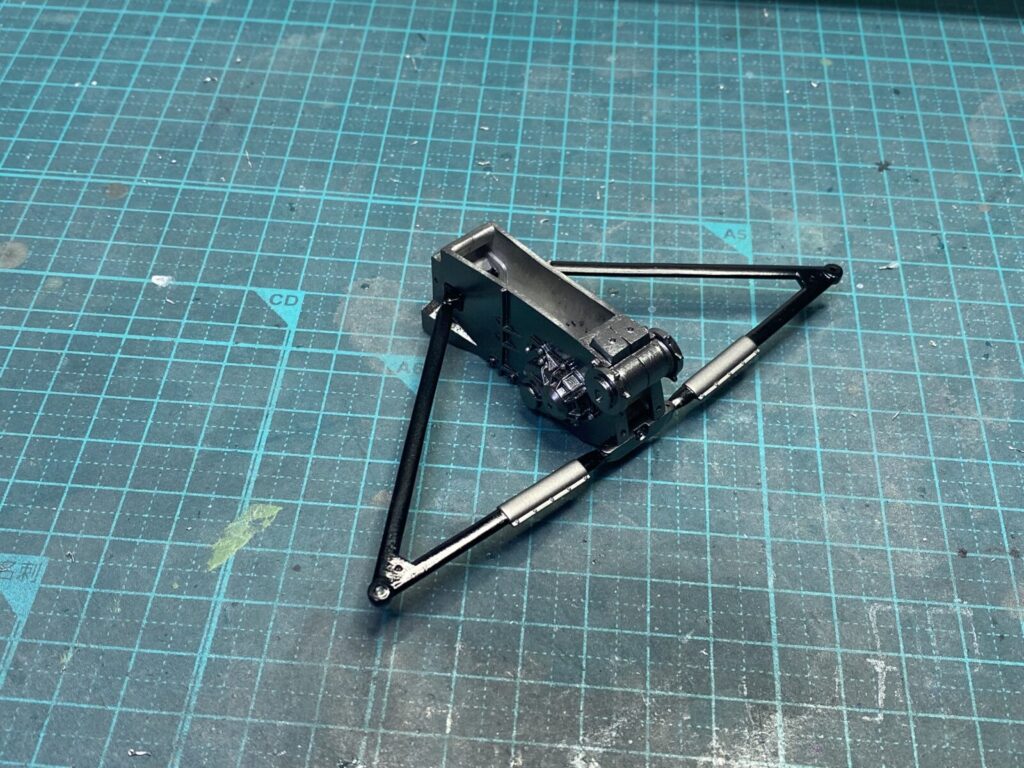
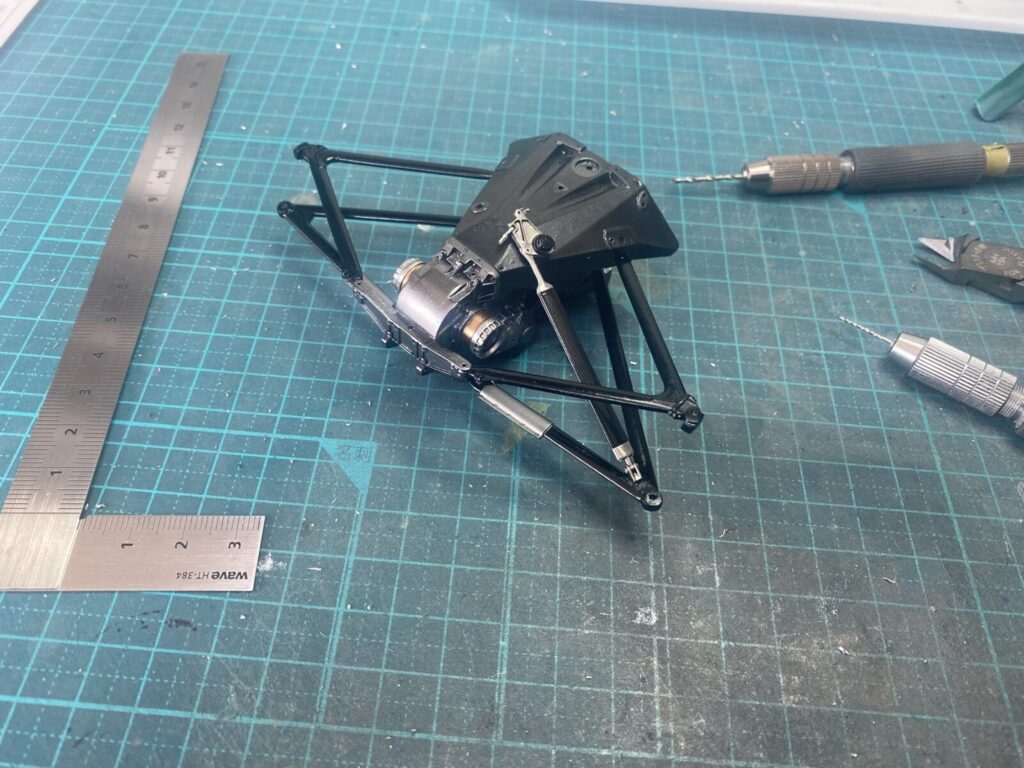
質感の高いボルト類を追加します。その後、塗装したサスペンションアームを、アライメントや全体のバランスを確認しながら取り付けていきます。
High-detail bolts are added to replace the molded details and improve the overall realism.
The painted suspension arms are then installed, carefully checking the alignment and overall balance during assembly.
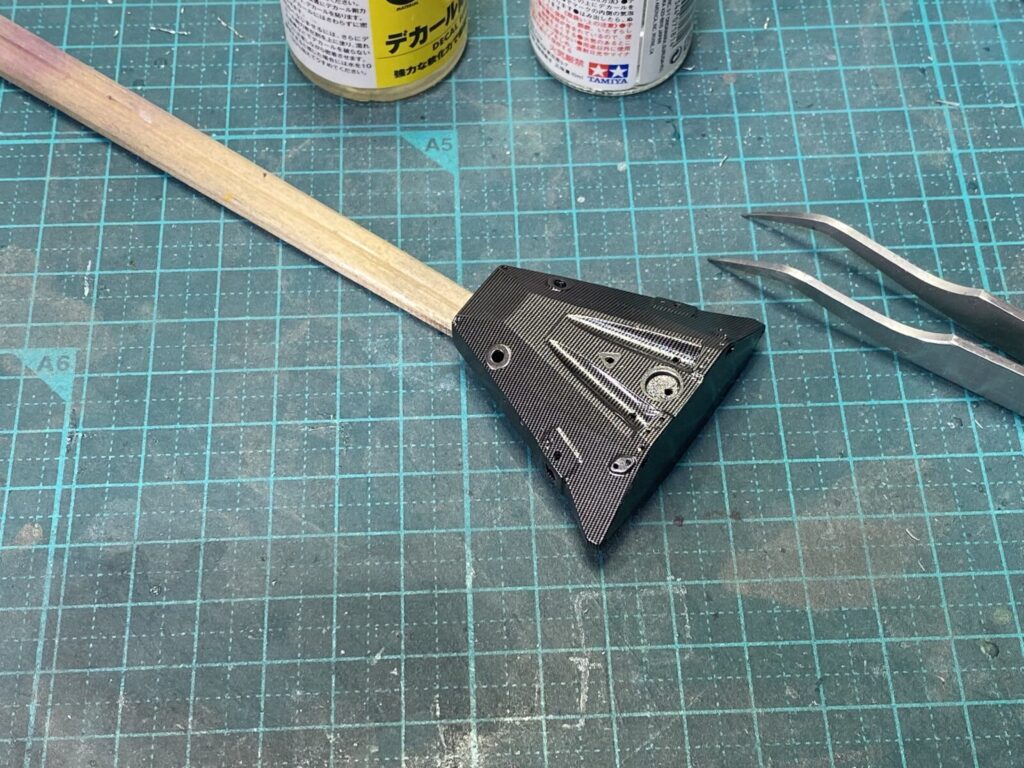
ギアボックス上部カバーにカーボンデカールを貼り込みます。
Carbon fiber decals are applied to the upper gearbox cover.
デカール保護のためクリアーコートを施します。その後、実車の雰囲気に近づけるため、クリアー塗装面の艶を調整して仕上げます。
A clear coat is applied to protect the decals.
After curing, the sheen of the clear finish will be carefully adjusted to better match the appearance of the real car.
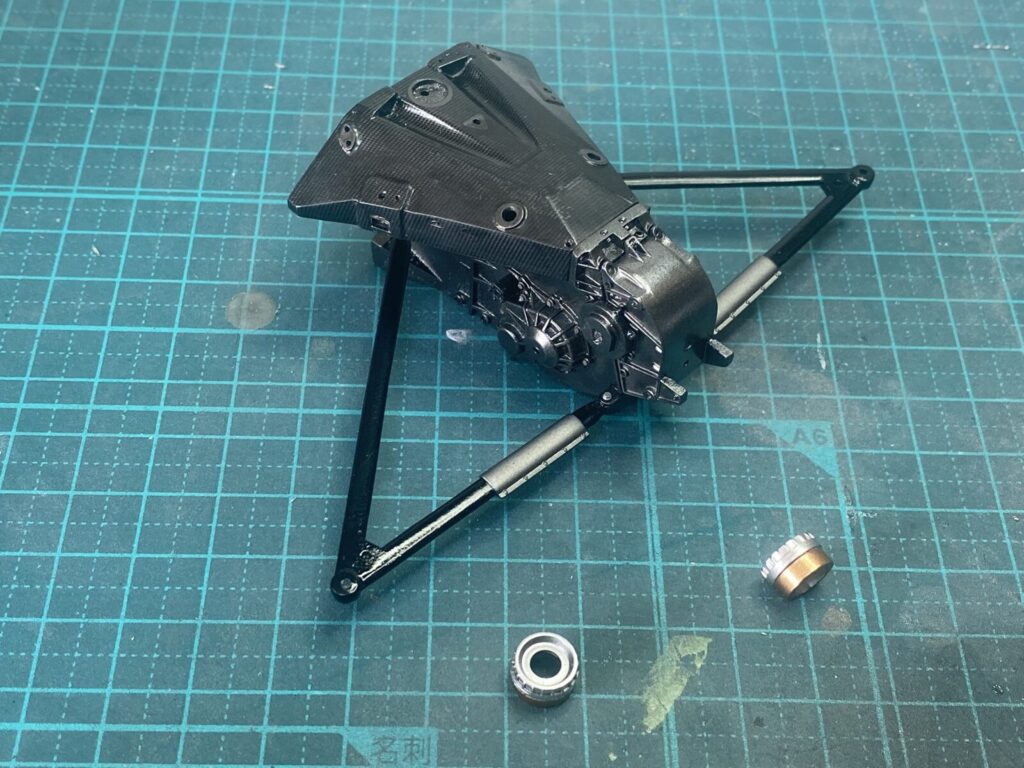
リアサスペンションのプッシュロッドを、アライメントを確認しながら正確な位置に固定します。
The rear suspension pushrod is installed and secured in its precise position while carefully checking the alignment.
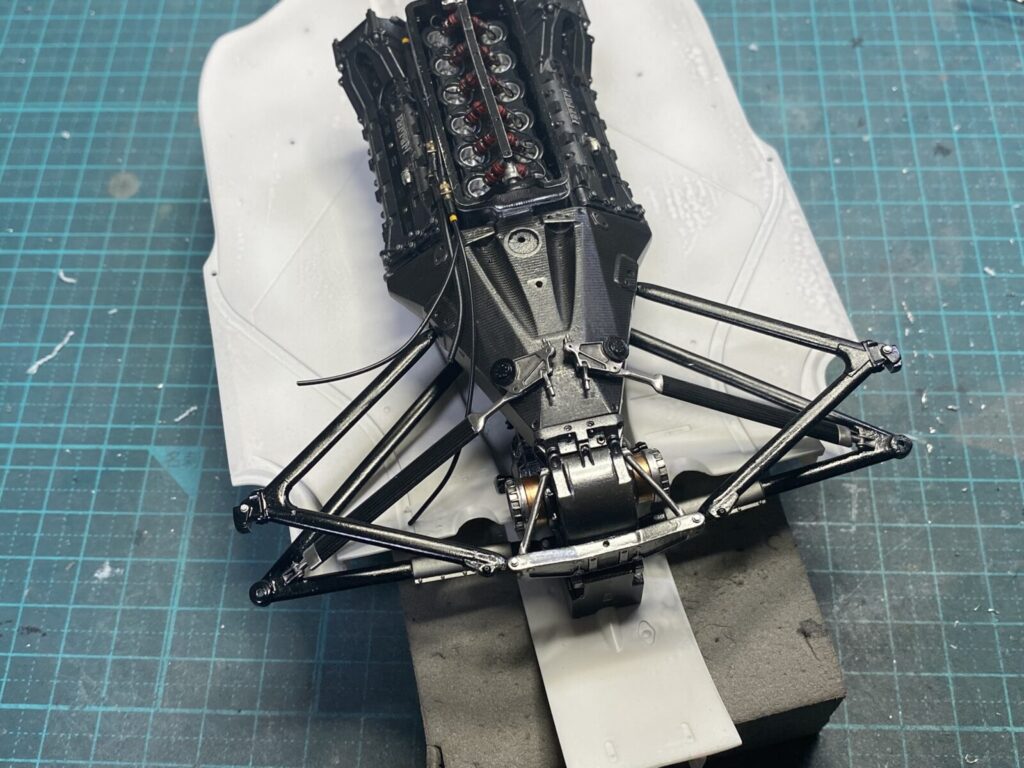
あらかじめ製作しておいたエンジンを仮に接合し、アッセンブリー全体のバランスを確認します。また、アンダートレイとの取り付け位置も確認し、必要に応じて修正を行っておきます。
The previously completed engine is temporarily attached to evaluate the overall balance of the assembly.
The mounting positions with the undertray are also checked and adjusted where necessary.