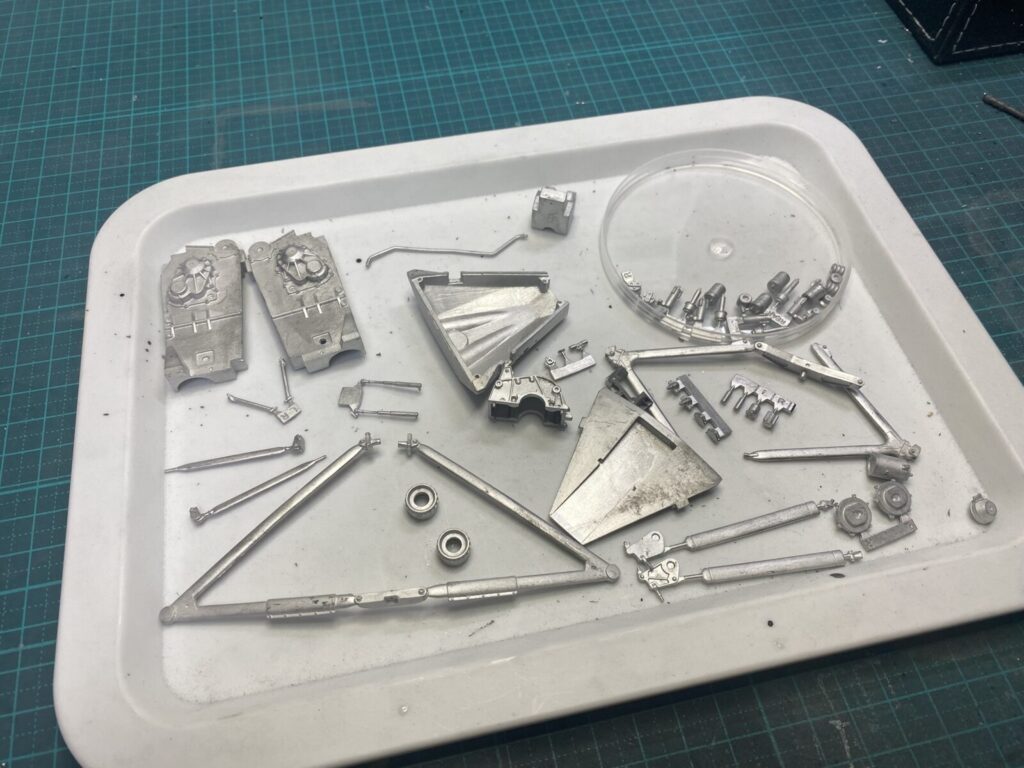
ここからリアセクションの製作に入ります。この部分のパーツは、基本的にホワイトメタル鋳造パーツで構成されています。
From this point, I will begin working on the rear section of the car.
Most of the components in this assembly are cast in white metal.
まずは仮組を行い、修正部分のチェックと大まかな整形まず仮組みを行い、修正が必要な箇所を確認します。その後、基本的な整形やバリ取りなどの下処理を行います。
I begin with a dry fit to identify any areas that require correction, followed by basic clean-up and rough shaping of the parts.
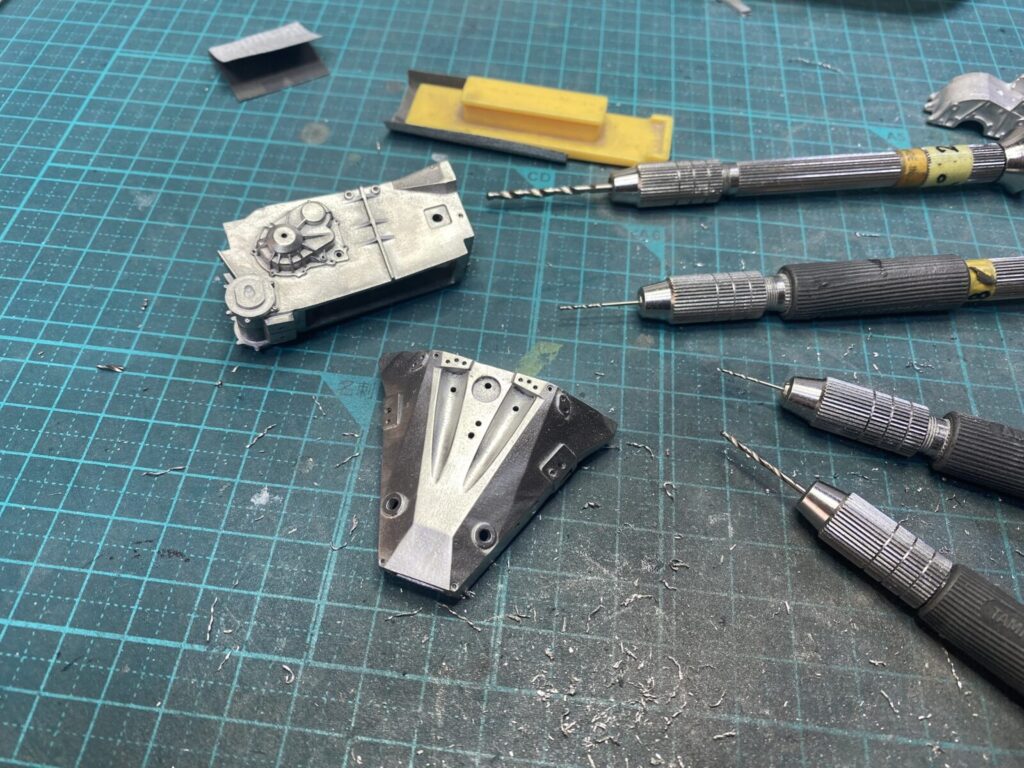
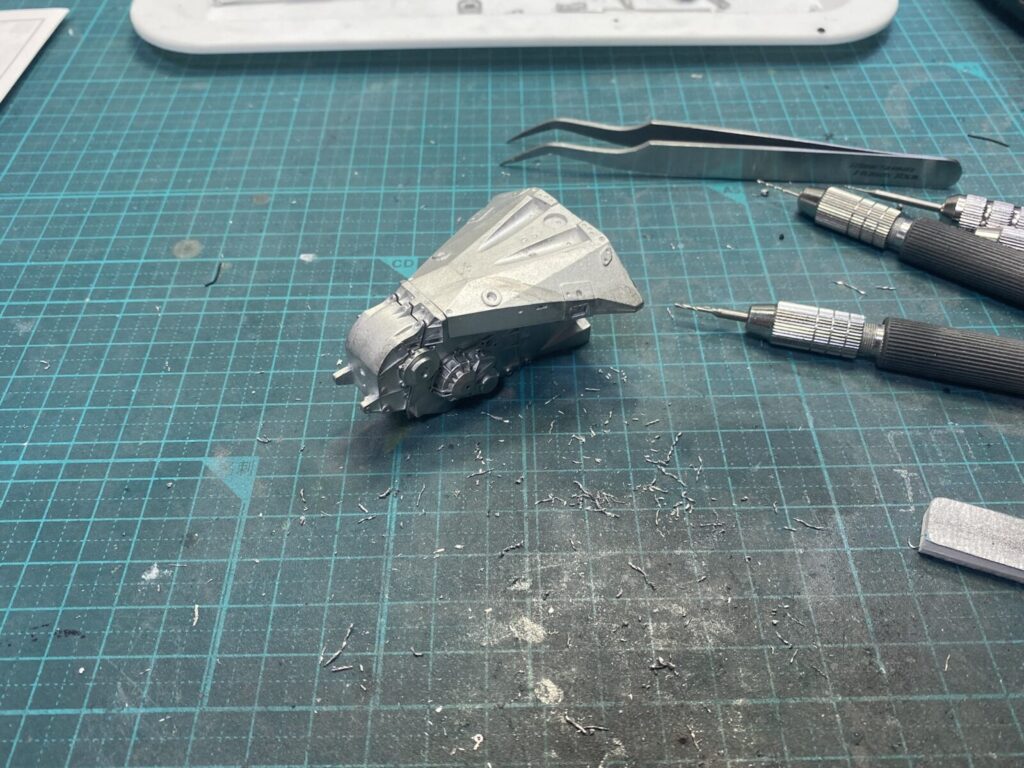
パーツ表面はラジアルブリッスルブラシで研磨して整えます。エンジンセクションと同様に、モールドされているボルトディテールはすべて削り落とし、後で別パーツに置き換える準備を行います。
The surfaces of the parts are polished and cleaned up using a radial bristle brush.
As with the engine section, all molded-on bolt details are carefully removed to prepare for replacement.
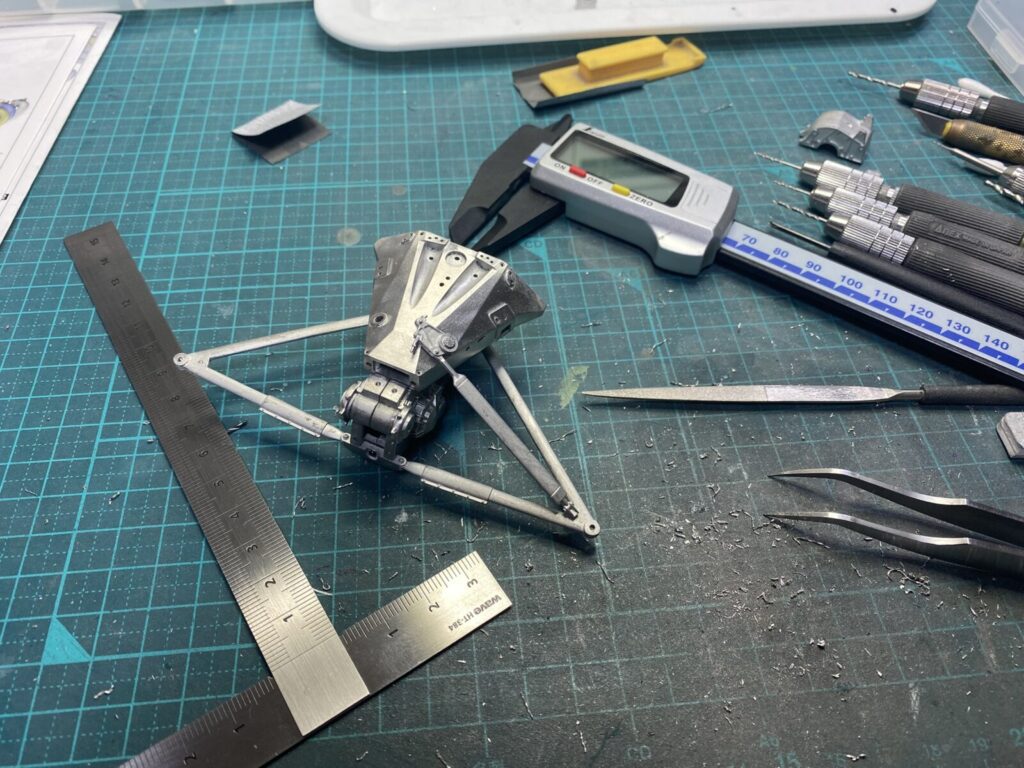
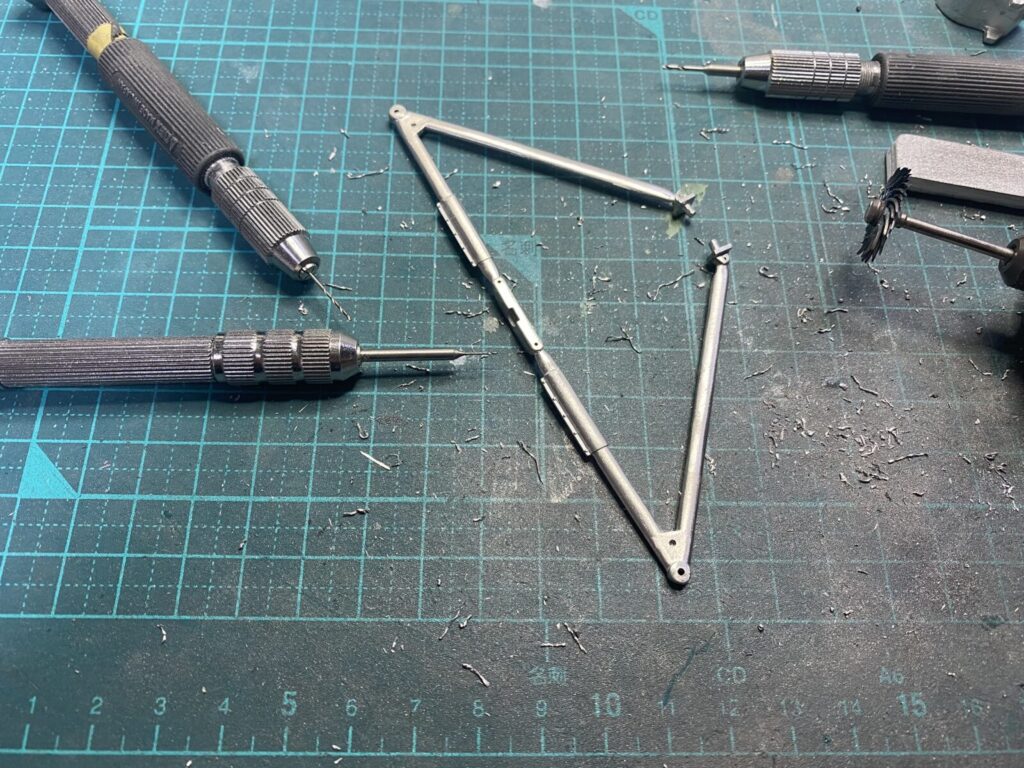
次にリアサスペンション周辺を仮組みし、全体のジオメトリーやアライメントのバランスを確認しながら調整を行います。
Next, the rear suspension assembly is dry-fitted, and adjustments are made so that the overall geometry and alignment are properly balanced.
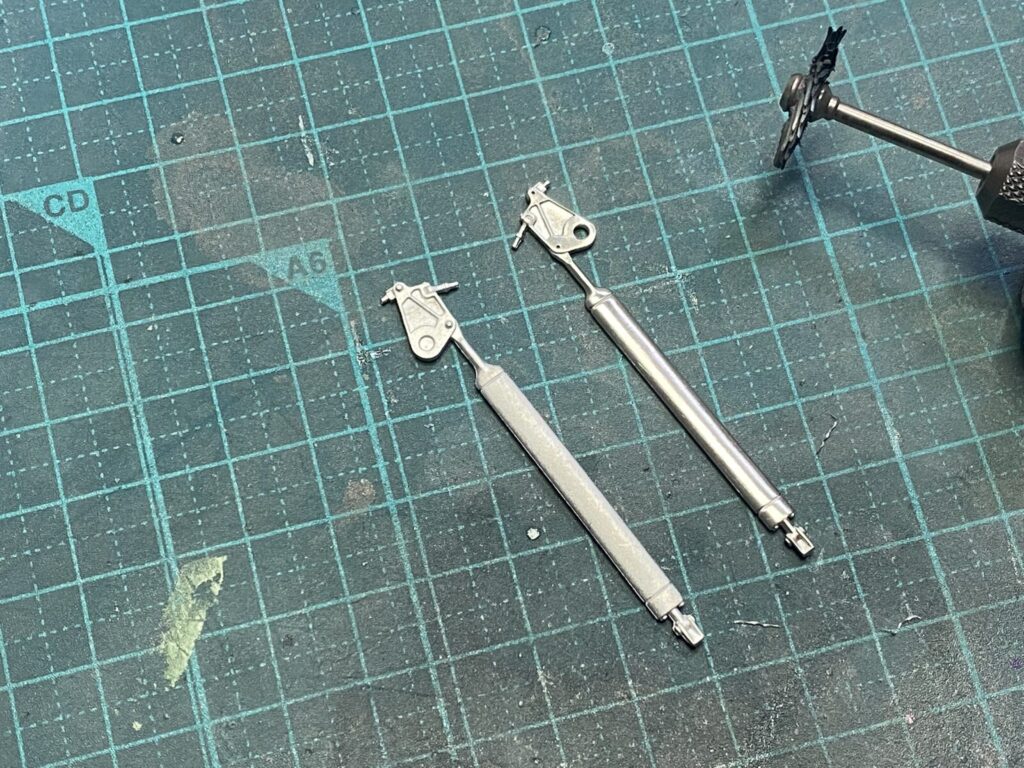
全体のアライメント調整が済んだら一度分解します。ほかのセクションと同様に、サスペンションアームにモールドされているボルトディテールを削り落とし、塗装前の表面処理を行います。
After the overall alignment is finalized, the assembly is disassembled once again.
As with the other sections, the molded-on bolt details on the suspension arms are removed, and the parts are prepared with surface finishing prior to painting.
すべてのパーツはラジアルブリッスルブラシなどを使用して丁寧に表面処理を行います。その後メタルプライマーを吹き付け、次の工程へ進む前に十分乾燥させます。
The surfaces of all parts are carefully prepared using tools such as a radial bristle brush.
Afterward, a coat of metal primer is applied and left to dry thoroughly before proceeding to the next stage.