エアボックスの内部を製作します。仮組を行い修正後イエアボックスアッセンブリーの内部から作業を開始します。入念に仮組みを行い、位置合わせに必要な修正を施した後、インテークトランペットベースの組み立てに進みます。
I will start by working on the interior of the airbox assembly.
After performing a thorough dry fit and making the required corrections for proper alignment, I will proceed with assembling the intake trumpet base.
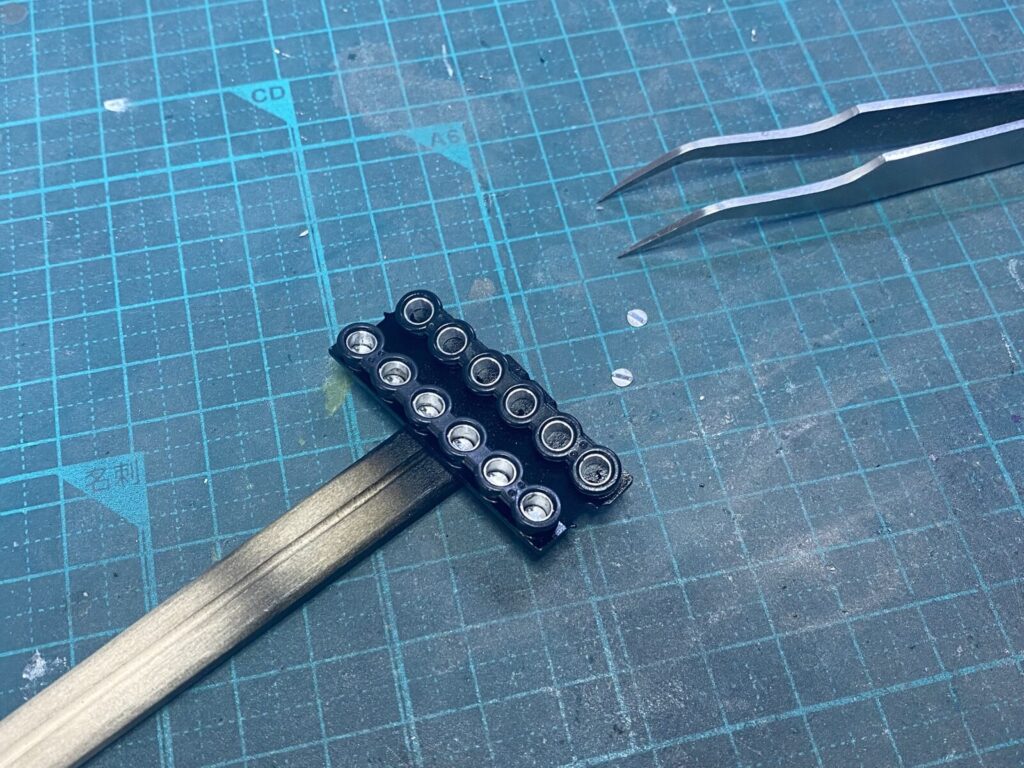
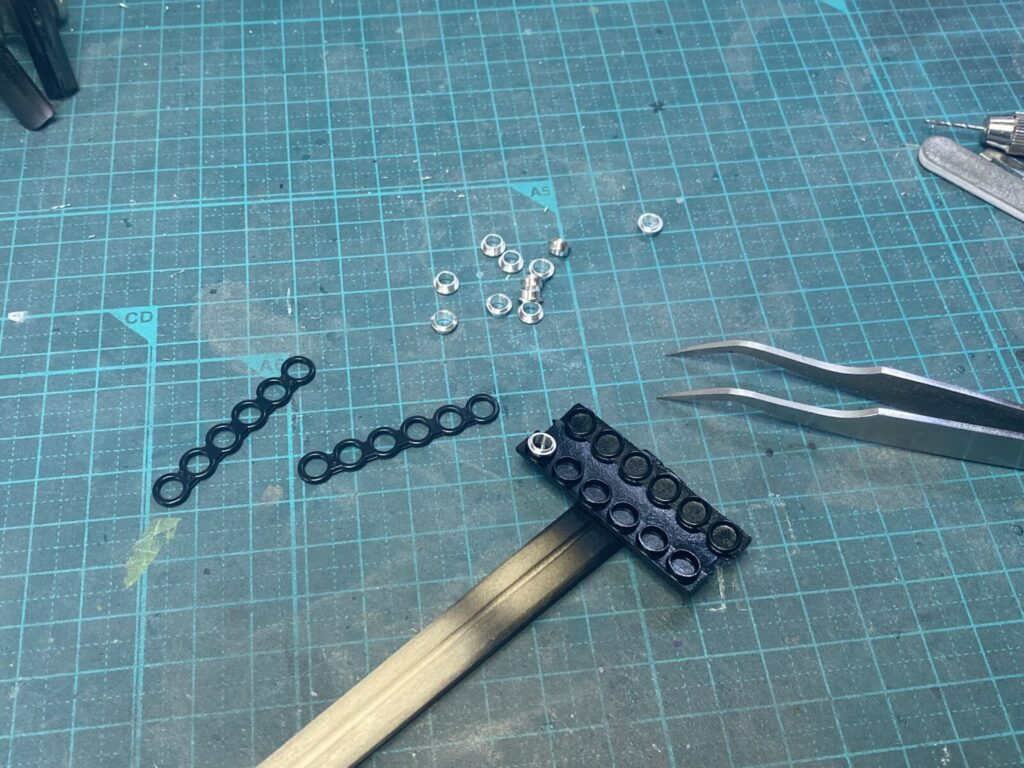
12個すべてのインテークファンネルを、正確な角度とアライメントに注意しながら、一本ずつ慎重に取り付けていきます。
All twelve intake trumpets are installed one by one, with careful attention paid to their precise angle and alignment.
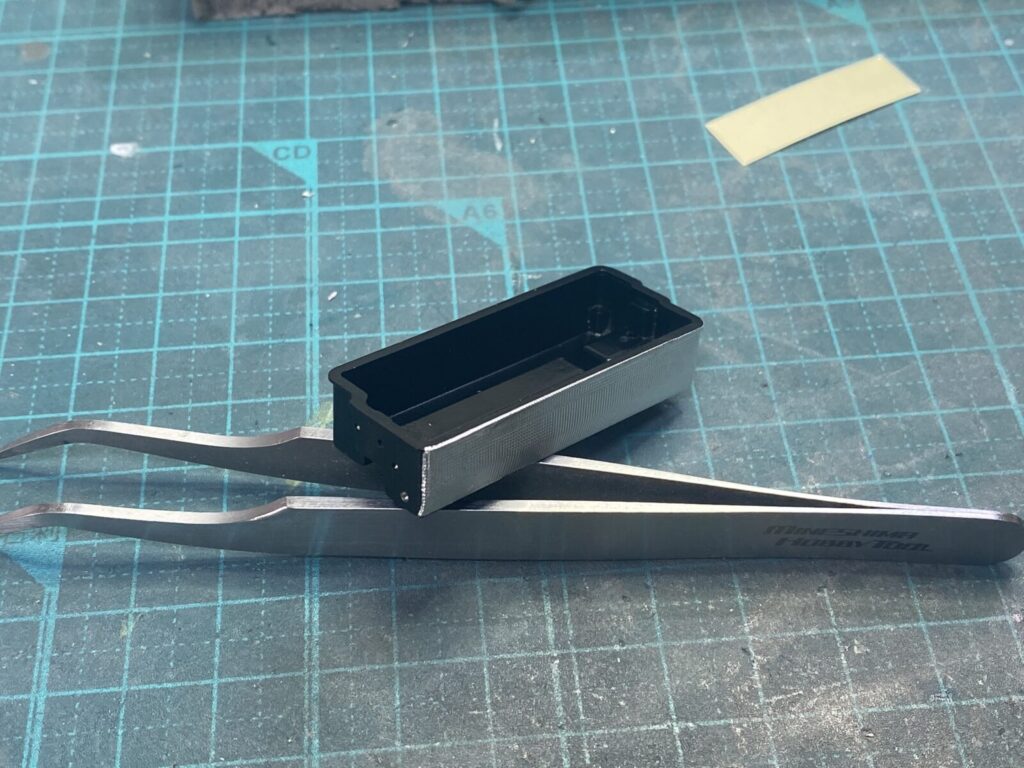
実車に見られる断熱処理を再現するために、エアボックス外側の表面に耐熱フォイルを貼り付けます
Heat-resistant foil is applied to the outer surface of the airbox to replicate the thermal insulation seen on the actual car.
一連の準備作業が完了したので、前の工程で製作したインテークファンネルを取り付けていきます。
With the preparation complete, I now install the intake trumpets assembled in the previous step.
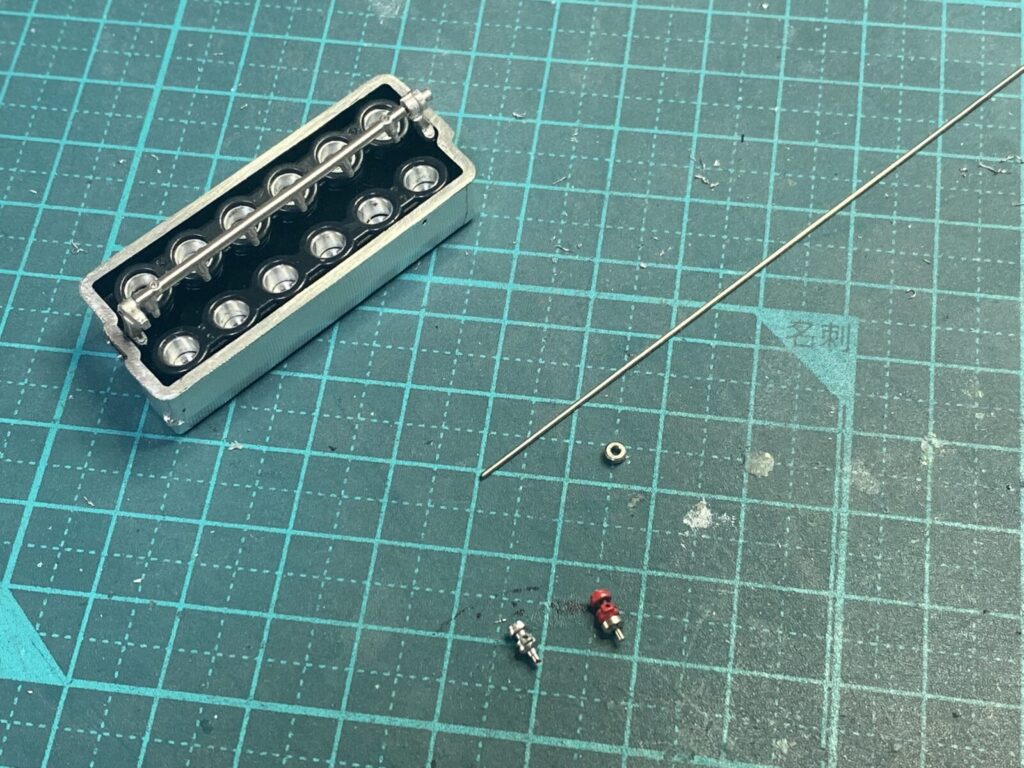
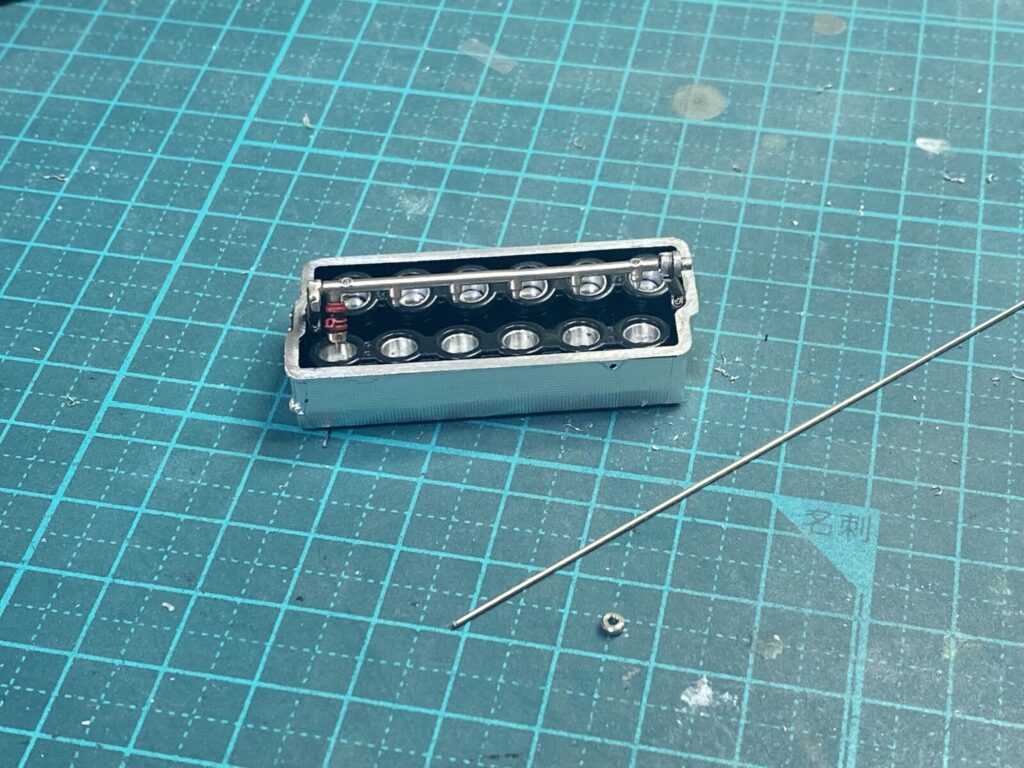
磨き出したフューエルレールを取り付けます。さらにフューエルインジェクター(燃料噴射装置)を自作し、あらかじめ研磨して仕上げておいたフューエルレールを取り付けます。あわせて、情報量を高めるためフューエルインジェクターを自作します。
The previously polished fuel rail is now installed. I will also scratch-build the fuel injectors to enhance the level of detail.
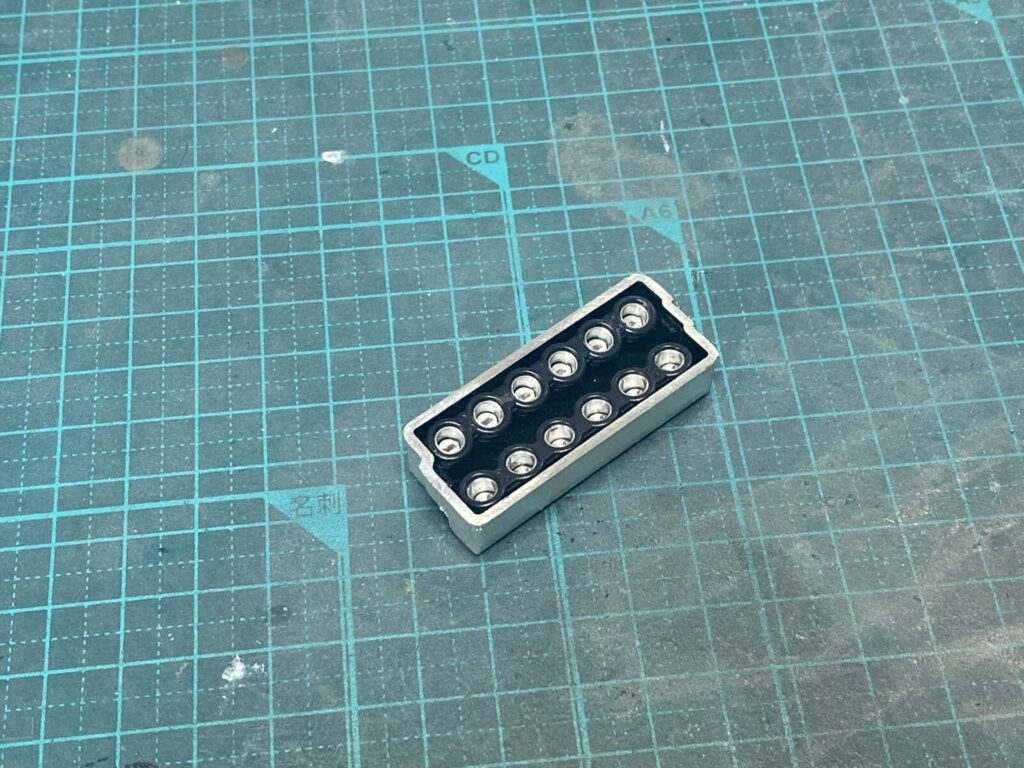
自作したフューエルインジェクターを取り付けると、この様な感じなります。
With the scratch-built fuel injectors in place, the assembly now looks like this.
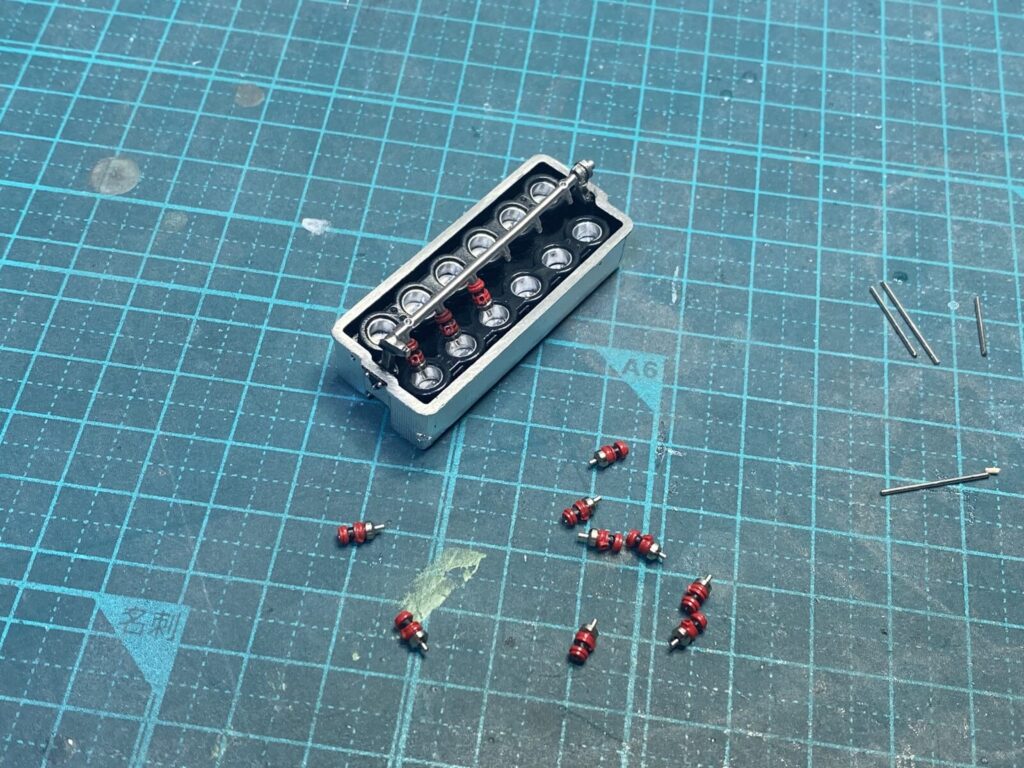
12か所すべてにおいて、同じ取り付け工程を繰り返します。
I repeat the same installation process at all twelve positions.
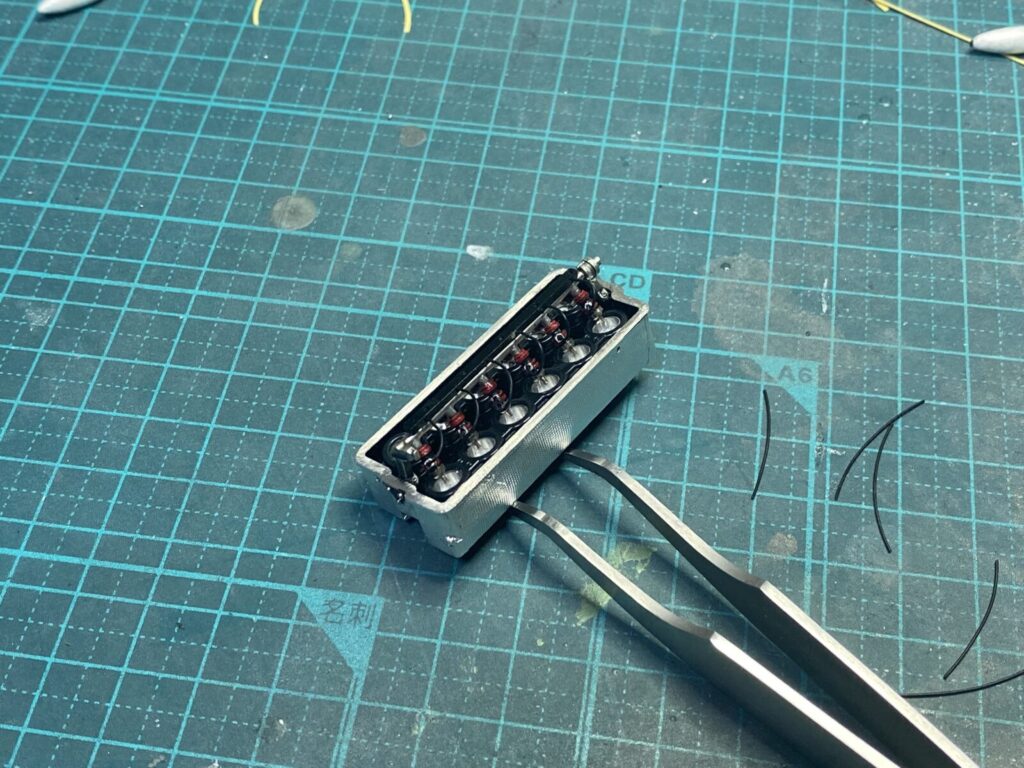
ディテールをさらに向上させるために、フューエルインジェクターへ配線を追加します。
Wiring is added to the fuel injectors to further enhance the level of detail.
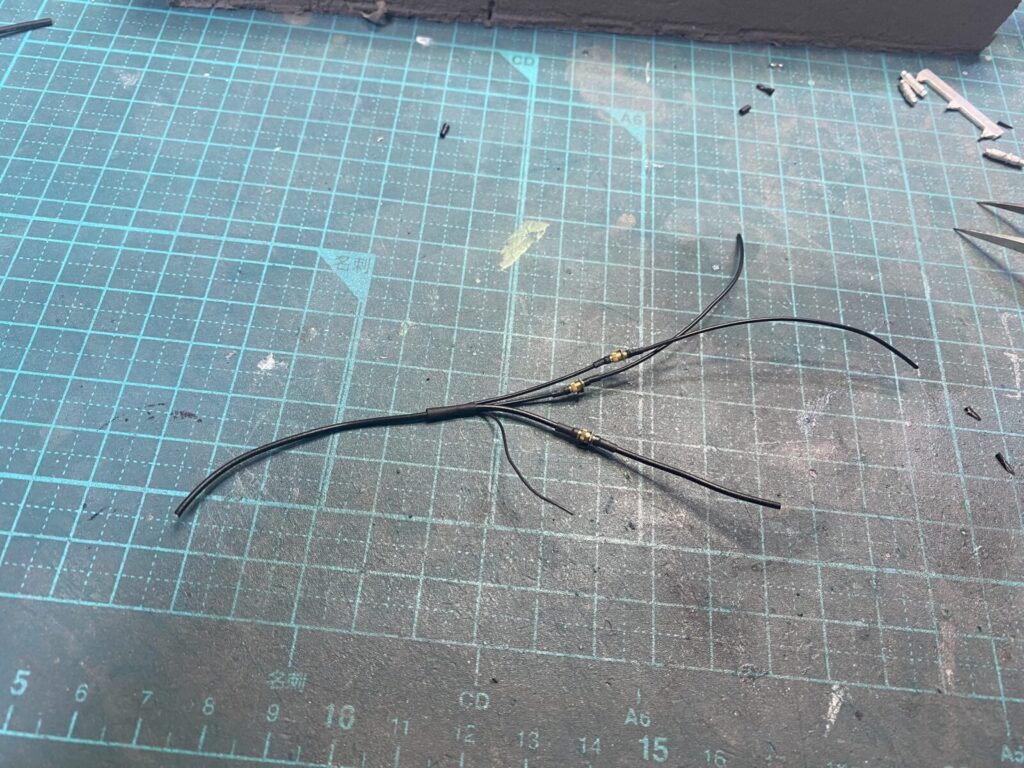
エンジン周辺の配線は、実車らしい質感を再現するために、高ディテールのアフターパーツ製コネクターを用いて製作します。
The wiring around the engine will be fabricated using high-detail aftermarket connectors to achieve a more authentic appearance.
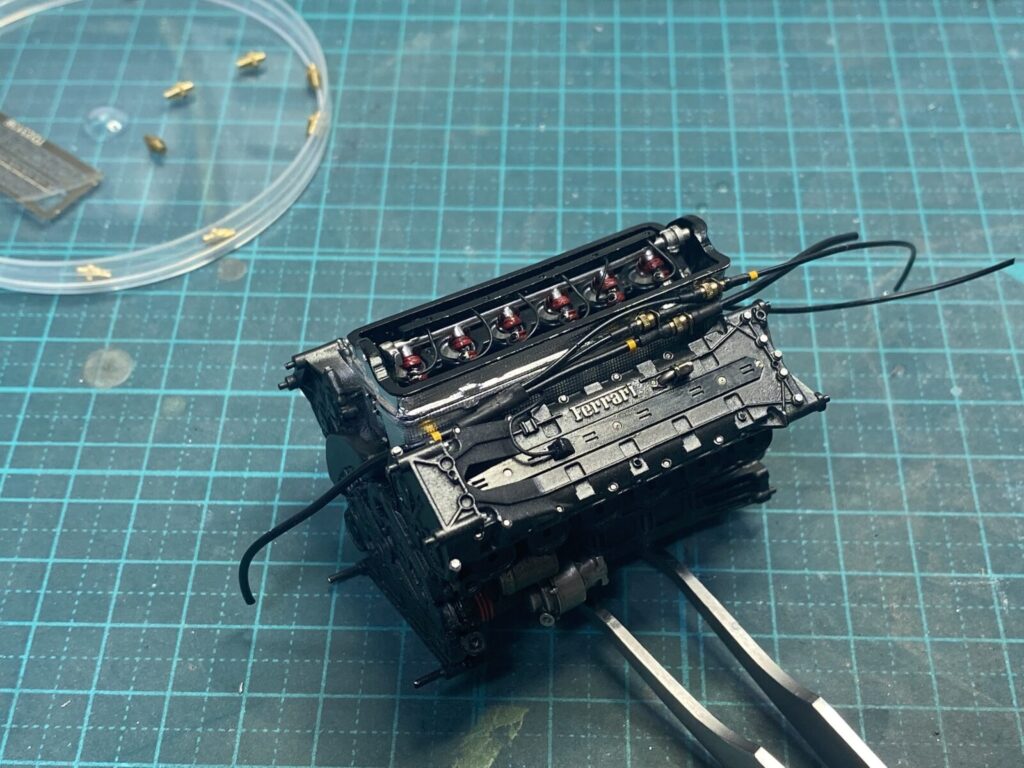
エアボックスをエンジンへ装着し、仕上がりの密度感を高めるため、さらにコネクターや配線を追加していきます。
The airbox is mounted to the engine, after which additional connectors and wiring are added to further enhance the overall detail.